
To move your text in Adobe Premiere Pro, go to the Effect Panel and type “push” into the search box; you will see different types of slide effects available. Drag the “push” fx to the beginning of the text clip in your timeline. This will allow your text clip to move from the left to the right.
I’m David, a video editor. I have been editing for the past ten years using Adobe Premiere Pro. I fell in love with this software; it’s my hobby.
In this article, I will explain how to move text with keyframing using scale and position under the effect control panel. Alongside this, I will show you how to create moving text with the essential graphic panel and, finally, how to apply it to multiple clips.
Table of Contents
How to Move Text in Adobe Premiere Pro
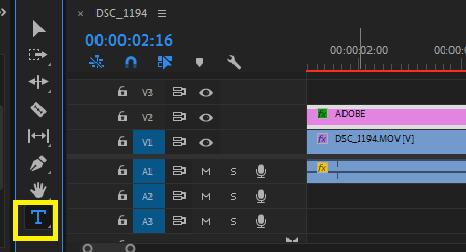
I’m sure you have your text ready in your timeline panel; if not, create your text now using the Text Tool in Premiere Pro.
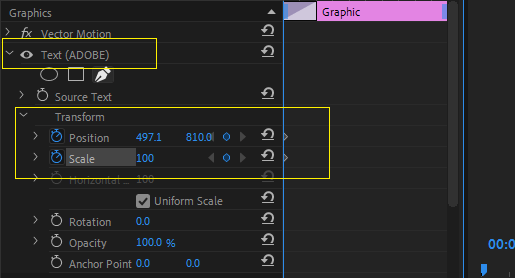
Go to the Effect Control Panel. At the beginning of the text, make sure your playhead bar is at the beginning of the text clip. Turn on the stopwatch and scale fx to start the keyframe. Then go to the end of the text to add another keyframe.
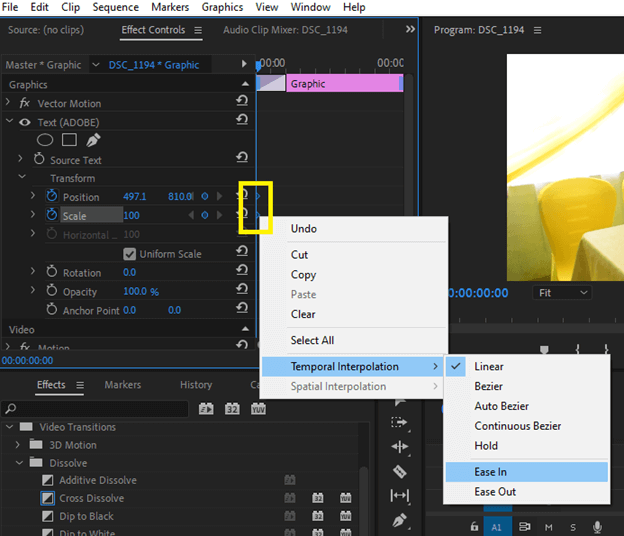
To make the transition smooth, select the keyframes, right-click on the beginning keyframes, then Temporal Interpolation, and select ease-in. Choose ease out from the temporal interpolation as well as the ending keyframes.
How to Move Text with Slide Transition in Adobe Premiere Pro
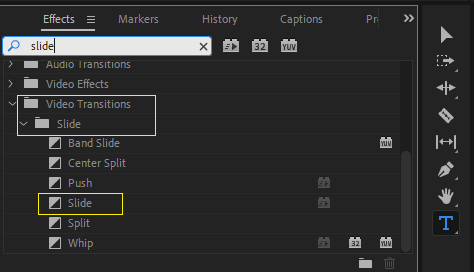
The slide transition method is the simplest method to move text in Adobe Premiere Pro. To do this, go to the effect panel and type “slide” into the search box.
Select and drag the slide effect to the beginning of the text clip in your timeline; this will allow your text clip to move or slide in, and do the same for your text to move or slide out.
How to Move Anything in Adobe Premiere Pro
If you observe well, almost all the effects available under the effect control panel have a stopwatch next to them. Now, you can set the position, scale, rotation, and even opacity for the text alone using keyframes.
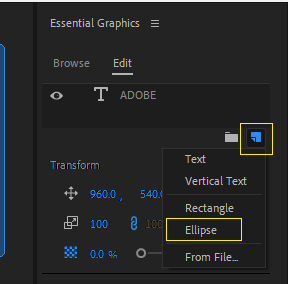
Let’s try this out. Go to the essential graphic to insert a new ellipse shape into your text clip.
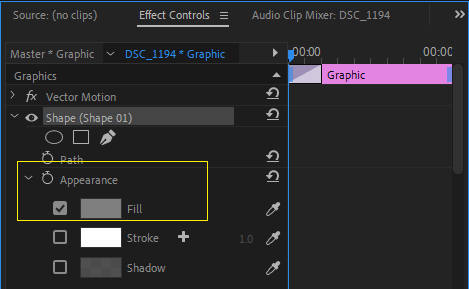
Open the drop-down menu from the effect control panel and set your color.
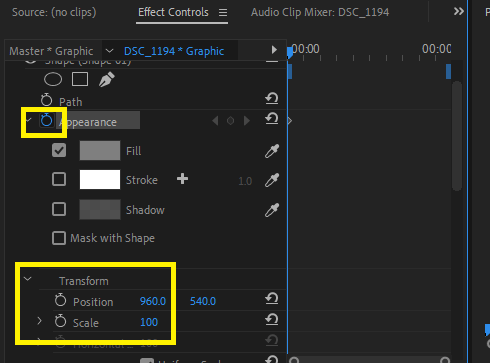
Now, check the stopwatch for five frames; then stop it, which will change the shape’s color. To set the keyframe, you can check the position, scale, and opacity.
How to Make a Scroll Text in Adobe Premiere Pro
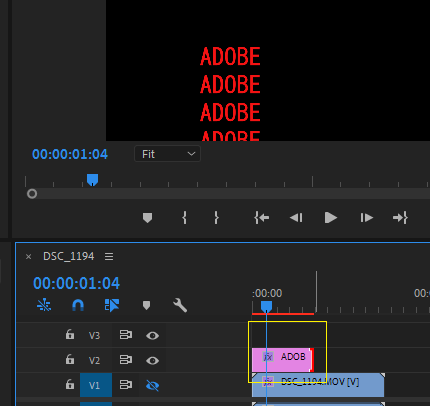
Let’s say you have names that you want to display in Premiere Pro. And you want it to move from the bottom to the top and fade away like the end credits you see in movies.
Create the text, and enter all the names in a text box. Then, go to your text box and press Ctrl + A to select all your texts in the text box. Navigate to the essential graphics panel. If you cannot find a “graphics” workspace, go to Window > Essential Graphics.
In the Essential Graphics panel, click the Edit tab.
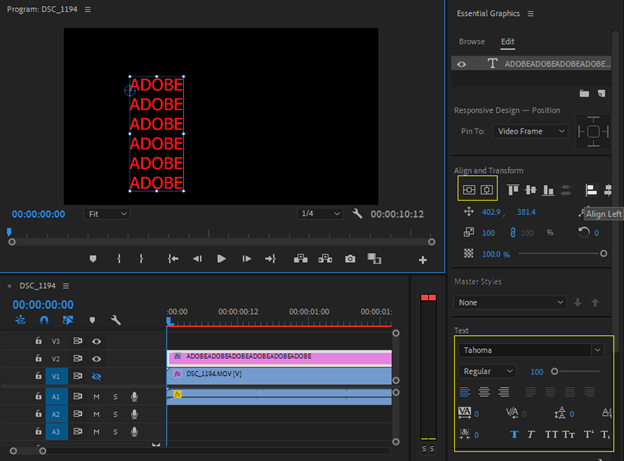
Make sure the text is selected. Change the text alignment to center-aligned in the essential graphics panel, and change the font. Check the box next to Roll. Then you have a scrolling text box.
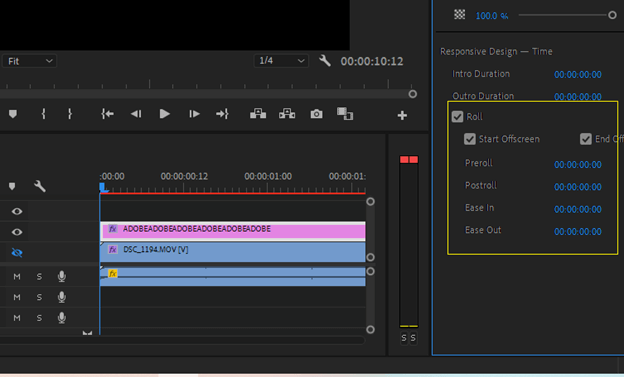
Drag the graphics layer in the timeline to make it longer or shorter to speed up or slow down the scrolling. You can also choose to change the parameters of the roll fx. It’s your call.
Conclusion
Therefore, creating moving text in Adobe Premiere Pro is very easy. Simply go to the effect panel, type “push” into the search box, and then select and drag “push” to the beginning or end of the text clip in your timeline.
If you find it tough to do these motion graphics effectively, just drop your message to me in the comment section.