
You can merge layers in Photoshop by first selecting two or more sequential layers. Right-click on the selected layers and click “Merge Layers.” If you want to have more than one vector shape on the same layer without rasterizing them, select them and right-click on “Convert Smart Object.”
In this article, I’ll show you three different ways to merge layers in Photoshop. Sometimes you need to use a specific method so that you won’t lose the special effects or resolution of an image or shape.
Table of Contents
Key Takeaways
- With your top layer selected, use the shortcut Alt + Ctrl + Shift + E (Option + Command + Shift + E) to add a new layer with all elements that are on the other layers.
- Merge two rasterized layers first by selecting them in the layers panel, then right-clicking on them to Merge Layers.
- Rasterizing a layer changes it from vector to raster. Be careful when you decide to do this because a rasterized layer doesn’t retain a high quality when resized.
- To retain the ability to edit a text or effect layer, merge them with adjacent layers by converting them to a Smart Object.
Method 1: Merge Layers Command
When you’re okay with having multiple rasterized layers permanently merged, follow these steps.
Step 1: Go to the Layers panel, hold the Shift key, and choose the layers that you want to merge.
For example, I selected the “glow area” and “Open Hand” layers.
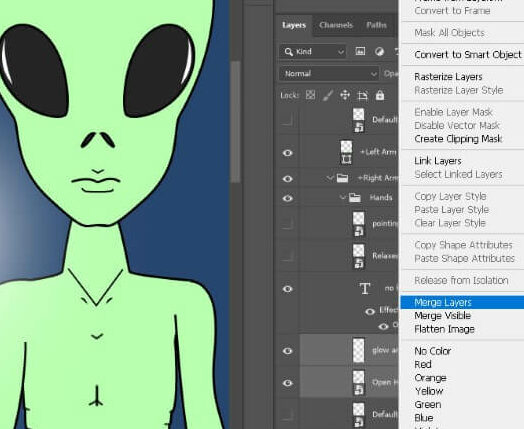
Step 2: Right-click on the layers and choose Merge Layers.
Before doing this, the “Open Hand” layer was actually a Smart Object. As you can see, now it is just a rasterized layer with the glow area.
The alien’s hand is covered in white and can no longer be edited. Let’s see how to merge layers without losing the ability to edit things later.
Method 2: Convert to Smart Object
These are the steps you want to follow to create a Smart Object.
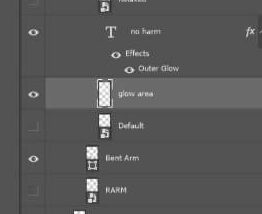
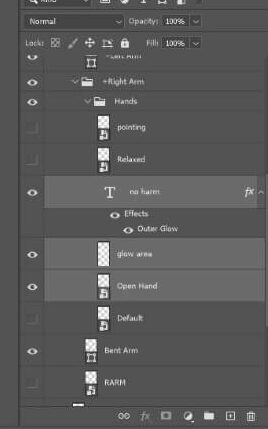
Step 1: Select the layers that you want to merge. For example, I selected the “Open Hand” smart object layer, held the Shift key, and clicked on the text layer (“no harm”) and “glow area”. So three layers in total.
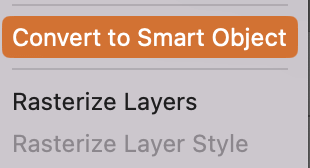
Step 2: Right-click on them and click Convert to Smart Object.
Now we have a Smart Object called “no harm.” I think it’s safe to say this alien comes in peace.
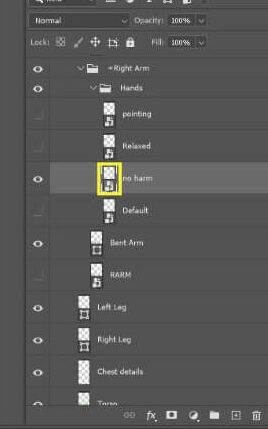
To edit the contents of this Smart Object, double-click in the yellow box, on the Smart Object thumbnail.

When editing the contents of a Smart Object, a separate file is opened in Photoshop. Here, you can edit the contents of these packaged layers. You can have one or more smart objects within a smart object.
As soon as you’re done, go to File > Save and your changes to the Smart Object will reflect in the original file.
How to Merge Layers with Different Blending Modes
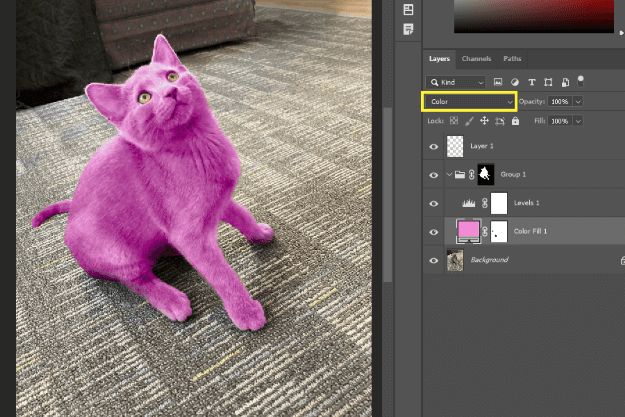
Here we have a picture of my cat, Mittenwool. Although it is a convincing image, his fur isn’t really pink. This is just a Solid Color adjustment layer, with a blending mode (yellow box) of Color.
Let’s see what happens if I try to merge these layers in the usual way. I select them all, right-click on the stack, and click on Merge Layers.
Not good. Ctrl/Command + Z.
Alternatively, I can use a great Photoshop trick in one step.
With the top layer selected, press Alt + Ctrl + Shift + E (Windows) or Option + Command + Shift + E.
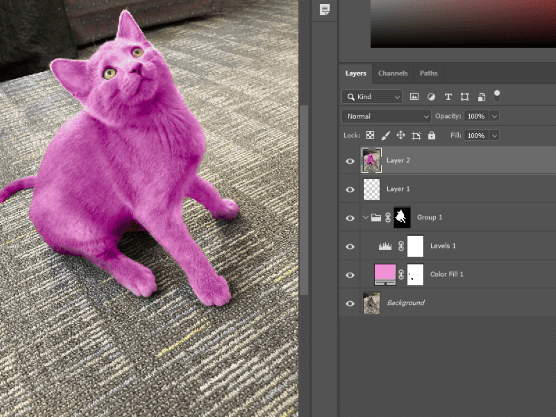
Using this shortcut gives us a screenshot layer of the layers underneath it. This way, we have one layer with all the effects as they appear on individual layers.
Alternatively, you can create a group and add multiple layers to it. You can move the group, resize it, and even apply effects or masks to the group so that it affects all the layers inside it.
Final Thoughts
Learning the ins and outs of Photoshop is key to building your graphic design skills. By taking the time to learn how to merge layers in multiple ways, we’ve become familiar with helpful and universal tools that will make your future projects come to life.
Do you have any tips for other artists or graphic designers? Let me know in the comments below.