
While I never really enjoyed math in school, geometry lessons were always a welcome change. I didn’t expect to find much practical use for it later in life, but my love of design has brought things to a strange full circle.
Creating triangles in InDesign can be done in several ways, and some of them require a tiny bit of geometry knowledge (not much, though, I promise!)
Choose a method that works best for you!
Table of Contents
Method 1: Making Triangles Using the Polygon Tool
The fastest way to make a triangle in InDesign is to use the Polygon Tool. If you’re new to InDesign, you might not have seen the Polygon Tool in the Tools panel because it’s nested under the Rectangle Tool and has no default keyboard shortcut.
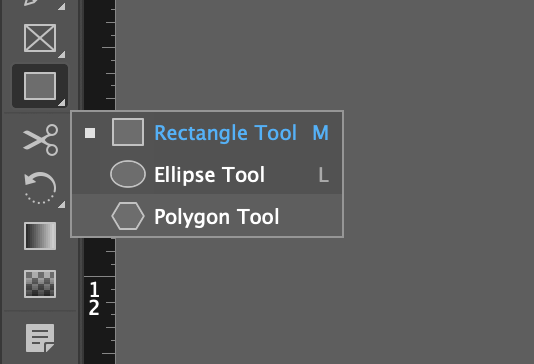
Step 1: Click and hold or right-click on the Rectangle Tool icon in the Tools panel to display all the tools nested in that spot, then click Polygon Tool in the popup menu.
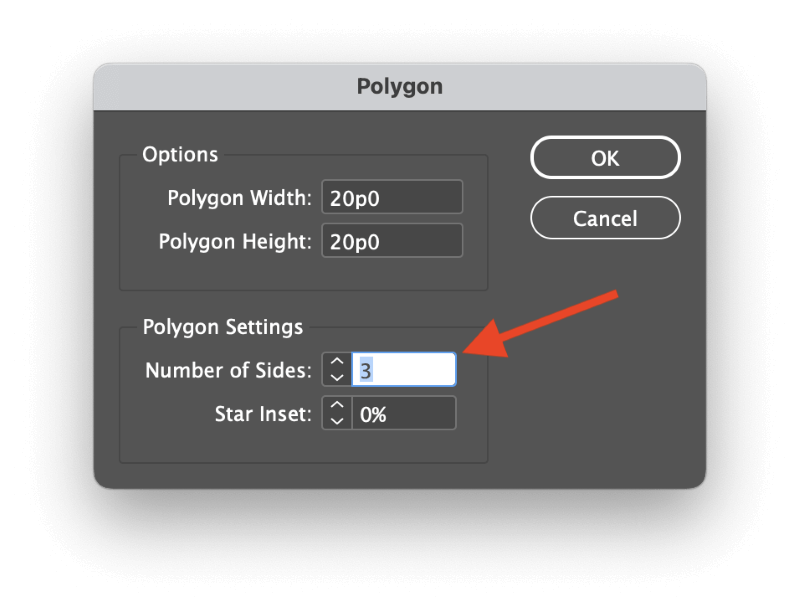
Step 2: Click once on the page where you want your triangle to be placed. InDesign will open the Polygon dialog window, which allows you to specify the number of sides your polygonal shape will have.
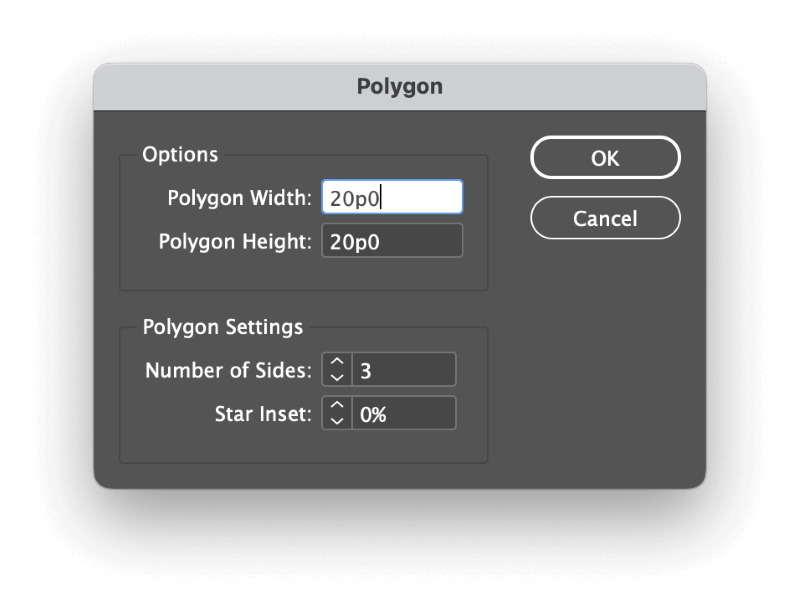
Triangles obviously have three sides, so adjust the Number of Sides setting to 3. Enter a width and height for your triangle and click OK.
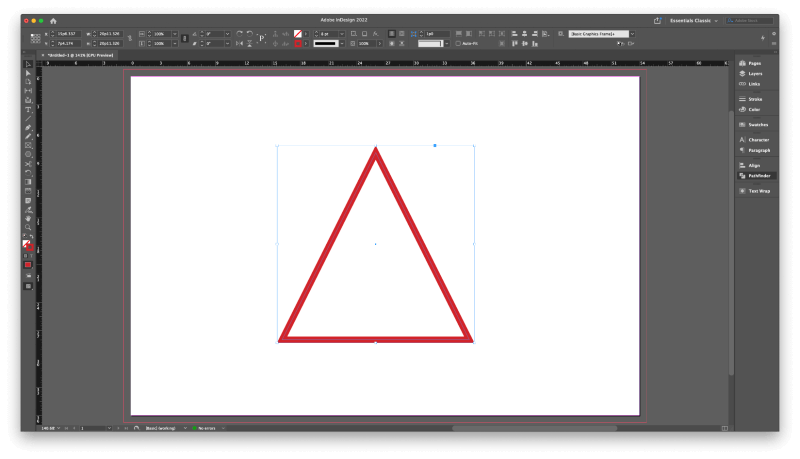
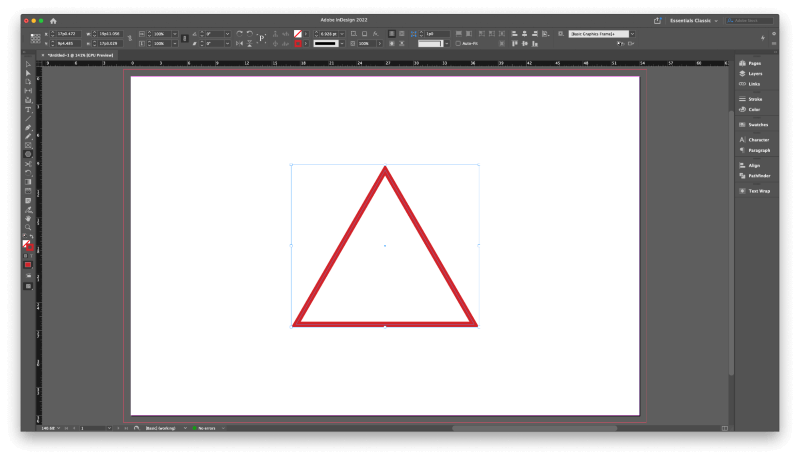
InDesign will create a triangle using your chosen dimensions and active color settings.
Once you’ve configured the Polygon Tool to create triangles, you can click and drag using the tool to create triangles much more quickly without having to stop and use the dialog each time.
Method 2: Making Custom Triangles with the Pen Tool
If you prefer to make more freeform triangles, it’s easy to do so with the Pen tool.
Step 1: Switch to the Pen tool using the Tools panel or the keyboard shortcut P.
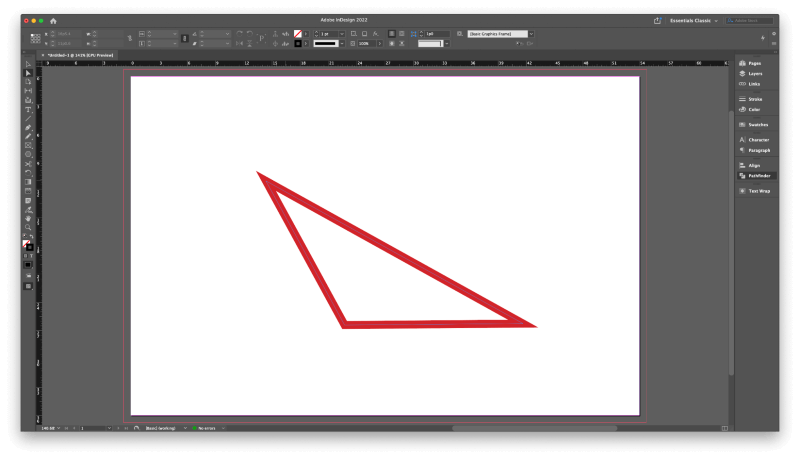
Step 2: Click anywhere on your page to set the first anchor point, click again to create the second point, and once more to create the third corner of your triangle. Last but not least, return to the original point and click again to close the shape.
You can also modify the placement of your anchor points while drawing the triangle by holding down the Shift key, which will draw a straight line at a 45 or 90-degree angle as close to your click location as possible.
Method 3: Making a Right Triangle in InDesign
Formerly known in some textbooks as a rectangular triangle and technically known as an orthogonal triangle, making a right triangle in InDesign is extremely simple – but a bit counterintuitive because it doesn’t use the Polygon tool.
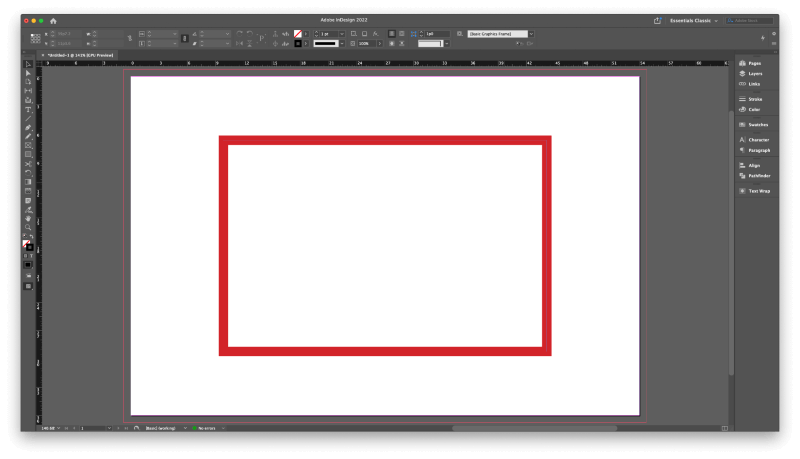
Step 1: Switch to the Rectangle Tool using the Tools panel or the keyboard shortcut M, and then click and drag on your page to create a rectangle.
Step 2: With your new rectangle still selected, switch to the Pen tool using the Tools panel or the keyboard shortcut P. The Pen tool is a flexible, context-driven tool that changes to the Delete Anchor Point Tool when hovering over an existing anchor point.
You could also switch directly to the Delete Anchor Point Tool using the Tools panel or the keyboard shortcut – (the minus key) but it’s generally better to get used to working with the Pen tool for the sake of flexibility while creating vector shapes.
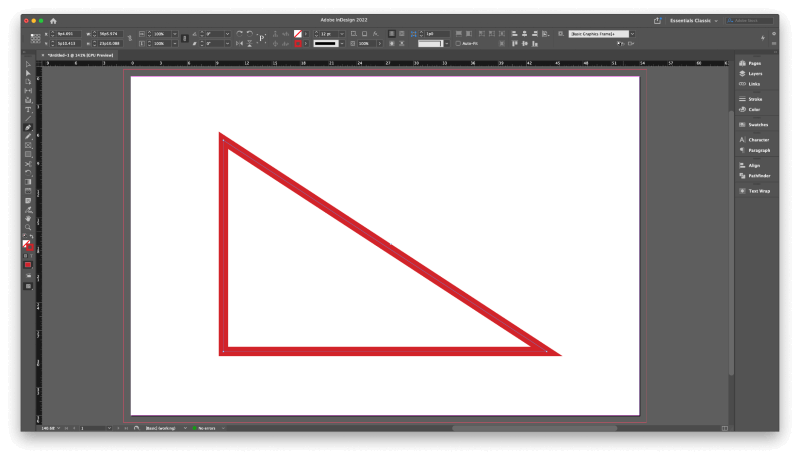
Step 3: Use the Pen or Delete Anchor Point Tool, place your cursor over one of the four anchor points that form your rectangle, and click once to remove it. InDesign will close the shape between the remaining points, creating the hypotenuse of your right triangle.
Method 4: Making an Equilateral Triangle
Creating an equilateral triangle in InDesign is a bit more complex. As you may know (or not, if it’s been a while since math class), each side of an equilateral triangle is the same length, which forces each internal angle to equal 60 degrees.
You can create an equilateral triangle by combining the Polygon Tool and the Scale command, as long as you can remember one important number: 86.603%.
Step 1: Switch to the Polygon Tool and click once on your page to open the Polygon dialog window. Enter equal values for the Polygon Width and Polygon Height, and make sure the Number of Sides is set to 3, then click OK.
InDesign will draw your triangle, but it’s not finished yet!
Step 2: With the triangle selected, open the Object menu, select the Transform submenu, and click Scale.
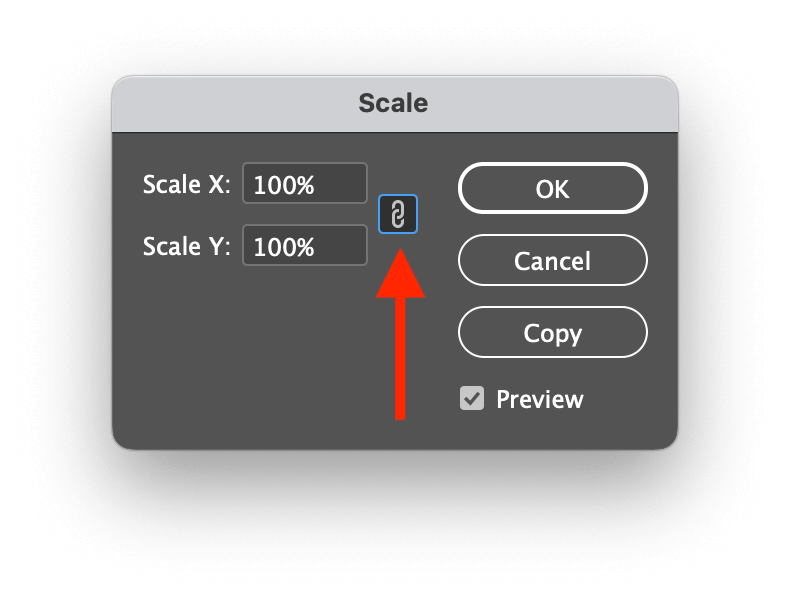
In the Scale dialog window, click the small chain link icon to separate the Scale X and Scale Y dimensions, then enter 86.603% in the Scale Y field. Leave the Scale X field set to 100% and click OK.
Now you have a perfect equilateral triangle!
Alternate Method: Duplicate and Rotate
This method is a bit longer, but it can be necessary if you’re using your triangle as a text frame and need to rotate it – or if you just don’t trust the method mentioned above!
Switch to the Line tool using the Tools panel or the keyboard shortcut \ and draw a line equal to the length of your desired triangle’s sides.
Make sure the line is selected and press Command + C to copy the line into the clipboard, then press Command + Option + Shift + V twice to paste two additional duplicate lines in the same place.
You won’t be able to see them distinctly at first since they’re the same size and in the same place, but they will be there.
The last line to be pasted should still be selected, so open the Object menu, select the Transform submenu, and click Rotate. Enter 60 into the Angle field and click OK.
Switch to the Selection Tool using the Tools panel or the keyboard shortcut V. Use it to select another of the lines that you duplicated, and run the Rotate command again, but this time enter 120 into the Angle field.
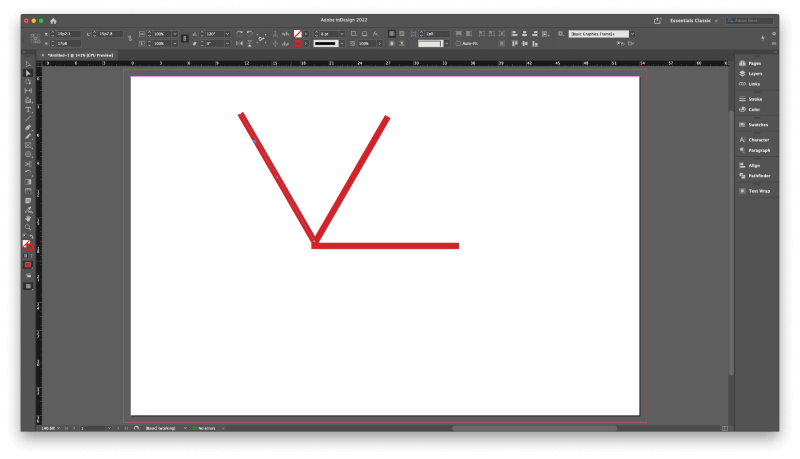
Click and drag to reposition two angled lines so that the anchor points exactly overlap the other points and form the triangle.
Using the Selection Tool, click and drag a selection box around one of the overlapping pairs of anchor points. Open the Object menu, select the Paths submenu, and click Join. Repeat for the other pairs of overlapping anchor points until your triangle is a single shape.
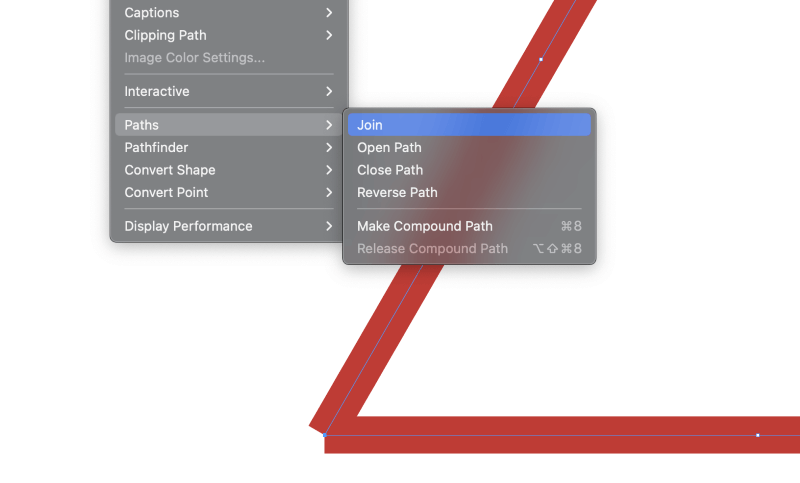
You can also run the Join command using the Pathfinder panel to speed things up a bit.
A Final Word
That covers everything you might ever need to know to make a triangle in InDesign, no matter what kind of triangle you want.
Just remember that InDesign isn’t intended as a vector drawing app, so the drawing tools and features are much more limited than you’ll find in a dedicated vector app like Adobe Illustrator. You’ll have a much easier time if you use the right tool for the job.
Happy triangulating!