
Masks are one of the most useful tools in any graphic design workflow, and InDesign is no exception. They give you complete control over the shape of each individual element and how each one interacts with the rest of your layout.
InDesign uses a slightly different approach to masks than most other Adobe apps, but by the end of this tutorial, you’ll be making clipping masks like a pro.
Table of Contents
Images in InDesign
The most important thing to know about working with images in InDesign is that a clipping mask is created automatically as soon as you place images into your document.
By default, this clipping mask matches the outer dimensions of your image object, so it only displays as a basic rectangular shape – or rather, it seems like it doesn’t exist at all – and that’s what confuses most new InDesign users.
Making Basic Clipping Masks in InDesign
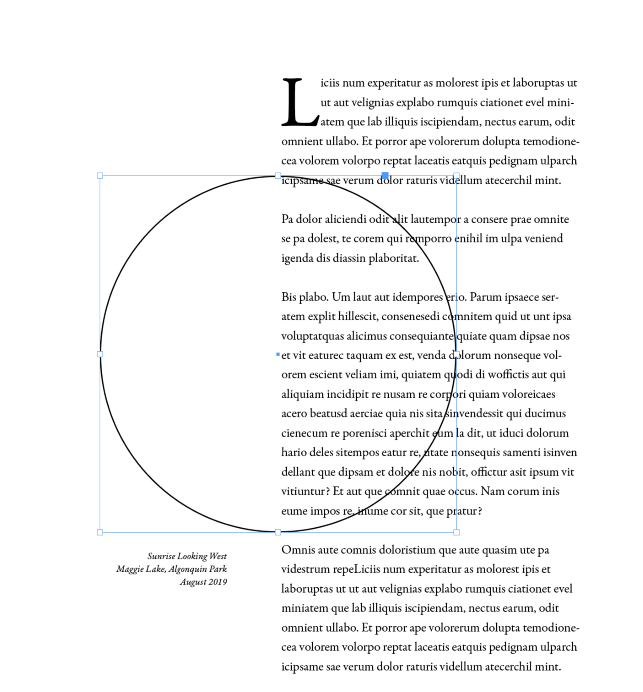
The simplest way to create a clipping mask is to create a vector shape in InDesign and then place your image into the shape.
The vector shape becomes the new image’s clipping mask instead of the default rectangle. It’s a really simple process that works the same way for any vector shape in InDesign.
Start by creating your vector shape, which can be just about anything you can draw. InDesign has tools for creating rectangles, ellipses, and other polygons, but there’s also a Pen tool that you can use to create freeform shapes using anchor points and Bezier curves.
Once you’ve created your shape, make sure it’s selected, and then press Command + D (use Ctrl + D if you’re using InDesign on a PC) to place your image. In the Place dialog window, make sure that the Replace Selected Item setting is enabled.
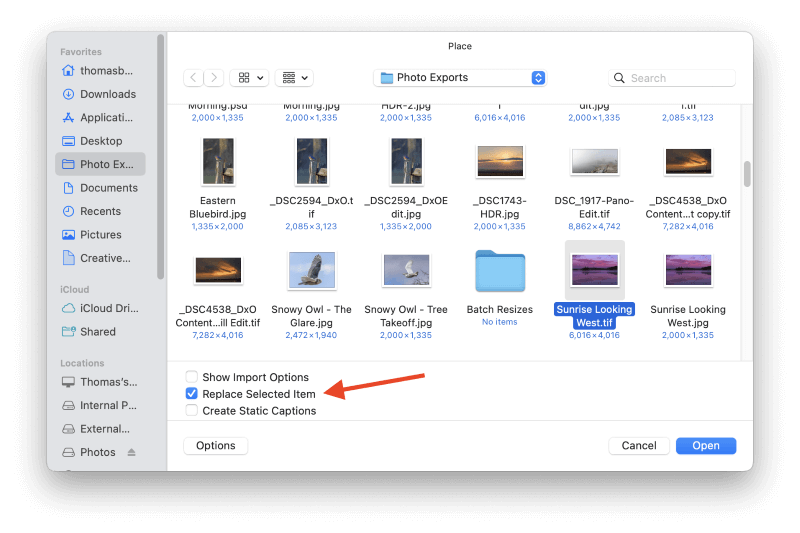
Your placed image will appear inside the vector shape.
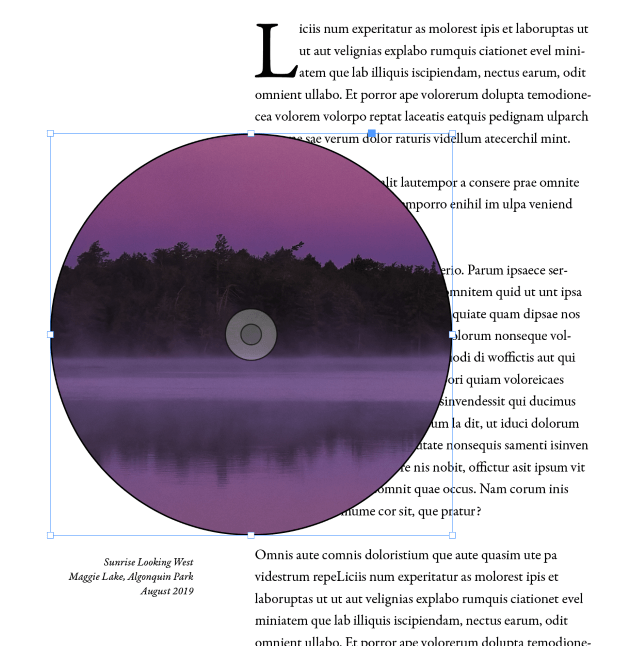
If you’re working with a large, high-resolution image, it will often be placed at a scale that’s far too large for your clipping mask, as in the example above. Instead of trying to scale it down manually, InDesign has a number of commands to help fit objects into frames automatically.
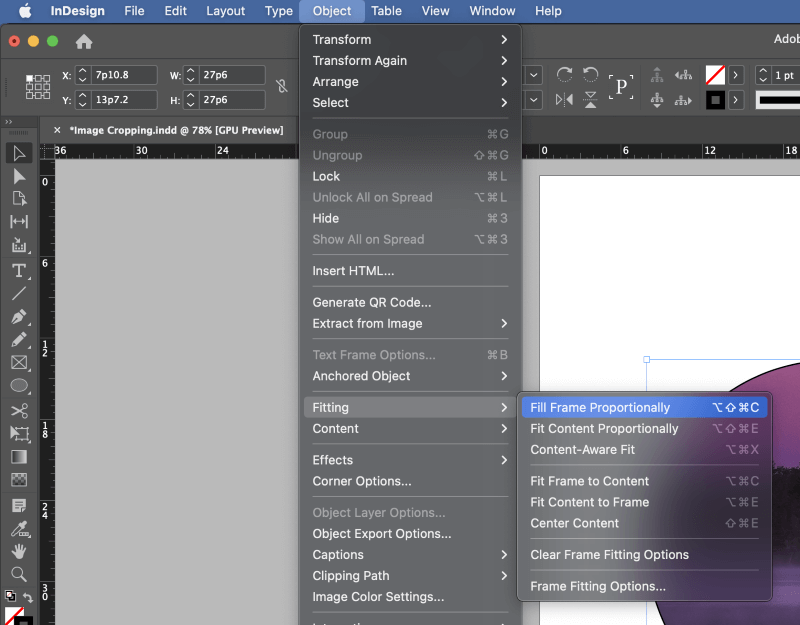
Open the Object menu, select the Fitting submenu, then click the appropriate fitting option, depending on your situation.

These same steps can be applied to any vector shape in InDesign, which gives you complete freedom when it comes to clipping mask shape and placement.
Making a Clipping Mask with Text in InDesign
Text is always rendered as a vector in InDesign, and it can be used as a clipping mask with a simple modification. Follow the steps below to make a text clipping mask.
Step 1: Create a new text frame using the Type tool and enter the text you want to use as a mask. It’s usually a good idea to keep the text to a minimum for the best visual effect, often just a single word.
Keep in mind that some fonts (and some images) will work better than others for this trick.
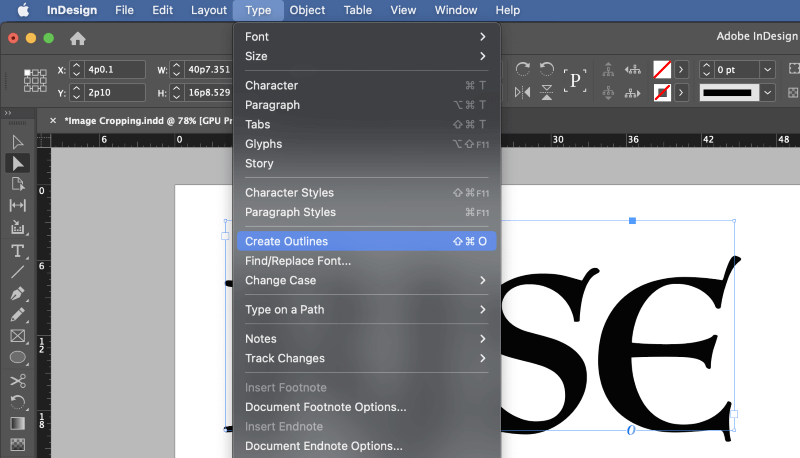
Step 2: Select the entire text frame using the Selection tool, open the Type menu, and click Create Outlines. You can also use the keyboard shortcut Command + Shift + O (use Ctrl + Shift + O if you’re on a PC).
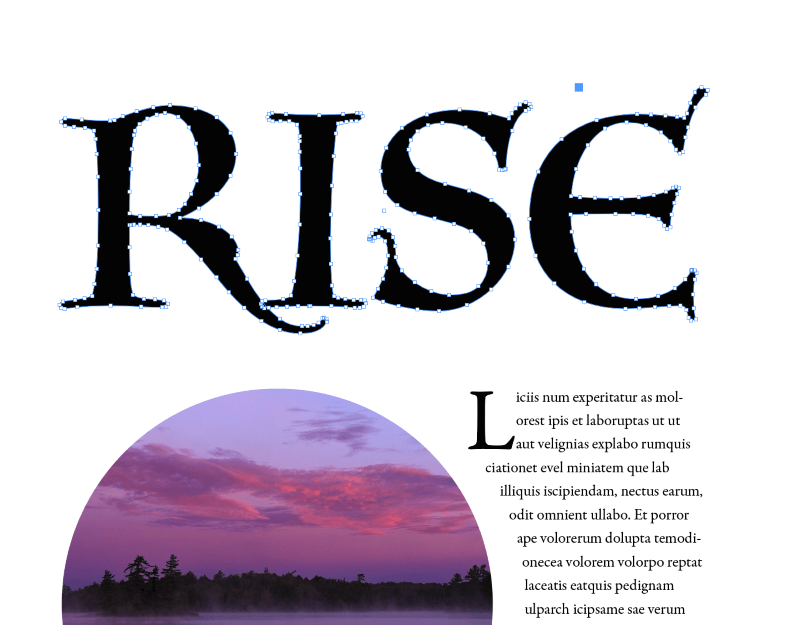
Your text will be converted into vector shapes, which means they can no longer be edited as text using the keyboard. You’ll have to use the Pen tool and the Direct Selection tool to make any additional shape changes beyond basic transformations like scale and rotation.
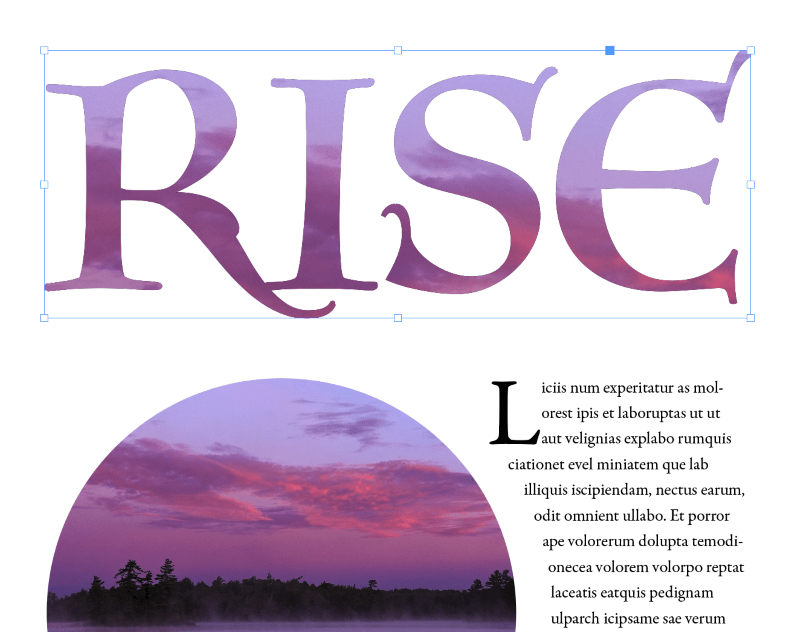
Step 3: Make sure the frame containing your text is selected, and press Command + D (use Ctrl + D if you’re on a PC) to place your image within the text shapes.
In the Place dialog window, browse to select your image file and make sure the Replace Selected Item setting is enabled.
Clipping Path in InDesign
InDesign can also create clipping masks based on your image contents automatically, but the process is fairly crude, and it’s not really suited to anything more complex than removing simple image backgrounds from subjects.
For whatever reason, these are known as clipping paths in InDesign instead of clipping masks, but they do the same job.
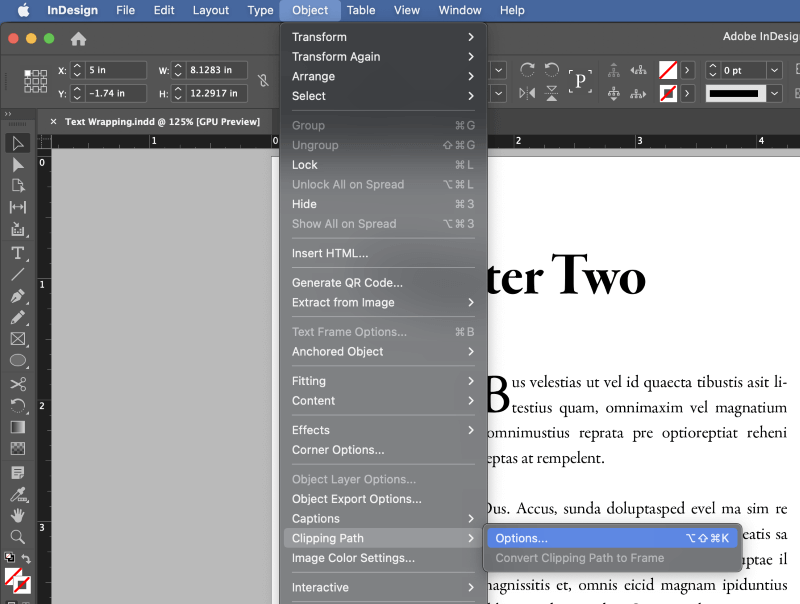
Place your image into your InDesign document using the Place command, and keep the image object selected. Open the Object menu, select the Clipping Path submenu, and click Options.
You can also use the keyboard shortcut Command + Option + Shift + K (Ctrl + Alt + Shift + K if you’re on a PC).
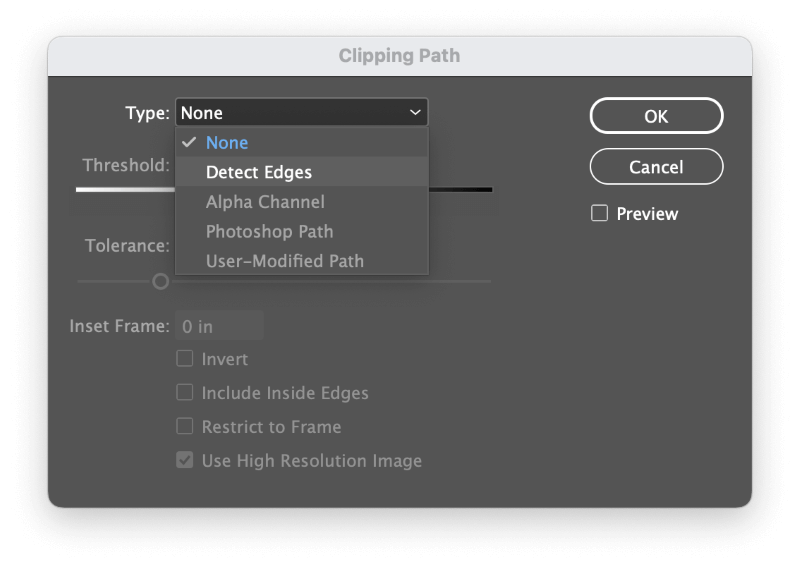
InDesign will open the Clipping Path dialog window. In the Type dropdown menu, select Detect Edges.
You’ll be able to set the Threshold and Tolerance sliders to determine the clipping path placement around your image subject, and you may also want to experiment with the Inside Edges option for more complex subjects.
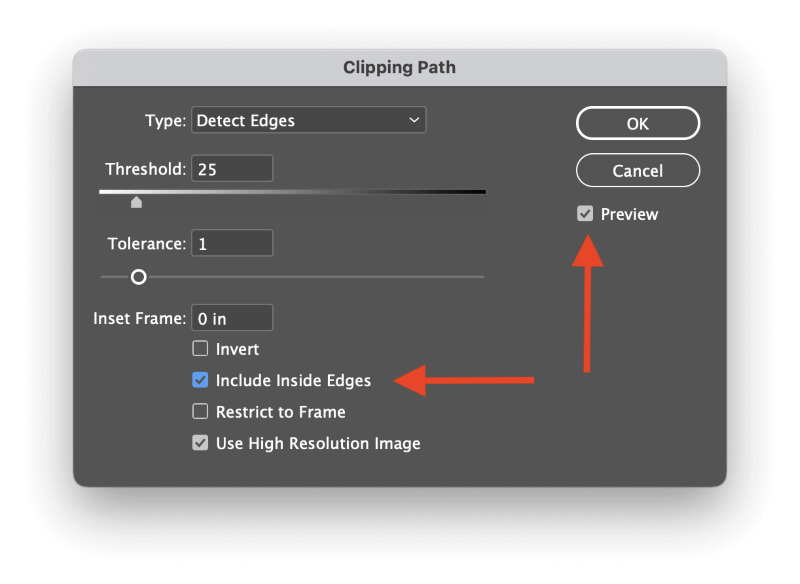
You may want to check the Preview box to get a real-time look at the results of your settings before you click OK.
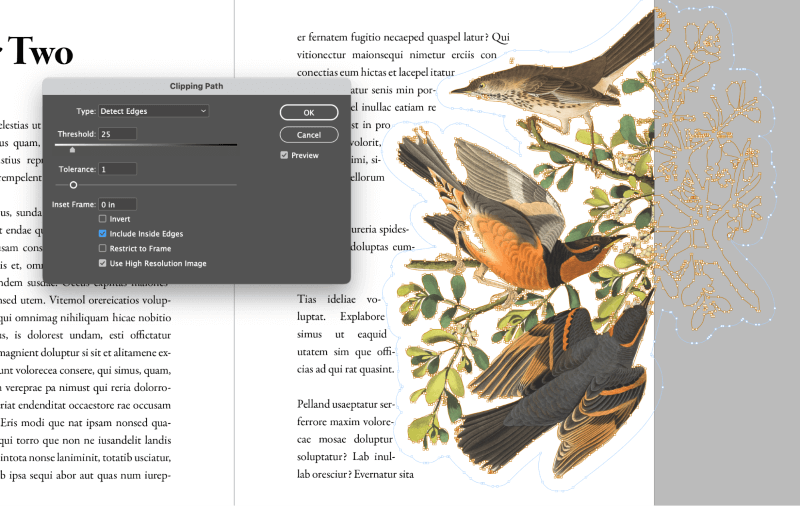
Keen-eyed readers may notice that the above example is pretty good, but not perfect. While InDesign’s automatic clipping path creation does a good job of removing the background, some of the similar colors within the bird’s plumage also get removed.
External Clipping Masks
In addition to the vector shape methods mentioned previously, it’s also possible to use alpha channels and Photoshop paths to create clipping masks in InDesign, as long as the image format you use can store that kind of data. TIFF, PNG, and PSD are all good options.
In order to ‘activate’ the path or alpha channel as an InDesign clipping path, you’ll need to adjust the Clipping Path options the way you did in the previous section.
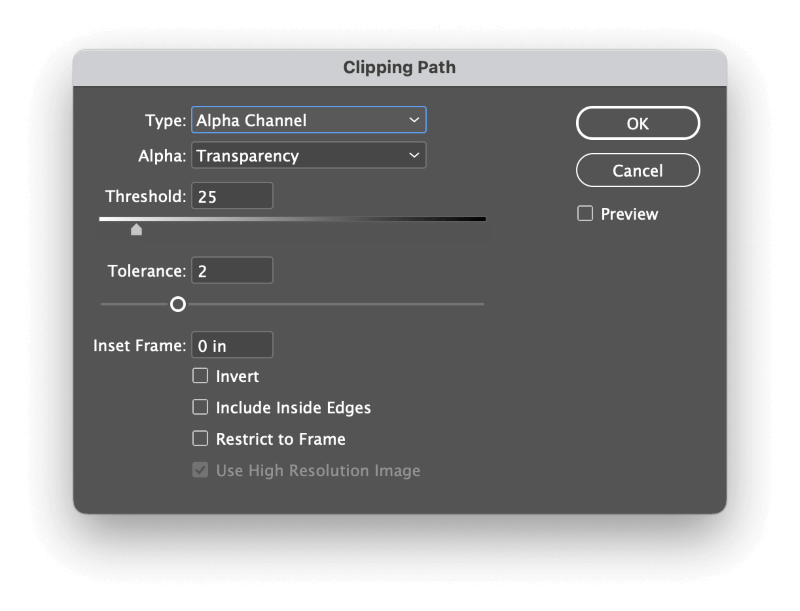
Make sure your image object is selected, then open the Object menu, select the Clipping Path submenu, and click Options. In the Type dropdown menu, you will now be able to select the appropriate clipping path option.
In this example, the PNG file uses an alpha channel to store transparency data, and InDesign can use that as a guide for creating a clipping path.
A Final Word
That’s just about everything there is to know about how to make a clipping mask in InDesign! Masks can be tricky to learn in InDesign, but they’re one of the most important tools you have for making dynamic and engaging layouts. Once you master them, you can take your designs to new creative heights.
Happy masking!