
Many design purists believe that it’s possible to guide the eye of your viewer through your design using subtle visual clues that just seem to flow naturally – but there are definitely times when you just need a giant red arrow pointing the way.
InDesign doesn’t include any preset vector arrow shapes, but you can still make precise arrows quickly and easily.
There are three ways to make different types of arrows in InDesign. Follow along and see how it works!
Table of Contents
Method 1: Making Arrows using the Line Tool in InDesign
To make a perfectly straight arrow in InDesign, create a stroked path, and then adjust the Start/End flourishes in the Stroke panel. There are a couple of different ways you can do this, but the simplest method is to use the Line tool.
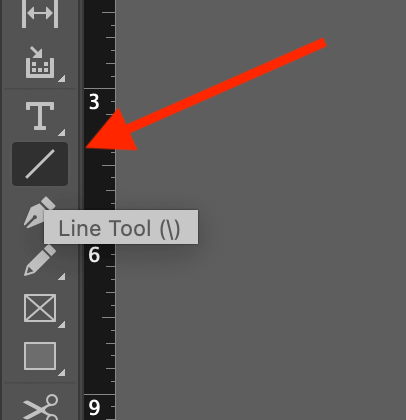
Switch to the Line tool using the Tools panel or the keyboard shortcut \ (that’s a backslash, in case it isn’t clear!)
Click and drag your mouse anywhere on your page to create your line. You can adjust the positioning later if you don’t place it exactly where you wanted on the first try, so don’t worry about that too much.

Next, open the Stroke panel. The Stroke panel contains a huge range of options for customizing the look and structure of strokes, including the ability to add arrowheads.
This panel should be visible in most of the default InDesign workspaces, but if it’s gone missing, you can bring it back by opening the Window menu and clicking Stroke. You can also use the keyboard shortcut Command + F10 (just use F10 if you’re on a PC).
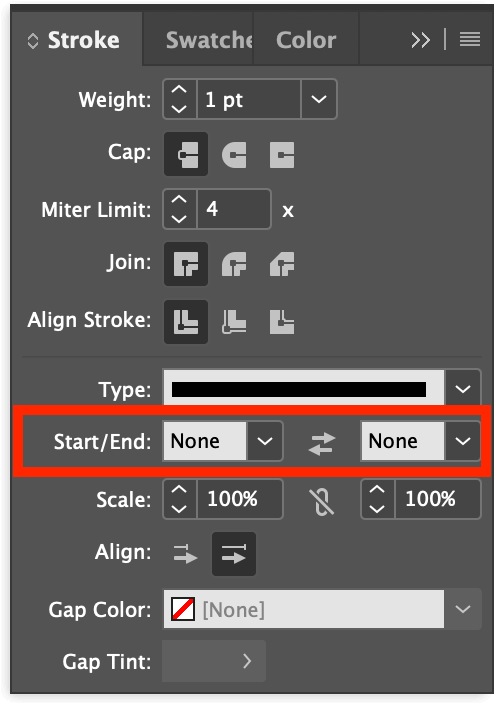
Locate the section titled Start/End, as highlighted above. The Start dropdown is the one on the left, and the End dropdown is on the right.
The start of your line is the first point you clicked with the Line tool, and the end of your line is the point where you released the mouse button to finalize the line.
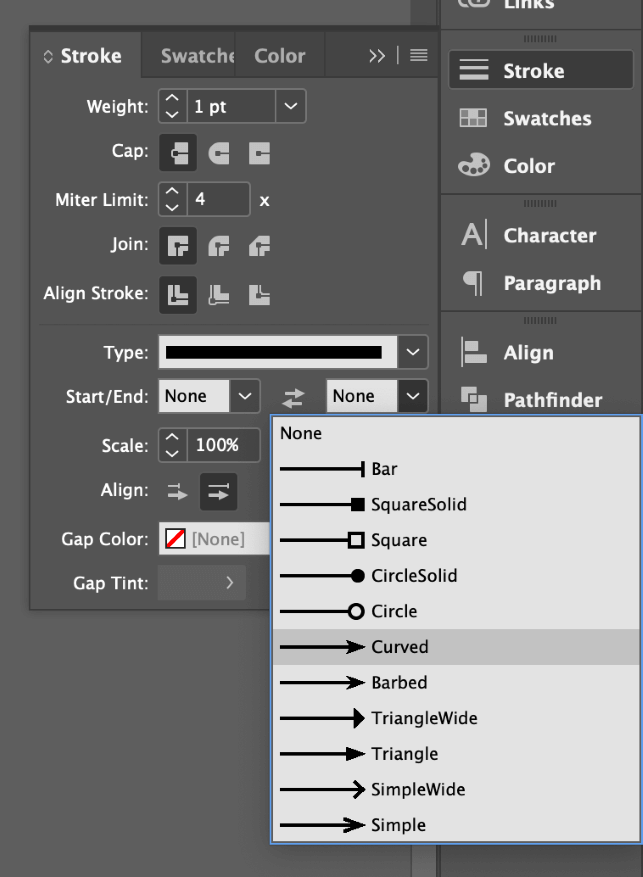
Depending on which way you want your arrow to point, open the appropriate dropdown menu and select one of the arrowheads from the list.
There are six different preset arrowheads and six preset endpoints to choose from (although you can always draw your own with the Pen tool if you don’t like any of the presets).

Select an arrowhead style, and it will be immediately applied to the corresponding end of your line. You can edit these at any time, so don’t worry if you accidentally put the arrowhead on the wrong end of your line!
The arrowheads can be a bit too small when using the default stroke weight, although it depends on how you’re planning to use it. There are two ways to increase the size of the arrowhead: increase the stroke weight, or increase the size of the arrowhead itself.
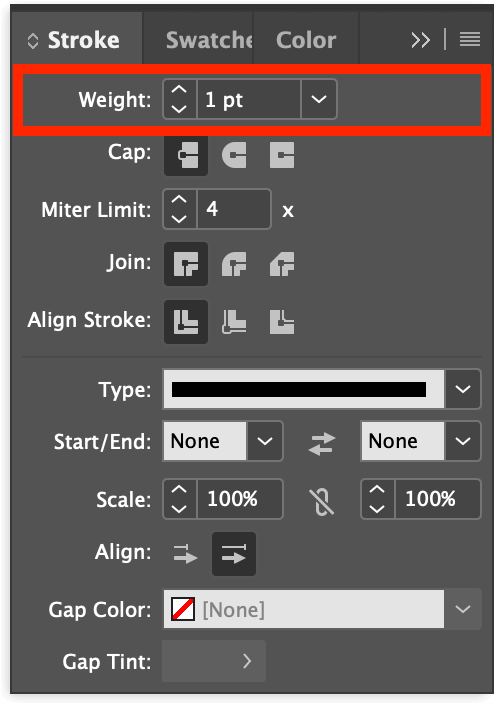
To increase the stroke weight, locate the Weight setting at the top of the Stroke panel and increase it. This will increase the size of the arrowhead, but it will also make your line much thicker too.
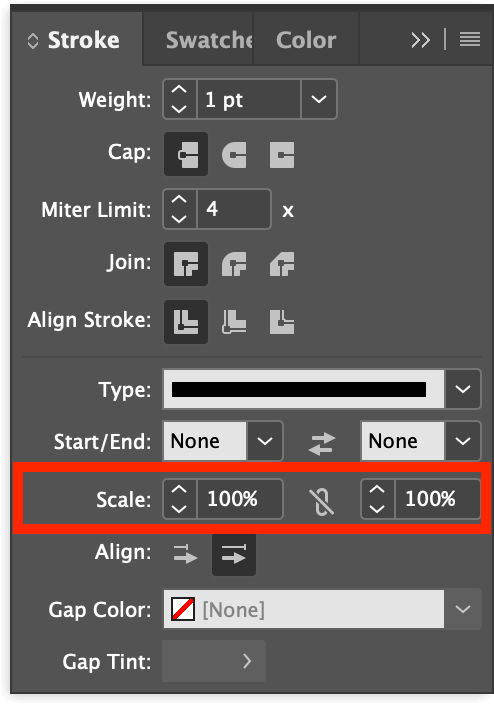
To increase just the arrowhead alone, use the Scale setting below the Start/End dropdown menus.
You can also use the Align option to adjust whether the anchor point of your line matches the tip of the arrowhead or the base of the arrowhead.
Congratulations, you’ve just made an arrow in InDesign! While this covers the basics, you can combine your arrows with additional colors, stroke types, and more until you’ve created the perfect arrow for your layout.
Method 2: Making Curved Arrows with the Pen Tool
If you want to create a more freeform look for your arrow, you don’t have to use the Line tool to create your stroke. InDesign allows you to apply a stroke to any vector path, including curved paths created by the Pen tool, and this opens up a lot of new creative options for your arrows.
Switch to the Pen tool using the Tools panel or the keyboard shortcut P. Click once anywhere in your document to set the first point of your path, and then click and drag to set your second point as well as the curve of your line.
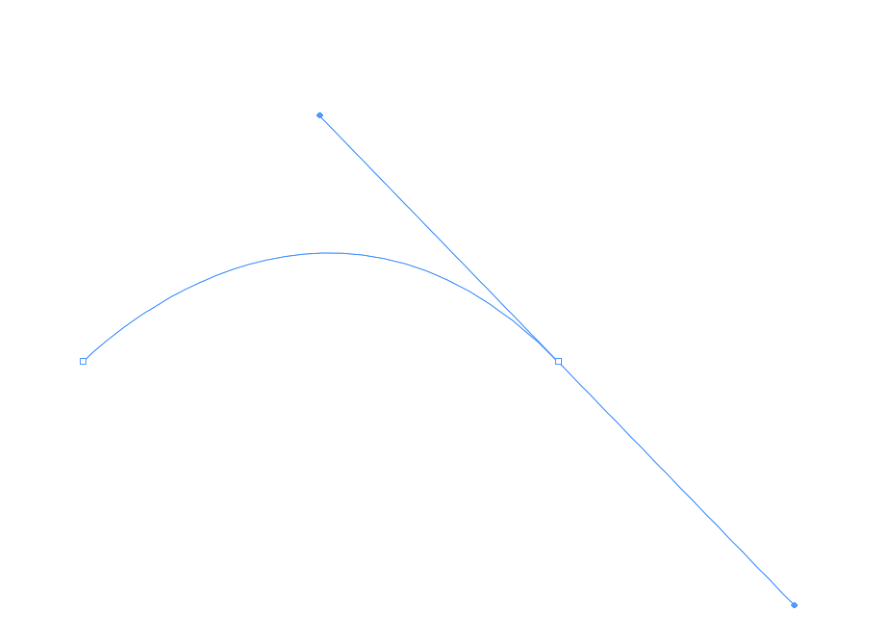
Before you release the mouse button, you’ll see a preview of your curve, as shown above. Once you release the button, your curve will be drawn using your current stroke settings.
If you want to adjust the curve later, you can use a combination of the Pen tool and the Direct Selection tool to adjust the curve control handles and anchor point positions.
Once you’re happy with your curved line, you can follow the same method for adding arrowheads that I described in the first section: open the Stroke panel, and use the Start/End section to add an arrowhead to the appropriate point on your curved line.
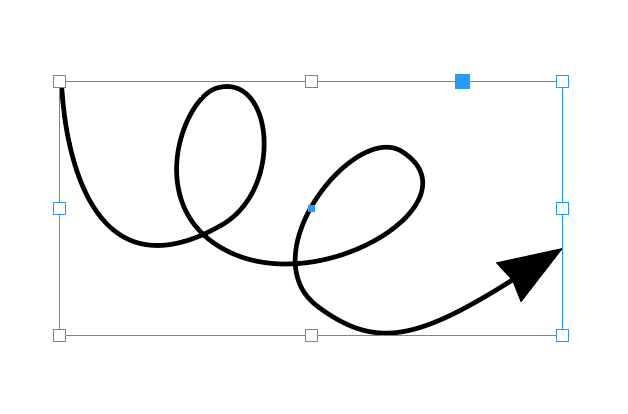
You can also use multiple curves or any other shape you want! It’s almost as simple as creating a perfectly straight arrow, but you get total control over the end result.
If you want to go to seriously next-level custom arrows, you can even draw the outline of the arrow shape entirely with the Pen tool, and skip the preset flourishes altogether. It’s up to you!
Method 3: Using the Glyphs Panel to Add Arrows
There is one other way to add arrows to an InDesign layout, although it won’t work in every situation. Many professional typefaces have a huge range of symbol characters that almost never get used in normal typing, but they’re still there, waiting to be used – as long as you know how to find them.
Switch to the Type tool and create a new text frame, or use the Type tool to place your cursor within an existing text frame.
Next, open the Type menu and click Glyphs to open the Glyphs panel. You can also use the keyboard shortcut Shift + Option + F11 (use Shift + Alt + F11 on a PC).
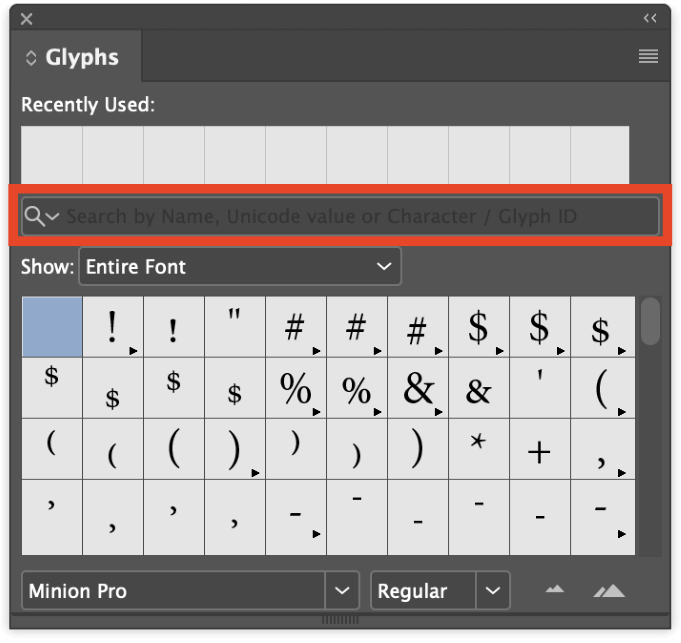
In the Search field, type “arrow”, and you’ll see if your currently selected font has any matching arrow glyphs.
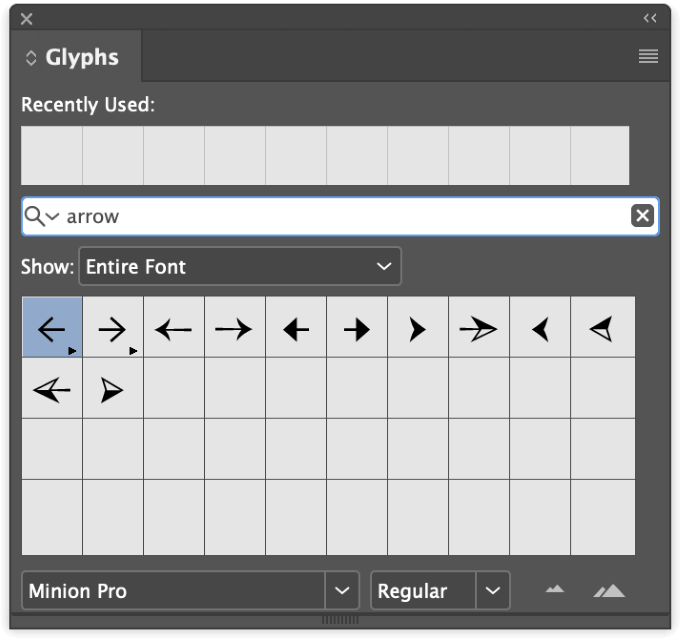
Double-click your chosen glyph in the search results, and it will be automatically inserted into your text frame.
You can use it entirely within a text frame, or you can convert it into a vector shape to use as a layout element outside of text frames. To convert it, select the arrow in your text frame using the Type tool, then open the Type menu and click Create Outlines. The arrow will be converted to a vector path.
The vector path will be anchored in the text frame, which prevents you from moving it. Select it with the Selection tool, then press Command + X to Cut it out of the frame, and then press Command + V to Paste it back into the page, outside of the frame container.
A Final Word
That covers the most common ways to make arrows in InDesign! It’s nice to dream of being so talented that you can guide your viewers without using arrows, but sometimes people just need to be shown exactly where to look with a big red arrow. It can save a lot of time and often makes for a better user experience – and that’s what really matters.
Happy directing!