
The Liquify Tool is your go-to for creating flowing hair, mesmerizing effects, or surreal distortions. Unlike a grid-based tool, you can intuitively nudge and manipulate your artwork with real-time transformations using your stylus.
Hey there! I’m Zoe, an illustrator with years of experience using Clip Studio Paint. Whenever I illustrate reflections or objects caught in the wind, I start by drawing them in their regular state. Then, I use the Liquify Tool to bend, twist, and stretch my artwork in real time.
It’s such a natural way to bring them to life! Today, I want to share my favorite trick to add movement and flow to artwork.
In this article, I’ll show you how to use the Liquify Tool to add fluidity and dynamism to your artwork. We’ll explore each Liquify Mode, cover all the settings, and learn how to use this powerful tool.
Let’s dive right in!
Table of Contents
Key Takeaways
- Don’t limit yourself! Mix and match different Liquify Modes modes to create unique results!
- The Liquify Tool now supports multiple layers, giving you added flexibility and control over your edits.
- Keep a backup of your original artwork as the Liquify Tool is a destructive process.
- The Liquify Tool works only on raster layers, and vector layers are not supported.
- Sometimes the Liquify Tool can take you a step too far and yield unexpected results, so don’t hesitate to undo and redo the changes as many times as necessary.
Here is a comprehensive guide to all the settings offered by the Liquify Tool and how to use them effectively in Clip Studio Paint.
Note: All screenshots from this tutorial are taken from the CSP Mac version.
Clip Studio Paint Liquify Modes Quick Overview
Clip Studio Paint offers seven Liquify modes to suit different artistic requirements. Each mode has its own unique effect on the artwork, allowing you to reshape and manipulate elements in different ways. Let’s go through each mode together.
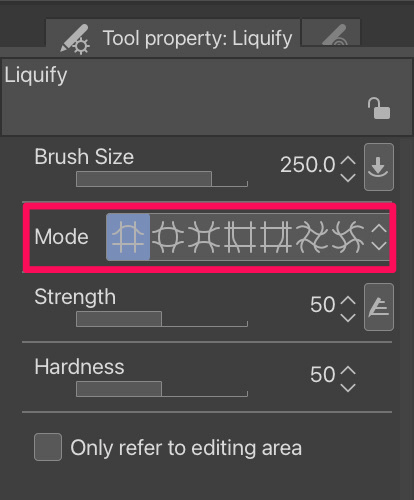
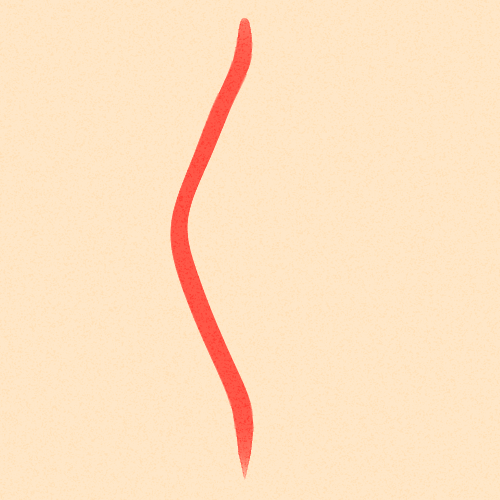
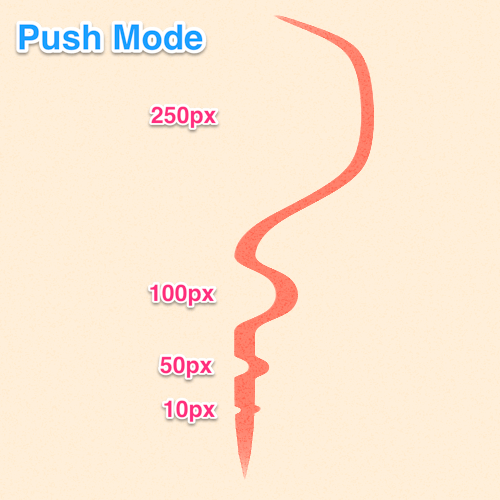
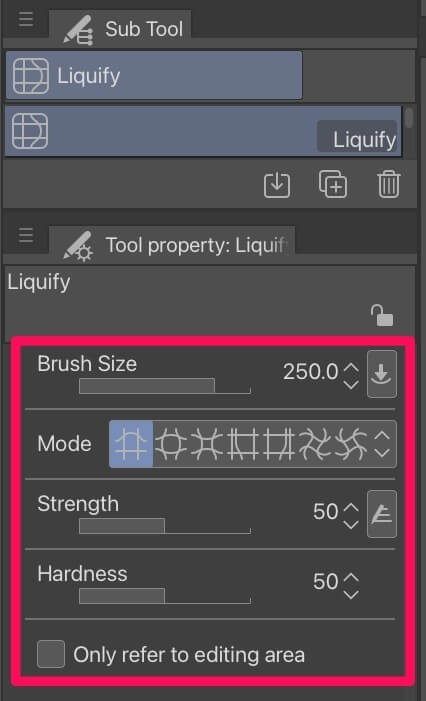
To demonstrate the effects of each mode, I’ll be using a basic line. For consistency, I’ll apply the tool at a brush size of 250 pixels, with a strength and hardness set at 50%.
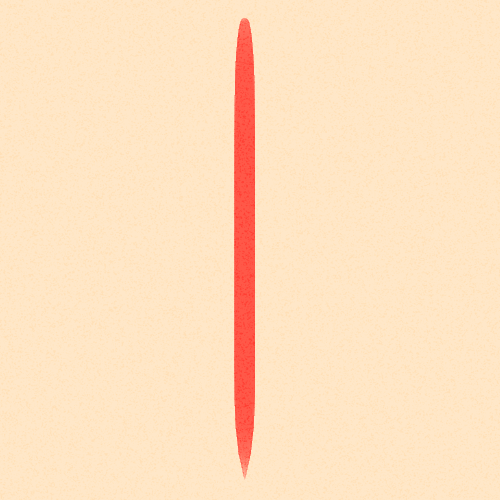
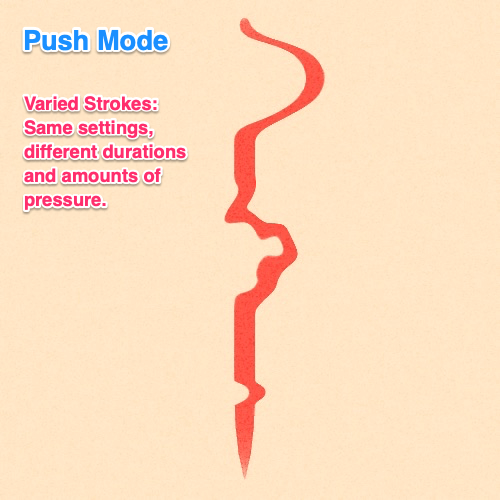
- Push: Imagine dragging your finger through wet paint, and that’s exactly what the Push mode does – it warps the image in the direction of your pen stroke, creating a dynamic dragging effect.

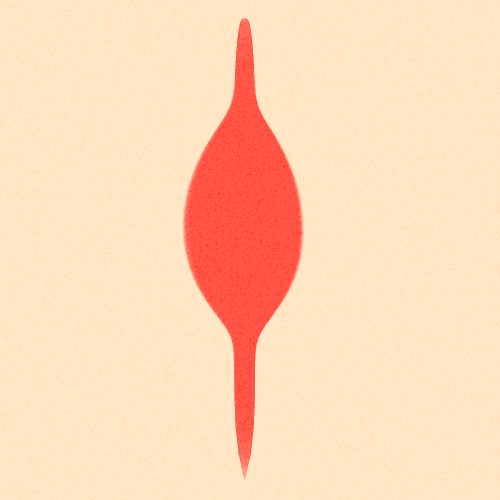
- Expand: Like using a magnifying glass, the Expand mode inflates the image, making a part of it larger from the center of your pen stroke.
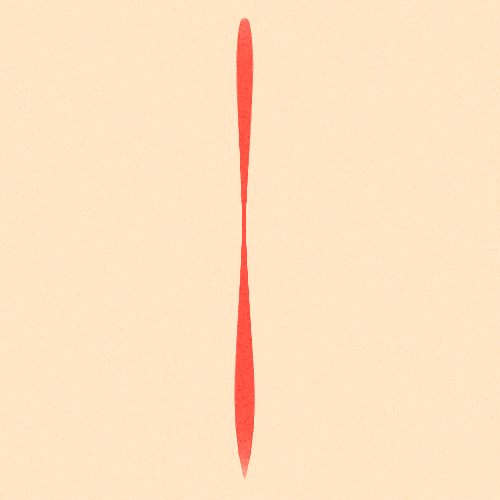
- Pinch: With the Pinch mode, you can bring elements closer together by shrinking the image from the center of your pen stroke.
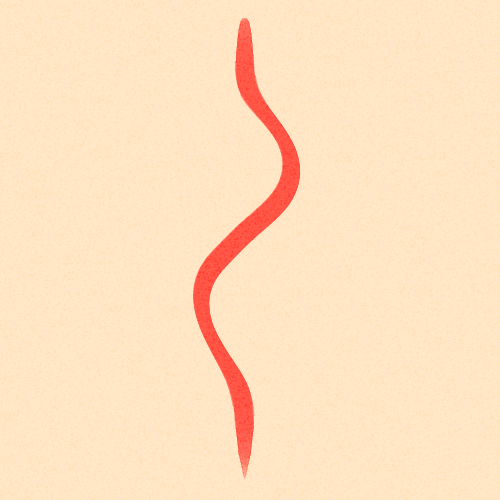
- Push Left/Right: These modes shift the image horizontally in response to your pen stroke. Use them to nudge elements in your artwork to the left or right.

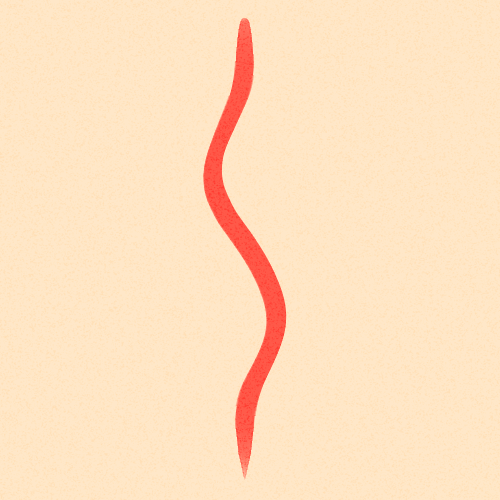
- Twirl Clockwise/Anti-Clockwise: These modes rotate the image in a clockwise or anti-clockwise direction, producing cool swirling effects that can be hard to achieve manually.
The Liquify Tool is intuitive and dynamic. Take some time to experiment with each mode, combining them to create unique effects and discover new possibilities for your artwork.
Adjusting the Settings of the Liquify Tool:
Now, let’s explore the settings of the Liquify Tool, which allow you to fine-tune your edits.
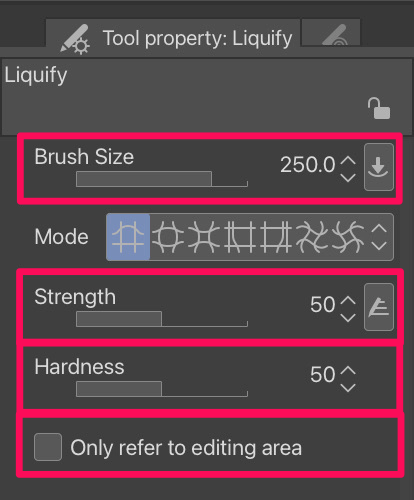
- Brush Size: Adjust the size of your Liquify brush to control the area you want to modify. A larger brush covers more space, while a smaller brush provides greater precision for intricate details.
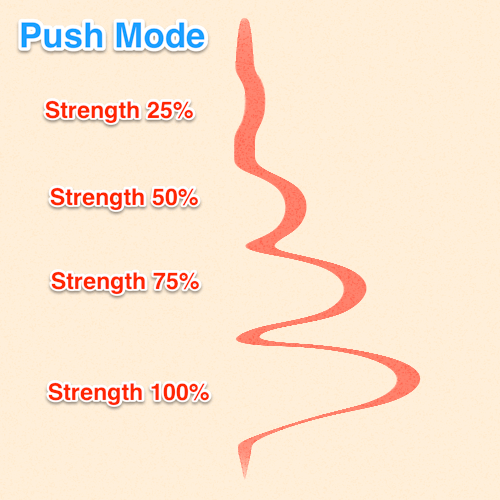
- Strength: Set the strength of the Liquify effect. Lower values create subtle changes, while higher values produce more noticeable transformations.
- Hardness: Control the spread of the Liquify effect. A low hardness value concentrates the distortion near the center of your brush, while a high value spreads it to the surrounding area. Experiment to achieve the desired effect.

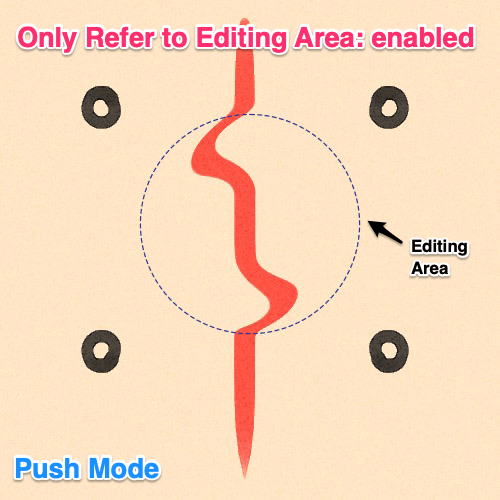
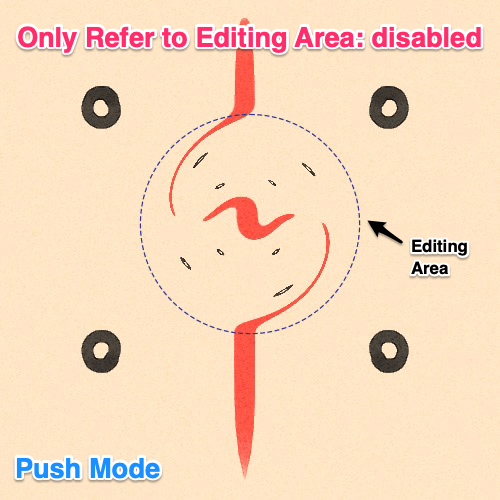
- Only Refer to Editing Area: When you turn on this option in the Liquify Tool, it limits the distortion effect to the pixels directly under your brush. So, only what you see within the brush circle will be referenced when you apply the changes.
But when it’s turned off, the tool considers the whole layer, including pixels outside the brush circle. This means parts from the rest of your illustration can appear repeated or distorted within the area where you’re applying the effect.
Another factor that affects the strength of the effect is the pressure you apply with your stylus and how long you press. Quick strokes create sharp distortions while dragging your stylus slowly without releasing it produces marbled effects.
The Liquify Tool in Clip Studio Paint is different from other distortion tools like Mesh Transformation, which uses a grid for manipulation. With the Liquify Tool, you’ll enjoy a more artistic and hands-on process, just like working with traditional materials. When you use your stylus, you’ll feel the material responding to your touch, as if you were shaping it with your fingers.
How to Use the Liquify Tool in Clip Studio Paint
Now that you have a solid understanding of the Liquify Tool’s features and settings, let’s put it into action! Follow these steps to get started:
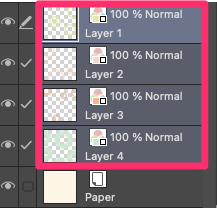
Step 1: Select the layer you want to apply the Liquify effect to. It’s best to work on a duplicate of your layer to maintain the flexibility of your original artwork.
A recent update has made Liquify work on multiple layers. You can apply the effect to an entire folder or select several layers by holding the Shift key.
Note: Unfortunately, vectors are not supported by the Liquify Tool. If you want to manipulate a vector-based layer, duplicate it, then right-click and select Rasterize to convert it into a raster layer.
Step 2: Click on the Liquify Tool in the toolbar on the left-hand side of the screen.

Step 3: Once you’ve activated the Liquify Tool, you’ll notice a set of options in the Tool Property palette. Here, you can adjust the brush size, strength, hardness, and editing area.
Step 4: Now comes the fun part! Apply the Liquify effect by clicking and dragging your brush over the areas you want to transform. Watch as your artwork warps and reshapes in real time.
Take your time to experiment and find the perfect balance. Take note of how the tool responds to the pressure and duration of your stylus strokes. Feel the flow of the tool and explore how you can control it to achieve the desired effect.
Final Thoughts
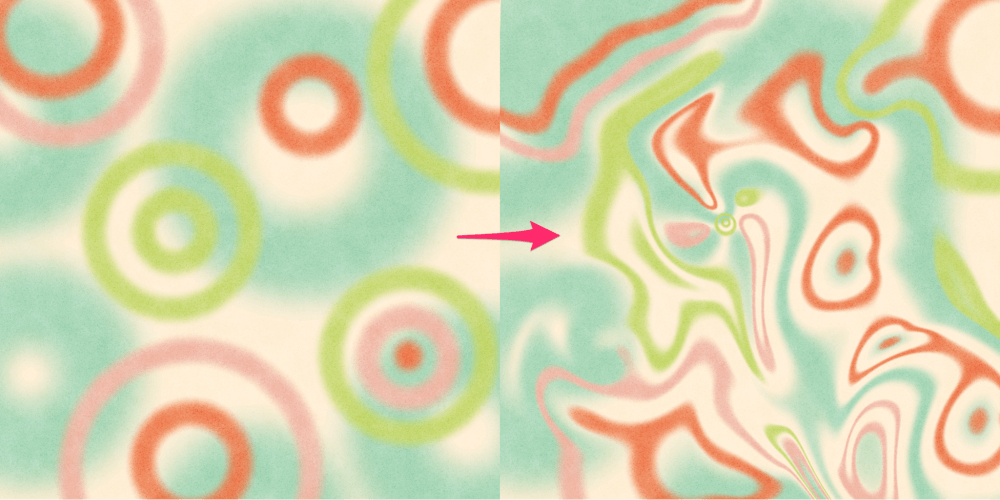
Congratulations! You’ve mastered the Liquify Tool in Clip Studio Paint. It’s a fantastic trick to have for effortlessly adding style and motion to your drawings. Whether you need subtle adjustments or want to nudge things around, this tool is perfect.
With the Liquify Tool, you can create wavy and twisty shapes that look even more natural than manual drawing. It seamlessly integrates with the surrounding elements, adding movement to your entire artwork. Embrace the unexpected results that may arise during the process and go with the flow!
If you have any questions or want to share your experiences with the Liquify Tool, I’d love to hear from you! Feel free to leave a comment below!