
One of InDesign’s strengths is that it can be used to design documents that range in size from a single page all the way up to books that span multiple volumes.
But when you’re working on a document with a huge amount of text, it can take a correspondingly huge amount of time to set all that text properly – and even longer to double-check for any mistakes.
GREP is one of InDesign’s lesser-known tools, but it can dramatically speed up the entire typesetting process, save you untold hours of tedious work, and guarantee consistency across your entire document, no matter how long it is.
The only catch is that GREP can be very difficult to learn, especially if you don’t have any programming experience.
Let’s take a closer look at GREP and how you can unlock your InDesign superpowers with a bit of careful practice. (OK, to be honest, it will be quite a lot of practice!)
Table of Contents
Key Takeaways
- GREP is an acronym from the Unix operating system that stands for Global Regular Expression Print.
- GREP is a type of computer code that uses metacharacters to search your InDesign document text for any matches to a predefined pattern.
- GREP is available in the InDesign Find/Change dialog for automatic text replacement.
- GREP can also be used with Paragraph Styles to apply custom formatting to specific text string patterns automatically.
- GREP can be difficult to learn, but it is unrivaled in terms of flexibility and power.
What is GREP in InDesign?
The term GREP (Global Regular Expression Print) is originally the name of a command from the Unix operating system which can be used to search through files for text strings that follow a specific pattern.
If that doesn’t make sense yet, don’t feel bad – GREP is much closer to programming than it is to graphic design.
Within InDesign, GREP can be used to search through your document text, looking for any text that matches the specified pattern.
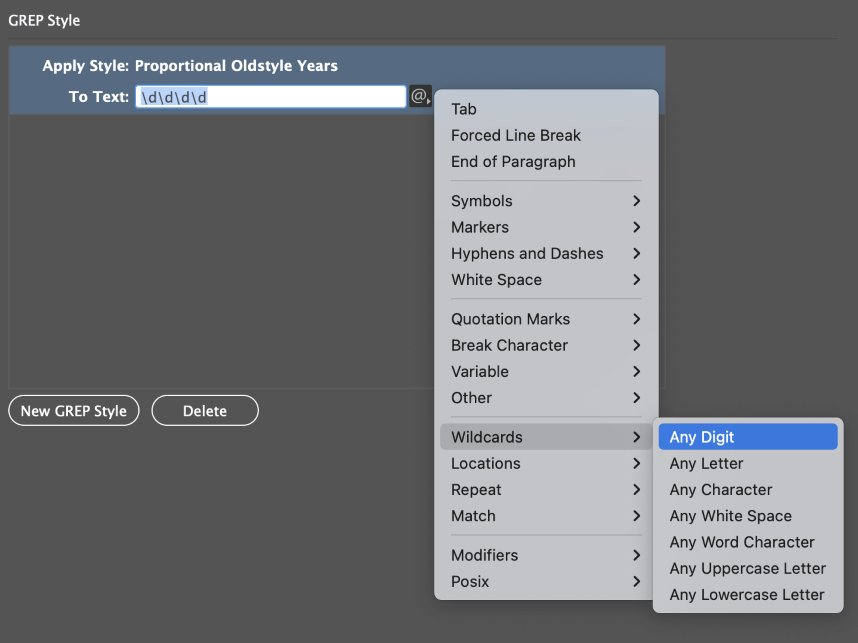
For example, imagine that you have a very long historical document that regularly lists yearly dates, and you want the numerals for each year to use the Proportional Oldstyle OpenType formatting style. Instead of going through your document line by line, looking for each mention of a yearly date and adjusting the numeral style by hand, you can construct a GREP search that will look for any string of four numbers in a row (i.e., 1984, 1881, 2003, and so on).
To accomplish this kind of pattern-based search, GREP uses a specialized set of operators known as metacharacters: characters that represent other characters.
Continuing the example of the yearly date, the GREP metacharacter used to represent ‘any digit’ is \d, so a GREP search for \d\d\d\d would return all the locations in your text that have four digits in a row.
The extensive list of metacharacters covers virtually any character or text-based situation you can construct in InDesign, from character patterns to the spaces between words. If that isn’t confusing enough, these metacharacters can be combined using additional logical operators to cover a range of potential results within a single GREP search.
How is GREP Used in InDesign
There are two ways to use GREP searches within InDesign: using the Find/Change command and within a Paragraph Style.
When used with the Find/Change command, a GREP search can be used to locate and replace any part of your text that matches the GREP specifications. This can be useful for locating any formatting mistakes, punctuation errors, or just about anything else that you may need to dynamically locate.
GREP can also be used as part of a paragraph style to apply a specific character style to any text that matches the GREP search pattern. Instead of having to search your text by hand to apply specific formatting to phone numbers, dates, keywords, etc., you can configure a GREP search to locate the desired text and automatically apply the correct formatting.
A properly constructed GREP search can save you many long hours of work and guarantee that you won’t miss any instances of the text you want to adjust.
Find/Change With GREP in InDesign
Using the Find/Change dialog is a great way to start getting familiar with GREP in InDesign. There are a few example GREP queries from Adobe, and you can also experiment with constructing your own GREP searches without having to make any changes to your document.
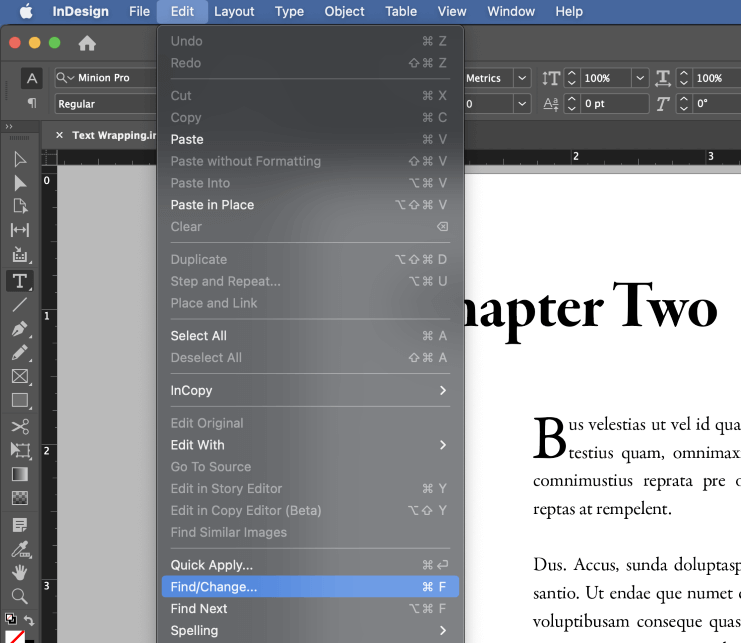
To get started, open the Edit menu and click Find/Change. You can also use the keyboard shortcut Command + F (use Ctrl + F if you’re using InDesign on a PC).
Near the top of the Find/Change dialog window, you’ll see a series of tabs that allow you to run various types of searches through your document: Text, GREP, Glyph, Object, and Color.
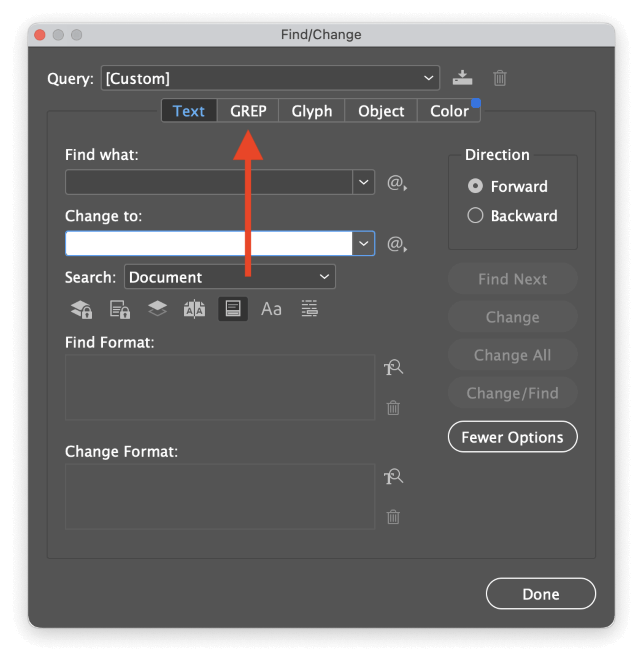
Click the GREP tab to search your document using GREP queries. GREP can be used in both the Find what: field and the Change to: field, which allows you to dynamically restructure your text content.

The small @ symbol next to each field opens a cascading popup menu that lists all the potential GREP metacharacters you can use in your queries.

If you’re not quite ready to begin constructing your own queries yet, you can look at some of the saved preset queries to start testing GREP immediately.
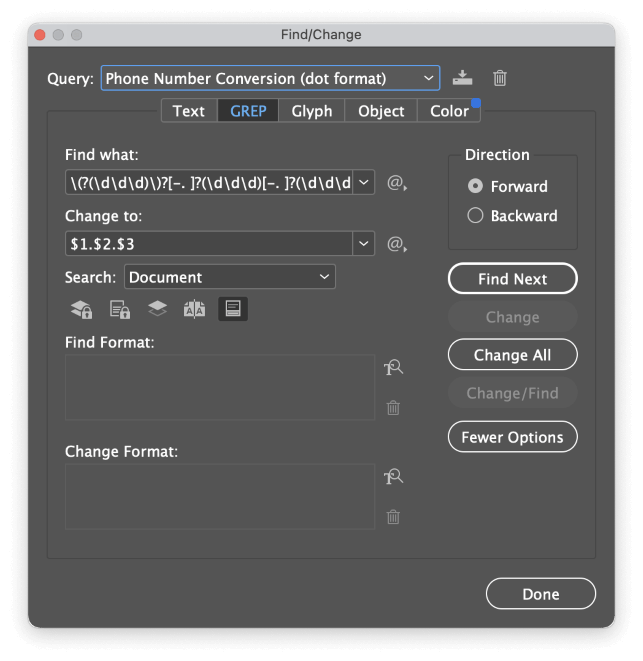
In the Query dropdown menu, select any of the entries from Change Arabic Diacritic Color to Remove Trailing Whitespace, and the Find what: field will display the relevant GREP query using metacharacters.
Using GREP in InDesign Paragraph Styles
While GREP is useful in the Find/Change dialog, it really starts to show off its power when used in combination with character and paragraph styles. When used together, they allow you to instantly and automatically add custom formatting to any text string pattern you can specify with GREP across your entire document – all at once.

To get started, you’ll need access to the Character Styles panel and the Paragraph Styles panel. If they’re not already part of your workspace, open the Window menu, select the Styles submenu, and click either Paragraph Styles or Character Styles.
The two panels are nested together, so both of them should open no matter which entry you select in the menu.
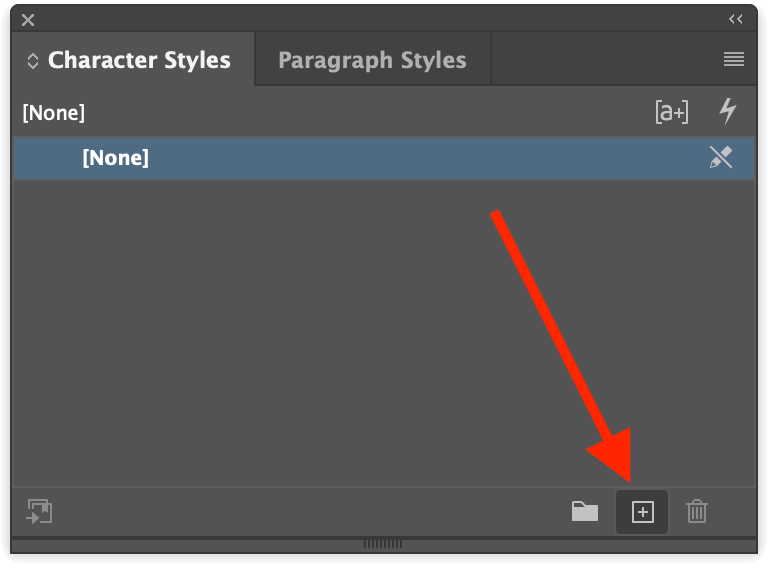
Select the Character Styles tab, and click the Create new style button at the bottom of the panel.
Double-click the new entry named Character Style 1 to begin customizing the formatting options.
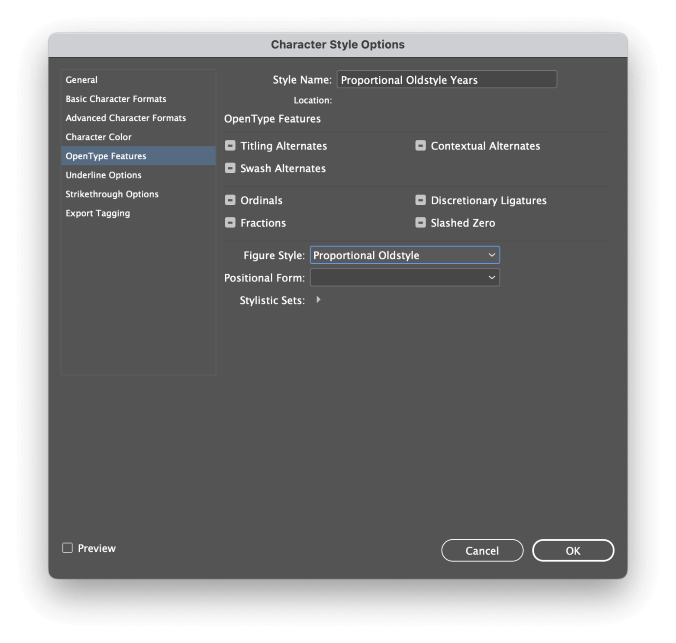
Give your style a descriptive name, then use the tabs on the left to adjust your formatting settings as desired. When you’re finished, click OK to save the new character style.
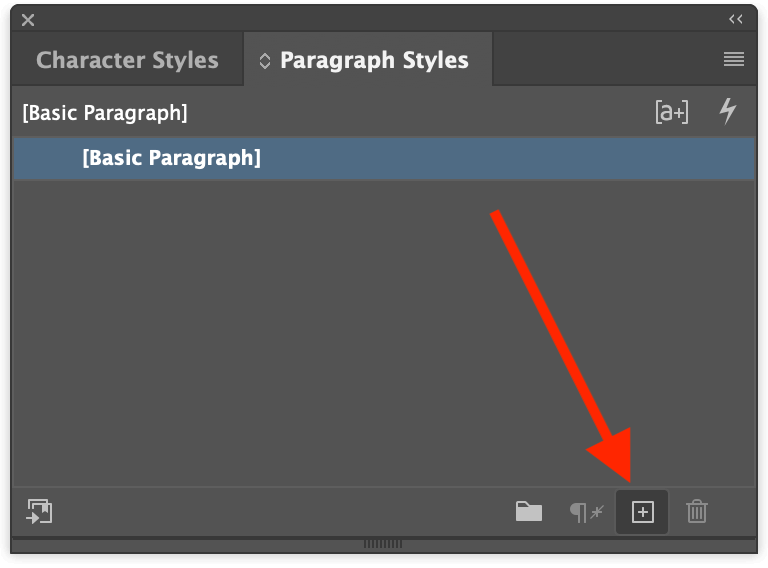
Switch to the Paragraph Styles panel, and click the Create new style button at the bottom of the panel.
Double-click the new entry named Paragraph Style 1 to edit the formatting options.
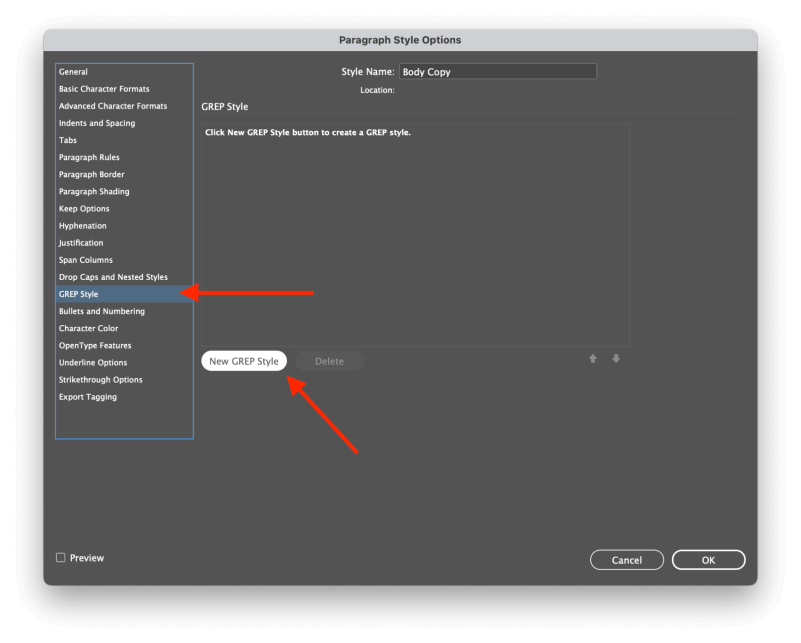
In the tabs on the left, select the GREP Style tab, then click the New GREP Style button. A new GREP style will appear in the list.

Click the text label next to Apply Style: and select the character style you just created from the dropdown menu, and then click the GREP example below to begin constructing your own GREP query.
If you haven’t yet memorized all the GREP metacharacters (and who could blame you?), you can click the @ icon to open a popup menu listing all of your options.
If you want to confirm that your GREP query works properly, you can check the Preview box in the bottom left of the Paragraph Style Options window to get a quick preview of the results.
Helpful GREP Resources
Learning GREP can seem a bit overwhelming at first, especially if you’re coming from a graphic design background and not a programming background.
However, the fact that GREP is also used in programming means that many people have put together handy resources for learning how to create GREP queries. Here are a few of the most helpful resources:
- Adobe’s GREP metacharacter list
- Erica Gamet’s excellent GREP Cheat Sheet
- Regex101 for testing GREP queries
If you’re still feeling stuck with GREP, you might find some additional help in the Adobe InDesign user forums.
A Final Word
This is only a very basic introduction to the wonderful world of GREP in InDesign, but hopefully, you’ve begun to appreciate what a powerful tool it is. Learning GREP can be a big time investment at the beginning, but it will pay off over and over again as you get more comfortable using it. Eventually, you’ll wonder how you ever typeset long documents without them!
Happy GREPing!