
To full-screen preview on any panel in Premiere Pro (be it sequence panel, playback panel, effect panel, or project panel), select the panel you want to full-screen preview and press the (`) key on your keyboard.
We use full-screen preview in Adobe Premiere Pro because it allows us to get a better sense of the overall composition of our video project. By seeing the panel at full-screen size, we can more accurately gauge the placement of elements within the frame and make adjustments as needed.
Additionally, a full-screen preview also allows us to better assess the color and detail of our footage, both of which are important factors in creating a polished final product. Full-screen preview allows the user to spot any errors or flaws in the video footage.
Table of Contents
How to Full-screen Preview in Adobe Premiere Pro
There are several ways to enable full screen in Adobe Premiere Pro. To minimize video editing workspace and to serve the purpose of a monitor.
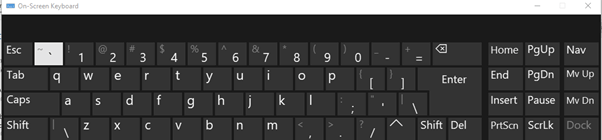
The first step is called the grave accent key (`) method. This key is located before the number 1 key on your keyboard and above the tab key. This grave accent key enables you to enlarge any panel you wish to.
To use it, select the panel you want to view in fullscreen and select the grave accent key. The selected panel will then show in fullscreen.
To fill the screen without any other thing shown, add the CTRL Key + (`), and the playback panel will appear all over the screen.
Following the same process by selecting this grave accent key, you can easily return to your Premiere Pro workspace.
How to Change Full-Screen Preview Shortcut
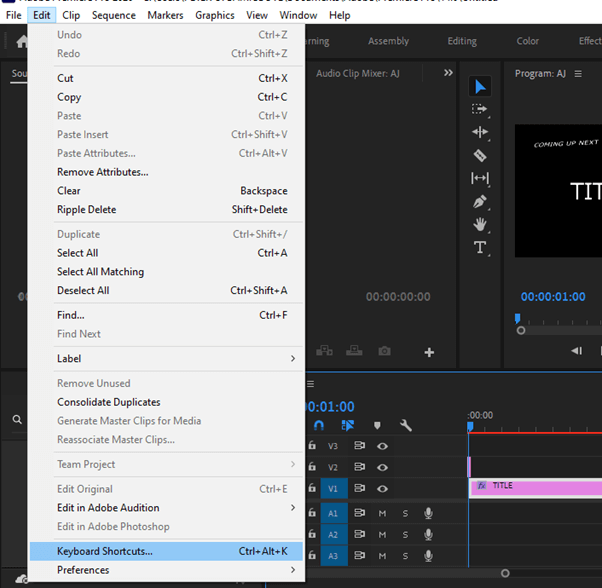
To change the default shortcut key for this fullscreen preview. Goto, Edit > Keyboard Shortcuts. You can as well press CTRL + ALT + K.
After which, the keyboard shortcut window panel will be displayed. You can change the default keyboard shortcut for the fullscreen preview by searching for Full Screen. The current full-screen shortcut will be revealed.
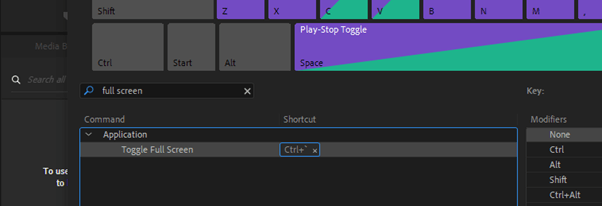
Then click on this shortcut column and type in the new shortcut you want to use. Then, press OK.
Playback Resolution in Premiere Pro
While working on your video clips in a Premiere Pro project, I recommend choosing a high-quality playback to keep your video project in a resolution close to the expected exported resolution.
On the other way round, this can affect the performance of your Premiere Pro. At times, you may experience slow or lagging playback. If the playhead is not gliding smoothly along the timeline and skips, this could be because some frames have been dropped.
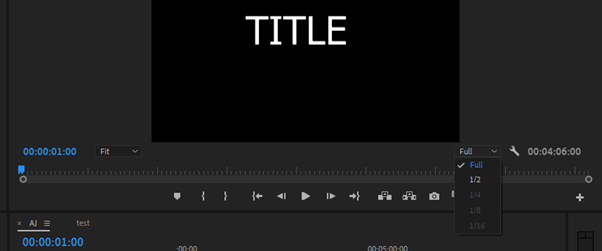
To fix this, you need to change the playback resolution which will not affect or alter the export resolution. To do this, select your playback resolution drop, and right-click on it. Now select playback resolution from the drop box.
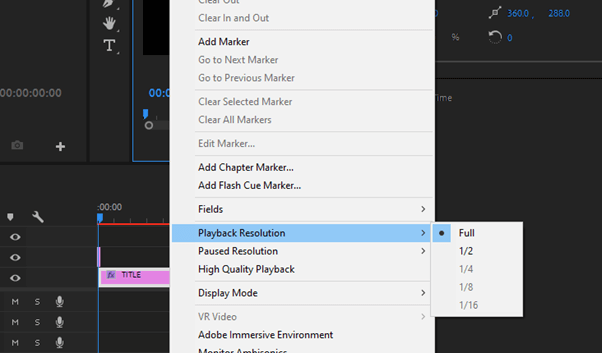
The playback resolution, ½, displays the video frames with a decreased minimal resolution and will not be noticeable.
The ¼ playback resolution, on the other hand, has a noticeably decreasing picture compared to the ½ playback.
This playback resolution can also be set up below on the Program Panel, select it and adjust it to your desired taste. This reduction can help improve the performance of Premiere Pro and to avoid playback lagging.
Sometimes it may be more effective to apply different combinations of these settings instead of one.
Conclusion
Viewing your work processes with fullscreen will keep you from any errors as a video editor. Fullscreen in Adobe Premiere Pro is very easy to learn and use. All you need is to select the panel you want to full-screen preview and press the (~) key on your keyboard.
I want to believe the process is clear as crystal. But if you do have any problem at all while making a full-screen preview in Adobe Premiere Pro, feel free to drop your question in the comment box below.