
Flipping/rotating is an essential skill in digital drawing, offering you the flexibility to switch orientations and create mirroring effects. By mastering this technique, you can explore new artistic possibilities and avoid being constrained by your original drawing.
I’m Zoe, a freelance illustrator that uses Clip Studio Paint to draw almost every day. Sometimes, you may find that your drawing would work better from a different angle or with a mirrored composition. That’s where flipping comes in handy, and I’m here to guide you through the process with just a few simple clicks.
In this article, I’ll walk you through the step-by-step process of flipping an image in Clip Studio Paint, including how to flip the entire image or just a selected area using the Transform options. I’ll also talk about the technique of duplicating and mirroring half of your image to make symmetrical designs.
Let’s get to it!
Table of Contents
Key Takeaways
- Image quality won’t change when flipping layers.
- While you can access the transform options from Edit > Transform menu.
- You can transform folders or multiple layers directly from the Layers panel.
- Use the Symmetrical Ruler to mirror image and draw symmetically.
Flipping Your Image or a Selection in Clip Studio Paint
To flip your image or a specific area, you’ll be using the Transform options in Clip Studio Paint. Follow these simple steps below to see how it works:
Note: All screenshots from this tutorial are taken from the CSP Mac version.
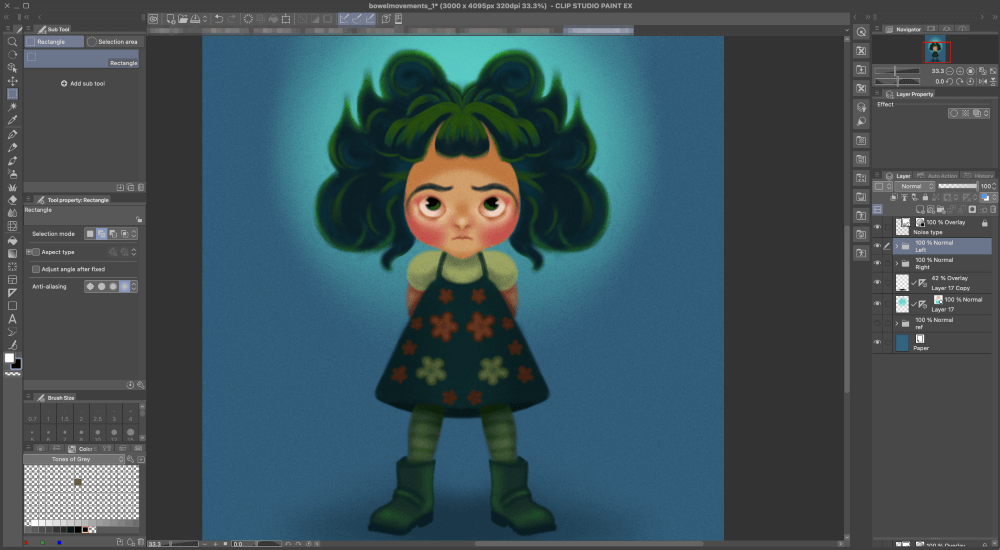
Step 1: Go to the Layers panel and click on the layer you want to flip. If you need to flip multiple layers, hold down the Shift key while selecting them.
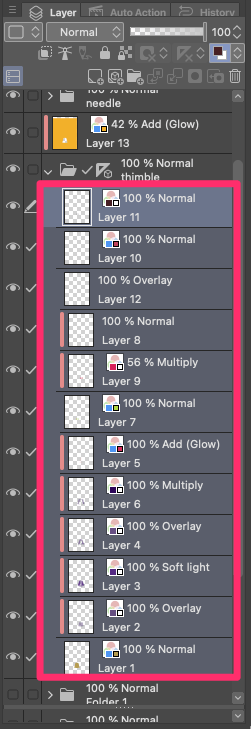
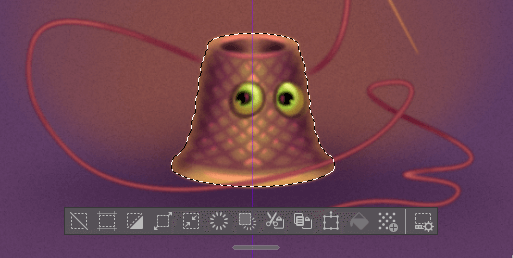
If you only want to flip a specific area of the image, you can create a selection around it using options like the Rectangle, Ellipse, or Lasso Selection tools. Simply click and drag over the desired area to create the selection.

To create a selection that follows the contours of your drawing, click on a layer or folder in the Layers panel and press Ctrl + A (Windows) or Command + A (Mac).
This will automatically select the edges of your layer. To add to the selection, hold Shift + Ctrl + A (Windows) or Shift + Command + A (Mac) while clicking on additional layers.
It’s time to flip things around!
Step 2: Press Ctrl + T (Windows) or Command + T (Mac) to open the transformation options and display the Tool Properties panel.
In the Tool Properties panel, you’ll see two icons for flipping options. One with arrows pointing up and down is for vertical flipping, and the other with arrows pointing left and right is for horizontal flipping.
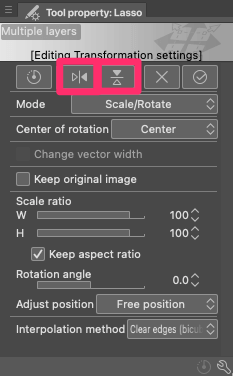
Step 3: Click on the icon that corresponds to the direction you want to flip your layer(s) or image.
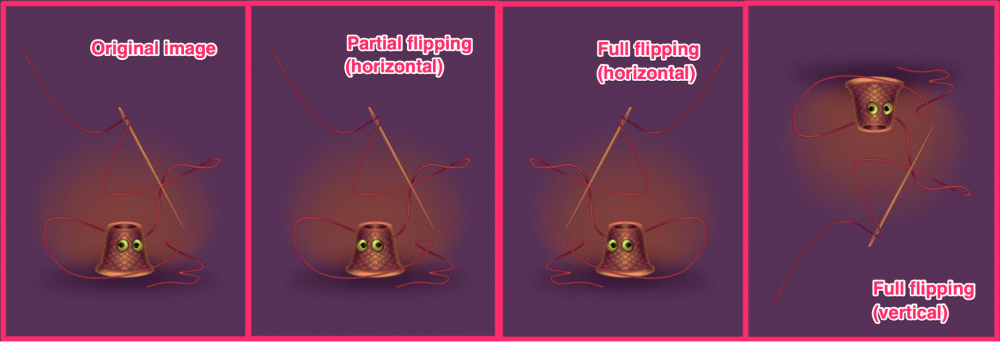
That’s it! You’ve successfully flipped your artwork Clip Studio Paint.
Note: Alternatively, you can use the menubar to access the flipping options. Simply navigate to Edit, then Transform, and choose either Flip Horizontal or Flip Vertical.
How to Mirror Image in Clip Studio Paint
What if you want to do more than just flip your drawing? If you’re looking to achieve a symmetrical mirror effect, we’ve got you covered.
While there’s no automatic mirroring effect in Clip Studio Paint, you can easily achieve this by duplicating and flipping half of your artwork. Here’s how:
Step 1: To begin the mirroring process, select the layers you want to flip from the Layers panel.
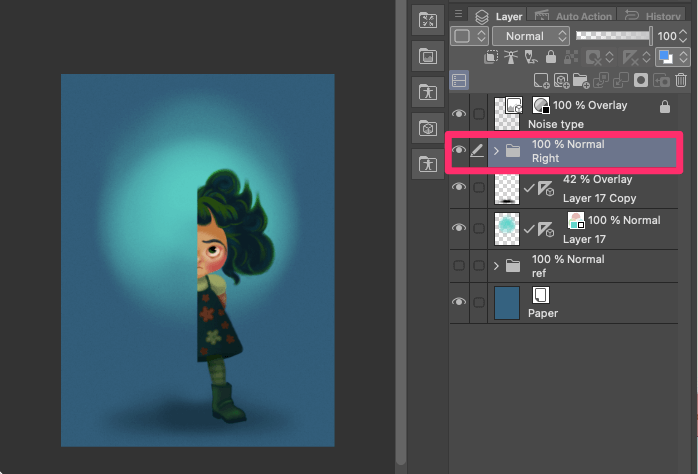
To keep things organized, consider placing these layers within a folder titled “Left” or “Right” depending on the side you are working with. This helps maintain a clear distinction between the original and mirrored portions of your artwork.
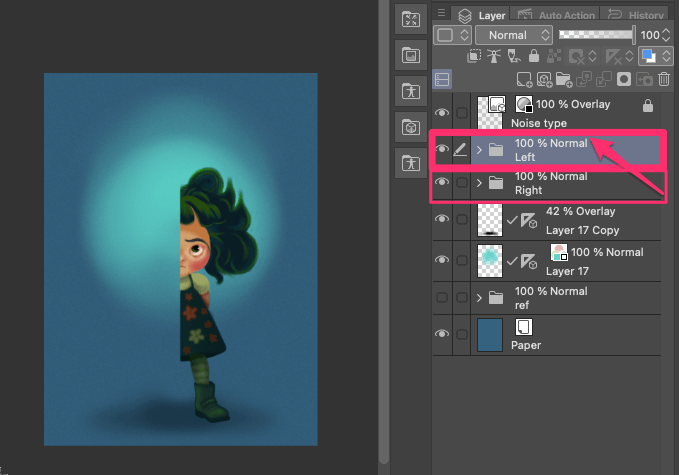
Step 2: Press Ctrl + C (Windows) or Command + C (Mac) to copy the selected layer(s) or folder, and then press Ctrl + V (Windows) or Command + V (Mac) to paste the copied content.
Step 3: With the pasted layers to flip selected, press Ctrl + T (Windows) or Command + T (Mac) to access the transformation settings.
Step 4: In the Tool Properties panel, you can adjust the Center of Rotation. This point determines where the flipping occurs.
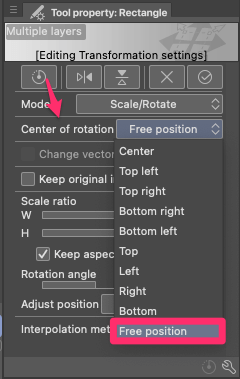
By default, it’s positioned at the center of the selected area. However, you have the flexibility to change it according to your preference. For instance, you can choose the Free Position option to place the center of rotation anywhere you like.
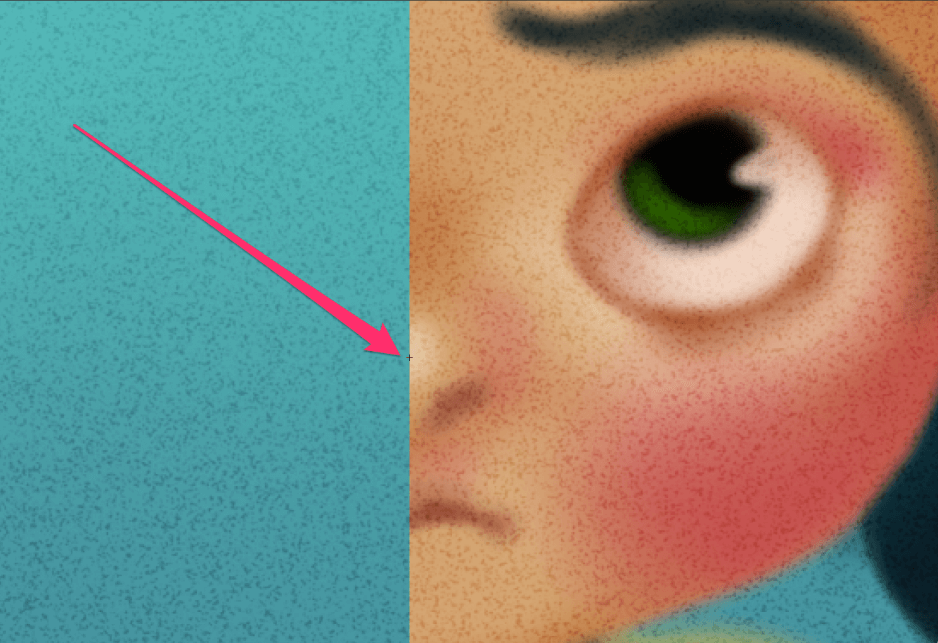
In this example, I’m placing the crosshair along the edge of the half of my drawing.
Step 5: Click on either the Flip Horizontal or Flip Vertical icons in the Tool Properties panel, depending on the desired mirroring effect.
And there you go! Your image is now perfectly mirrored.
Note: For future projects, consider using a Symmetrical Ruler from the beginning, rather than flipping a duplicate at the end of your drawing process. This approach allows you to see your full image at once and ensures that each side isn’t divided into separate layers.
Final Thoughts:
With the Flip Horizontal or Flip Vertical tools in Clip Studio Paint’s Transform options, you can easily change the orientation or mirror your artwork, whether it’s the entire drawing or a selected area. This feature empowers you to fully explore the possibilities of digital art and manipulate your drawings with ease, without compromising their quality.
I hope this guide has been helpful in expanding your knowledge and understanding of flipping techniques in Clip Studio Paint. If you have any questions or feedback, I would love to hear from you! Feel free to share your thoughts in the comments section below.