
There are several ways to save videos as files. Some common file types are MOV, FLV, and WVM. The most common video file type is an MP4. Whatever file you are wanting to export to, it is made a simple process with DaVinci Resolve.
My name is Nathan Menser. I am a writer, filmmaker, and stage actor. I have been exporting videos for over 6 years now, so I am very familiar with the process of exporting a video in DaVinci Resolve.
In this article, I will be explaining how to export your project as MP4 in DaVinci Resolve.
Exporting to MP4 in DaVinci Resolve: Step-by-Step
Step 1: Launch the DaVinci Resolve program. In the horizontal menu bar at the bottom of the screen, select Deliver. It’s the option to the foremost right.
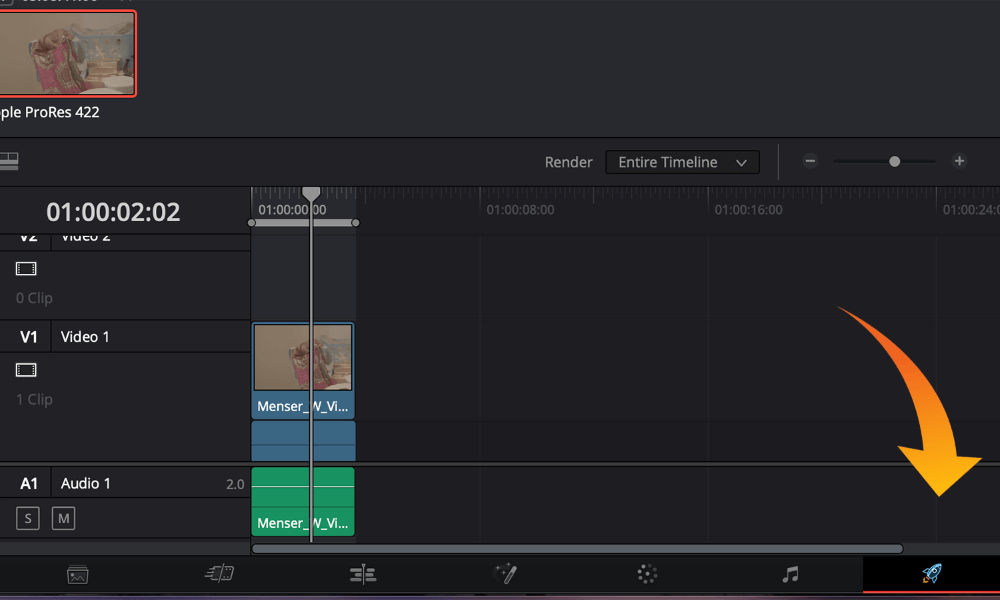
This will open a menu on the left side of the screen. You will also have the option to skim through your video on the timeline. Double-check that you’re satisfied with your product.
Step 2: In the top left corner of the menu, click Custom Export.
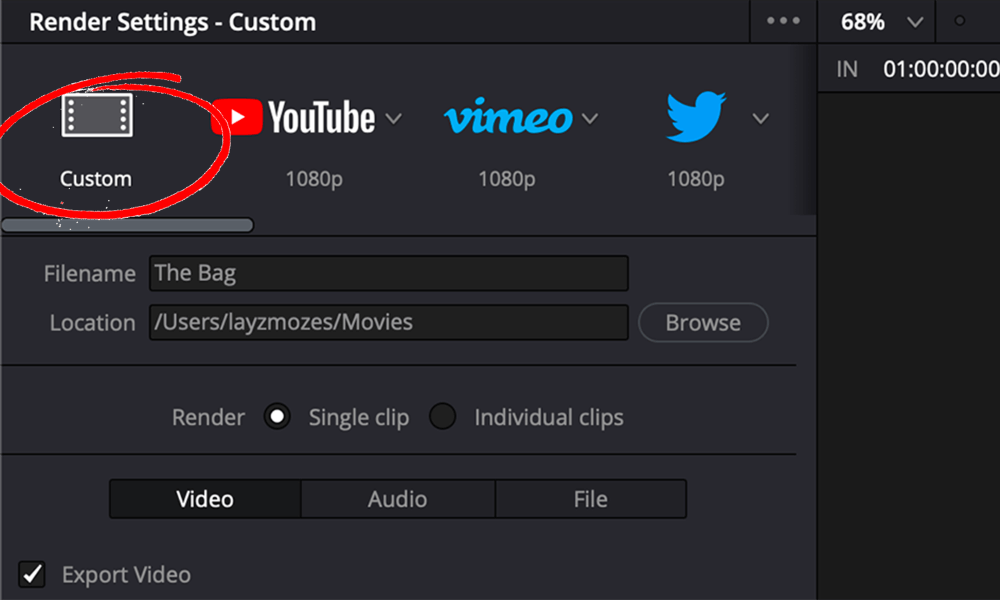
Step 3: Enter the file name. Typically, editors put the title of the finished product here.
Step 4: You can also choose where to save the file. Click Browse next to Location. This will open up your file manager and allow you to pick exactly where you need the file saved.
Step 5: Below Location, there are 3 options for how to load the video. Select Render, which is typically the default option.
Step 6: Make sure the Export Video box is checked.
Step 7: To change the file type, go to the option titled Format. It will pull out a drop-down menu with several various file types such as DCP and DPX. To save the file as an MP4, select the option “MP4” from the drop-down menu.
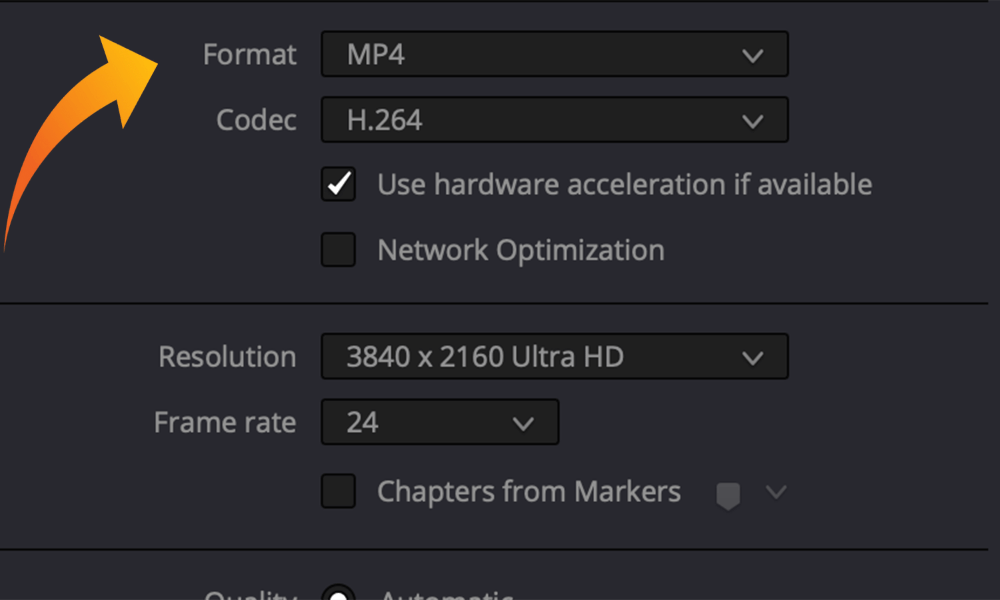
Below this, there are several other options advanced editors use when exporting videos. For the purposes of this tutorial and the typical export of a DaVinci Resolve file, leave all of these settings at their default options.
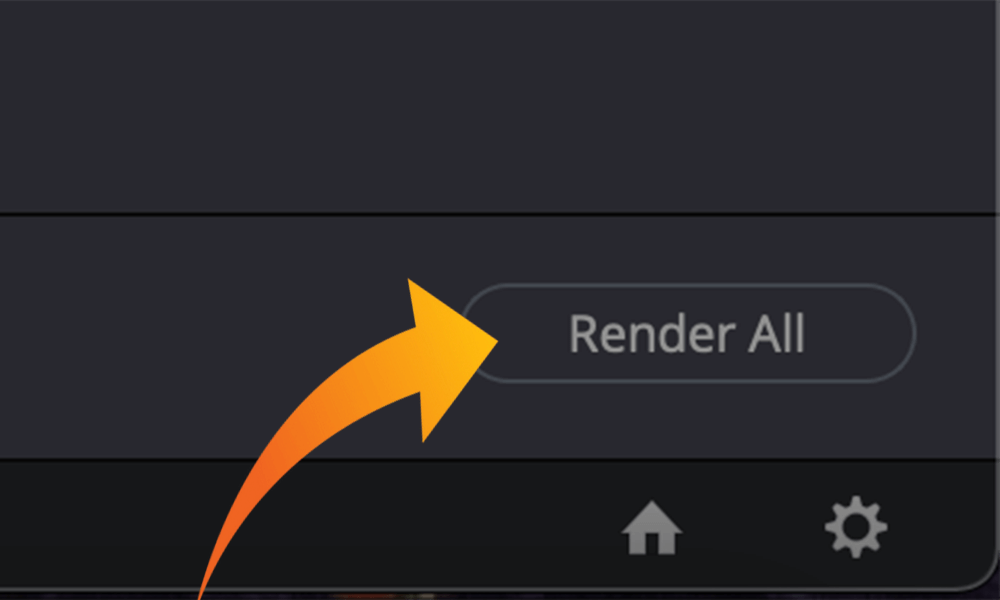
Step 8: At the bottom of the entire menu, there is an option called Add to Render Queue. Your video will show up in the top right corner of the screen. In the middle of the screen on the right side, click Render All. Allow your computer a few minutes to process the request.
That’s it, done!
Conclusion
Exporting a project to MP4 in DaVinci Resolve is truly simple! With their comprehensive export page and straightforward options, you can get your render started in a matter of seconds.
There are different formats and codecs you can export to. If you want to change these you can do so by clicking the dropdown menu of the corresponding setting you seek to change. Keep in mind that mp4 is acceptable for most formats and platforms, making it the most versatile.
If this article gave you any value, let me know by dropping a line in the comments. While you are down there let me know what other filmmaking and video editing topics you would like to hear about next, feedback on how I did is also appreciated.