
When it comes to exporting in Davinci Resolve, it couldn’t be easier. Sure there are a lot of options, and right now, you may be swimming in them, but fear not dear reader, because you’re in good hands with me.
My name is James Segars, and I have extensive editorial and color grading experience with Davinci Resolve, with over 11 years of professional experience in commercial, film, and documentary arenas – from 9-second spots to long form, I’ve seen/cut/colored it all.
In this article, I’ll be focusing exclusively on the export page in Davinci Resolve and guiding you step-by-step through the settings in order to get your export printed successfully.
Table of Contents
The Export Page in Davinci Resolve
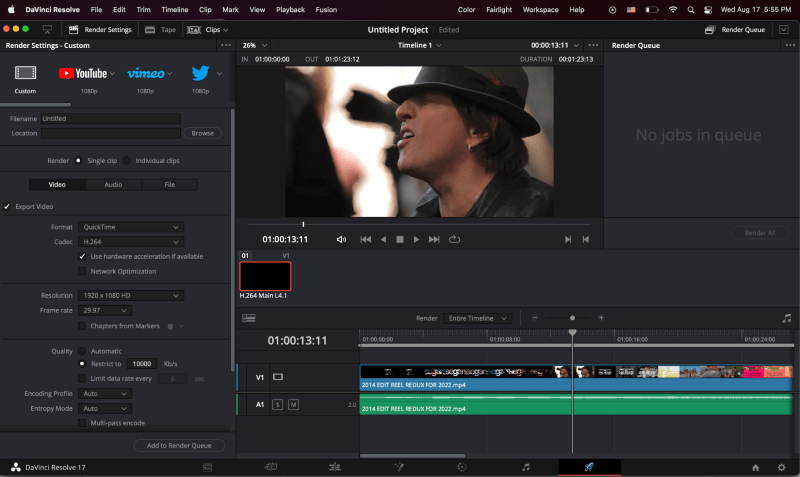
As you can see in the screenshot here, this is what you will see if you’ve imported your media, added it to a timeline, and made your way to the export page.
In this example, we’re going to be re-wrapping this content for Twitter.
Render Settings Pane in Davinci Resolve
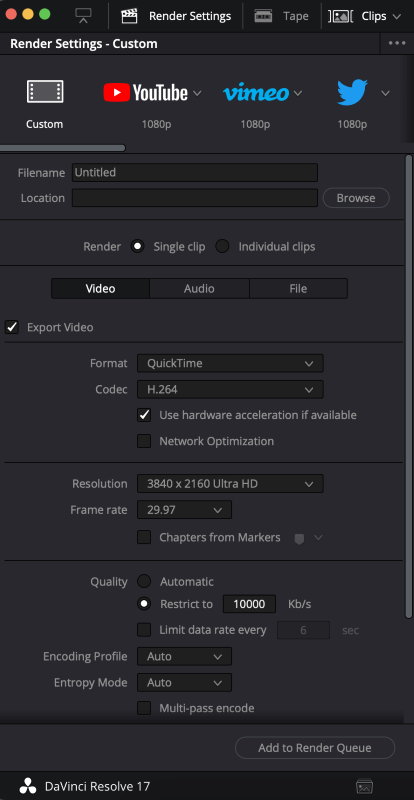
Here is where all of the output customizations will be taking place. All of the settings you see here are default, and not yet modified.
Exporting Video in Davinci Resolve
Follow the step-by-step instructions below, and you’ll have your exported video ready in a few minutes.
Step 1: Select the Twitter preset from the dropdown menu. You will notice that many of the most in-depth customization and export settings will disappear and the pane options will be greatly simplified. This is by design and will make exports to your favorite social outlets a breeze.
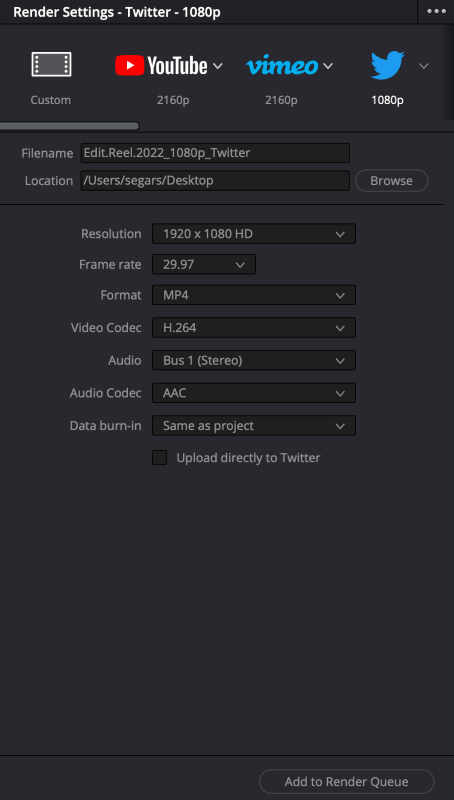
As you can see, I’ve selected the “Twitter – 1080p” preset and have also designated both the output file name as well as the location for the final exported file.
The source file is 2160p and its original frame rate is 29.97. Your frame rate value here will reflect whatever the native frame rate of your source is, or the frame rate of your project. I’m happy with both the resolution target of 1080p, and the 29.97 frame rate value.
Step 2: Set the right Format option, we’re going to keep this set at MP4. And video codec is set to H.264, we are going to leave this as well.
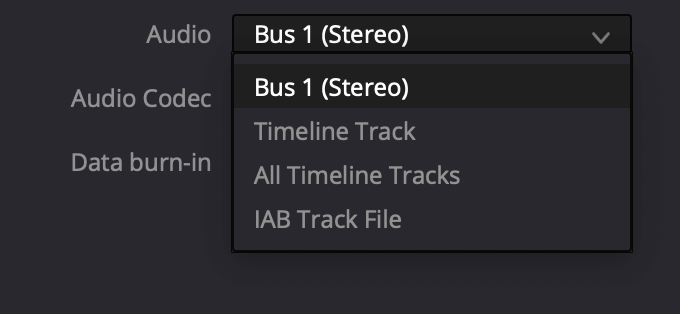
Step 3: You will see a variety of options for Audio output. Since ours is pre-printed, there’s no need to select the alternative options. The Audio Codec option here is restricted to “AAC”.
And finally, with the Data burn-in option, you can either opt to use “Same as Project” or “None”. We’ll be leaving this at “Same as Project” but if you wish to have no data burn-in, then by all means choose “None”.
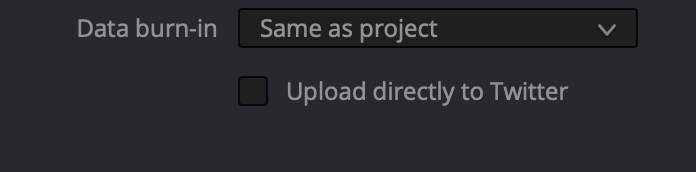
Step 4: Now that all of the options and controls have been thoroughly reviewed and set, we’re nearly ready to export. However, you will note that there is an option for the export to publish directly to Twitter. You can certainly pursue this option if you would like, but there are many reasons why professionals opt not to do so.
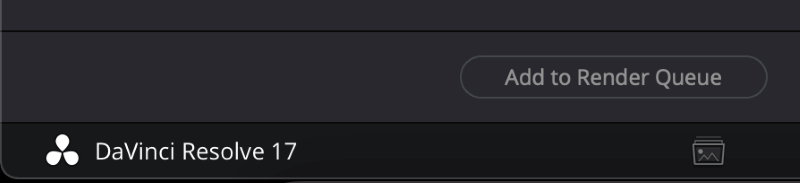
And with that, we’re ready to send our export settings to the Render Queue but give the settings and controls one last look before doing so before you hit this button here.
When you do so, you will note that the previously empty window to the far right, your “Render Queue” itself is now populated like so.
Providing that everything you see to the right is correct and no other modifications are needed, you can proceed to click Render All and Davinci Resolve will begin to print your final export to the designated location you set above.
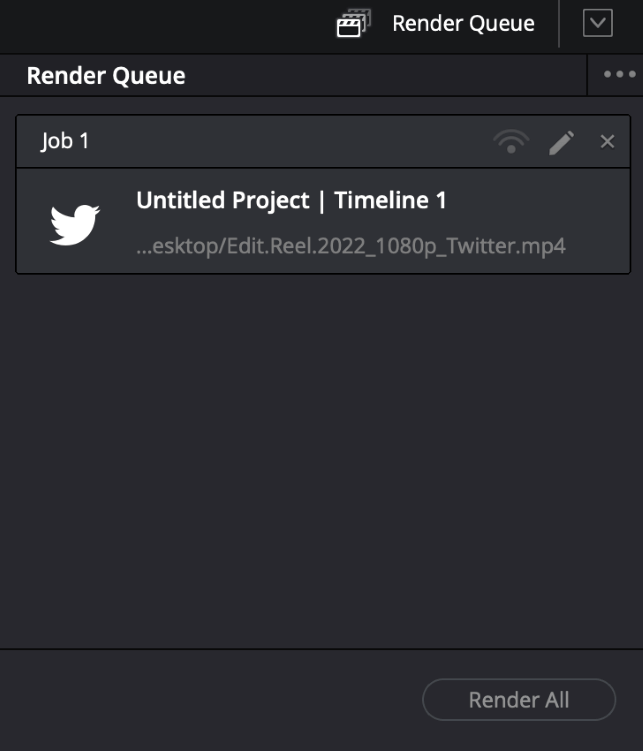
You can always modify the items in your render queue, or even remove them altogether, should you need to. However, in this case, we only have one item and one output setting needed, so we are going to hit “Render All” and let Davinci Resolve work its magic.
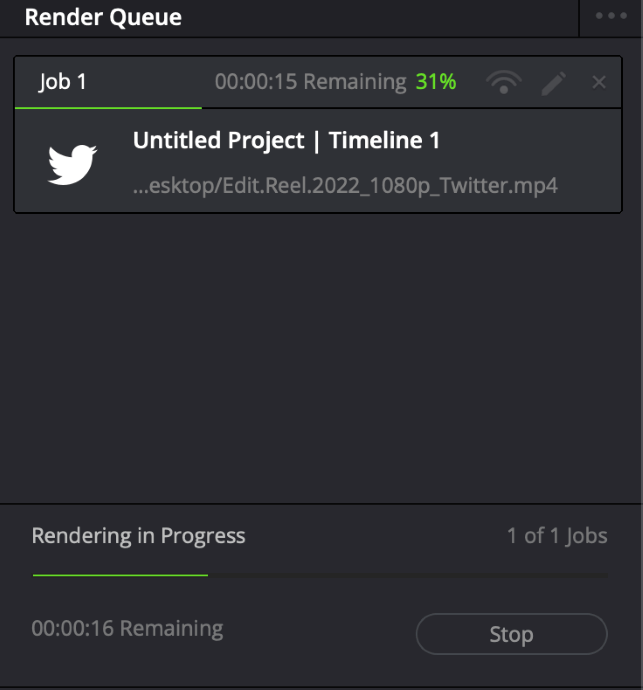
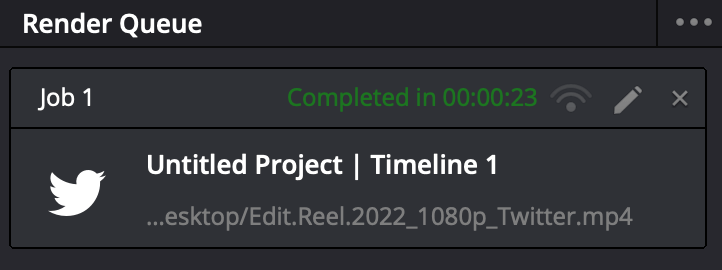
Step 5: Once you do so, you will see a progress bar and estimates for the total remaining render time. In this case, it will be a very quick render, faster than real-time for the 1min 23sec Edit Reel we have selected to export.
And if all goes well, and there are no errors along the way, you will be rewarded with this message seen below and a freshly minted export in the folder you’ve designated.
Wrapping Up
Now that you have your final export, and you’re a pro at exporting to Twitter, be sure to QC and watch it for any errors and to ensure it’s ready for primetime. If so, proceed to your Twitter account and upload it to share with the world. Not hard at all, is it?
Please let us know if you’d like to learn more, or even go deeper into the custom settings, and feel free to give us feedback below and let us know how you liked our step-by-step guide to exporting from Davinci Resolve.