
To cut clips in Adobe Premiere Pro, go to the clip you intend to trim and hit the Ctrl key + K. Use the same steps for Mac and Windows users. Remember that you can cut anything in Premiere Pro – Clips, Audio, Texts, Motion Graphics Templates, etc.
Cutting is an integral part of the video editing process because it allows you to control the flow of your story. By cutting out unnecessary footage, you can keep your audience focused on the most critical parts of your video. Thus, cutting video clips in Adobe Premiere Pro is very easy.
I will explain the various methods of cutting a clip in Premiere Pro. In the end, let me know which is your favorite and why.
Table of Contents
Different Methods to Cut Clips in Premiere Pro
This cutting process could be anything like removing footage that is blurry or has poor audio to footage that is simply not needed in the final edit. You can have several reasons to cut your clip.
Cutting as well can allow you to create smooth transitions between shots. This is especially important if you are working on interviews or other types of footage where there might be awkward pauses in the audio.
1. The Add Edit Method
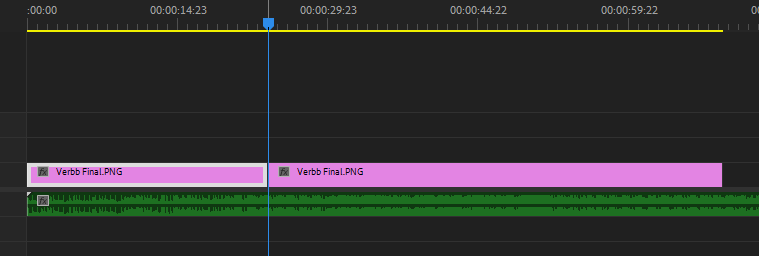
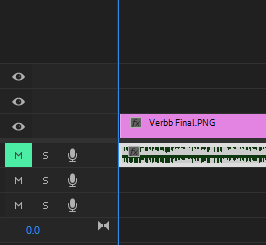
Make sure you select the clip you intend to cut, or better still, to make the clip active, drag the playhead to the point where you want to cut. Hold down the Ctrl key + K. Then you will see your clip split into two parts at the exact point where you have your playhead.
This method is useful when you intend to add a transition in the middle of the clips for a particular purpose or add another video clip in between.
2. The Razor Tool Method
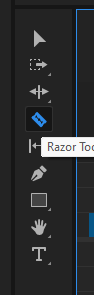
Another way to cut is by using the razor tool. This razor tool method is simple and fast. To do this, from the tools bar, select the razor tool, and then this will allow you to cut anything in your timeline. Assume that the razor tool is like a pair of scissors or a blade.
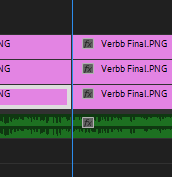
Pro tip: Sometimes, you might just decide to cut all the clips on all your tracks; it is easy to do this. Hold on to the shift key alongside the razor tool, and all the clips in the tracks will cut– including audio.
3. The Ripple Editing Method
Ripple editing is a great way to cut and trim clips without worrying about them being too long or too short. You can choose to just ripple edit video clips until they’re the perfect length.
Ripple editing deals with trimming and realigning video clips. If you want to use the ripple trim at the beginning of a clip, known as the Top Clip, and you had the plan to trim out the left side of the video clip without leaving any gap at the beginning of the clip.
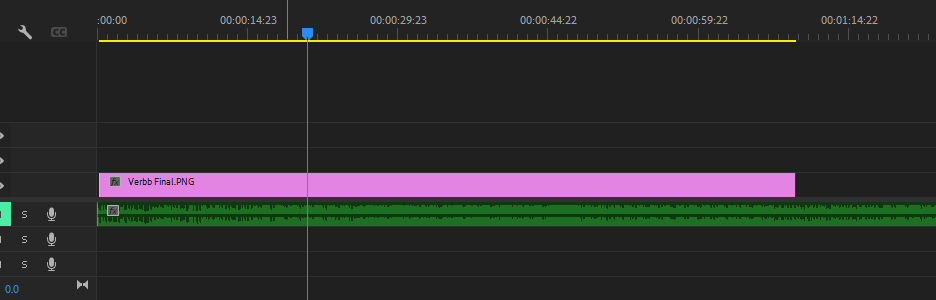
All you need to do is move the play head bar to where you want to cut and press Key Q on your keyboard. This will delete everything from the beginning to the position of the playhead bar.
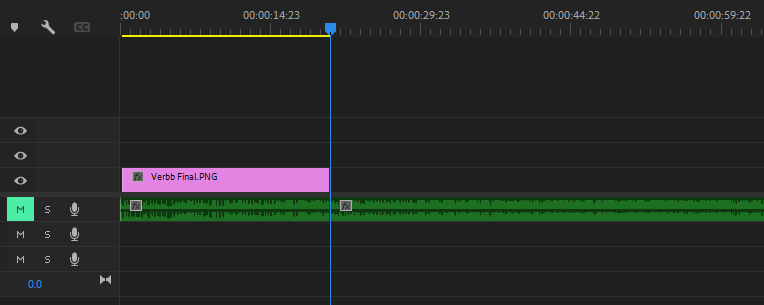
The ripple trim towards the right-hand side (end) of the video clip, which is also known as Tail Clip, is as simple as the first one. Just move the play head forward to where you want the end part of the trim to be. Then press Key W. It will ripple trim and delete all clips from the back.
4. The Source Panel Method
Another way to split a clip in Premiere Pro is trimming when you are about to import the video clips into the timeline. Using this method is a bit spectacular and more precise as changing the time in and out points of the clip you want is easy.
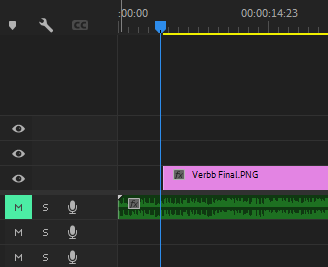
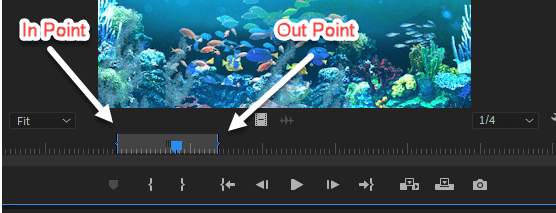
When you select a clip in the Project library by double-clicking the clip, a preview of it will show up in the source panel. At the beginning of the clip’s time bar in the Source panel, there is an arrow-shaped marker.
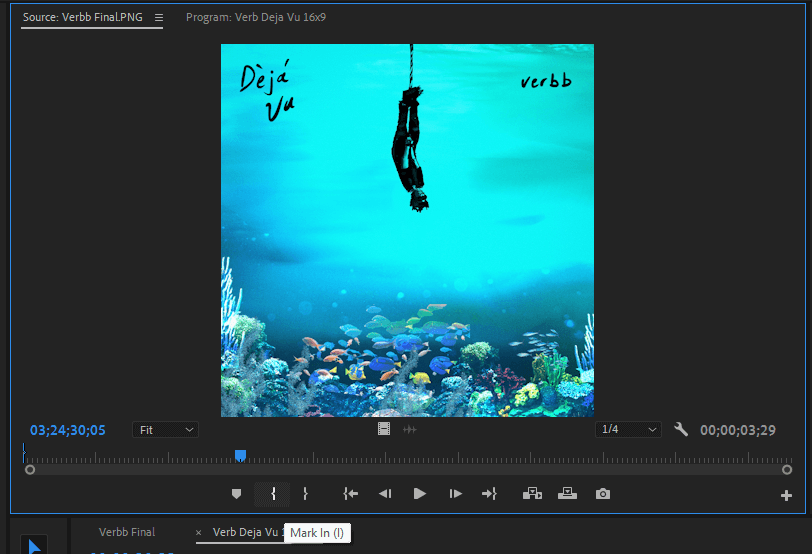
Set In and Out points. Press the Key L on the keyboard to set the In Point and Key O for the out point. Wherever the In marker is placed, that is where the clip will start when placed in the timeline, and likewise for the Out marker.
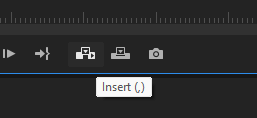
Then, in the Source panel tools, select Insert. This will move the selected in and out marked clip into your timeline and to the exact location where your playhead is.
This is the best method to use because you will have the chance to see your clips in frames and know the exact place to add your marker. It’s easy and efficient.
This method will not affect the original clip in the project panel compared to the other methods. And lastly, using this source panel way will separate you from dealing with ruminants from the cuts littering the timeline before deleting.
Conclusion
Cutting video clips in Adobe Premiere Pro is a simple process that you can complete in just one step, which is by pressing the Ctrl Key + K. With this, you can quickly and easily remove any unwanted footage from your video clips.
Are you finding it tough to cut perfectly in your sequence? Don’t be discouraged; just drop a comment for me in the comment box, and I will respond promptly.