
Photographic technology has grown by leaps and bounds. The things we can do with cameras nowadays, photographers could barely dream of 30 years ago.
But, for whatever reason, many of us are still fascinated with the simplistic look of old photographs. Though ravaged by time, they still capture our interest. So much so that you may be looking for a way to create a vintage-looking image!
Hello, I’m Cara and I’m pleased to announce that Photoshop has an answer for you. You can take any photograph you want and make it look like a relic of the past. Curious? Let me show you how to create a vintage/retro photo effect in Photoshop!
Note: I use the Windows version of Photoshop. If you are using a Mac, the workspace will look slightly different from the screenshots displayed here.
Table of Contents
Step 1: Choose an Image
You can create a vintage effect using any image. However, it will add more realism to the image if there are old elements in it, like an old car or old-fashioned style clothing.
For our example image, we’ll use the one I found on Pexels.
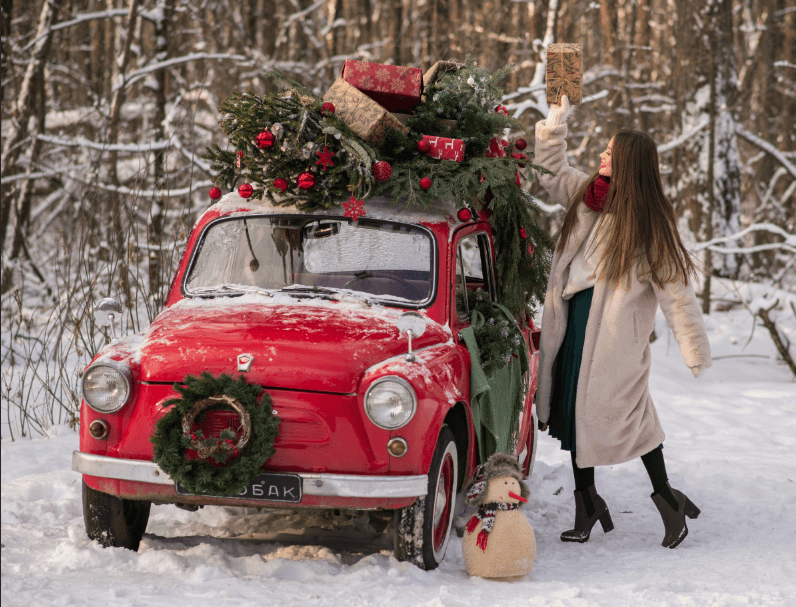
Open your image in Photoshop and press Ctrl + J or Command + J to duplicate it. That way you can always go back to the original if desired.
Step 2: Fade the Photo with Curves
Regardless of the end effect you’re going for, all vintage photographs are faded to some extent. So let’s start there.
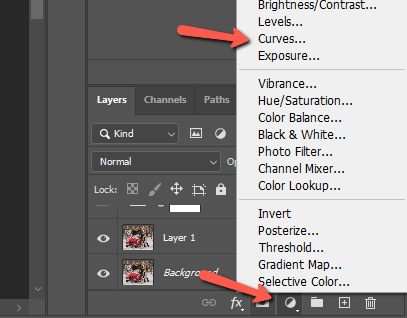
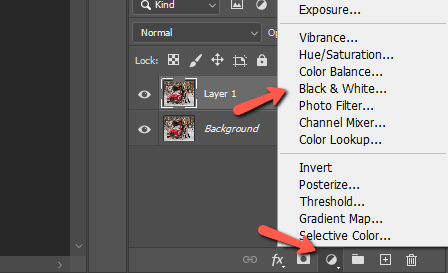
Click the half-filled circle adjustment layer icon at the bottom of the Layers panel.
Bring up and blacks and bring down the whites to get a nice faded look.
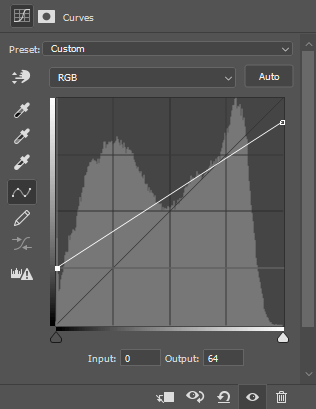
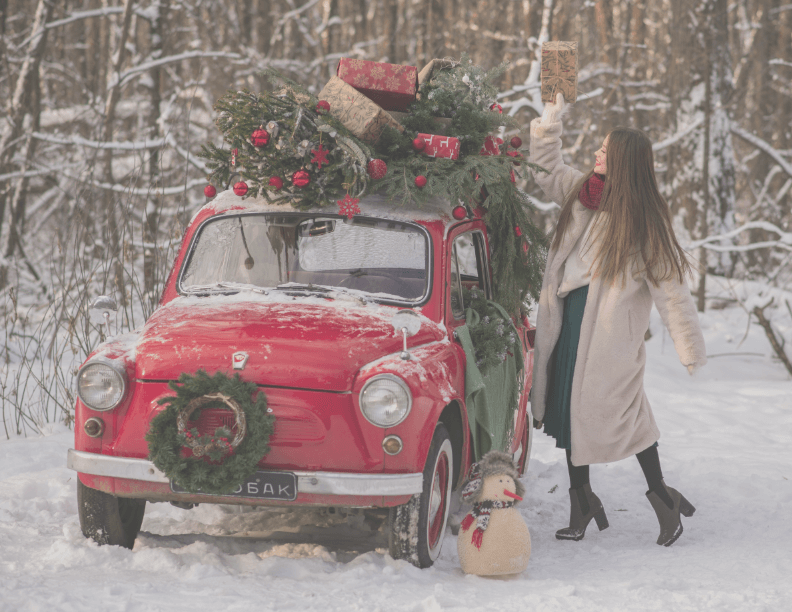
You’ll end up with something like this.
Step 3: Choose a Color Cast
The colors in vintage photographs are a far cry from what they are today. Some of them are sepia-toned and some are completely black and white. In colored photos, there is usually an odd color cast.
I’ll show you how to achieve a few different color effects here so you can choose the one you want.
Black and White
Let’s start with black and white. This one is made easy with an adjustment layer from the same spot we got the curves layer. Choose Black and White.
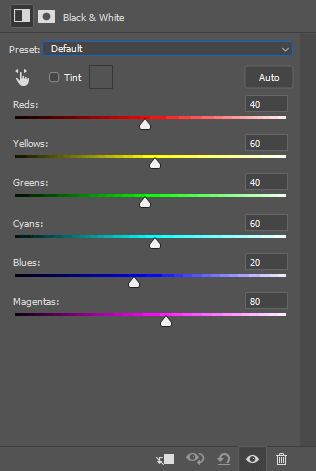
You can play with the adjustment sliders to adjust the whites and blacks.
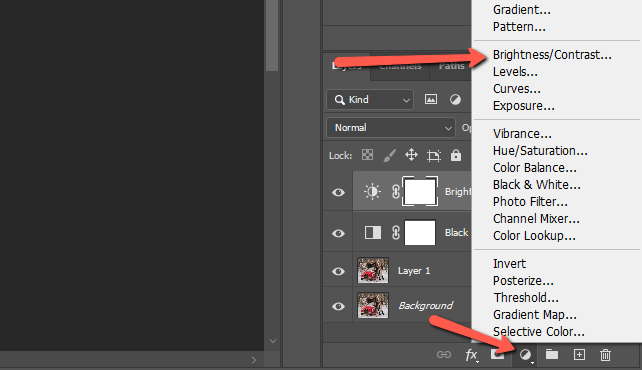
But remember that old photographs were softer than modern ones. There was less contrast between the whites and blacks. It’s a good idea to also add a Brightness and Contrast adjustment filter from the same menu, and lower the contrast.
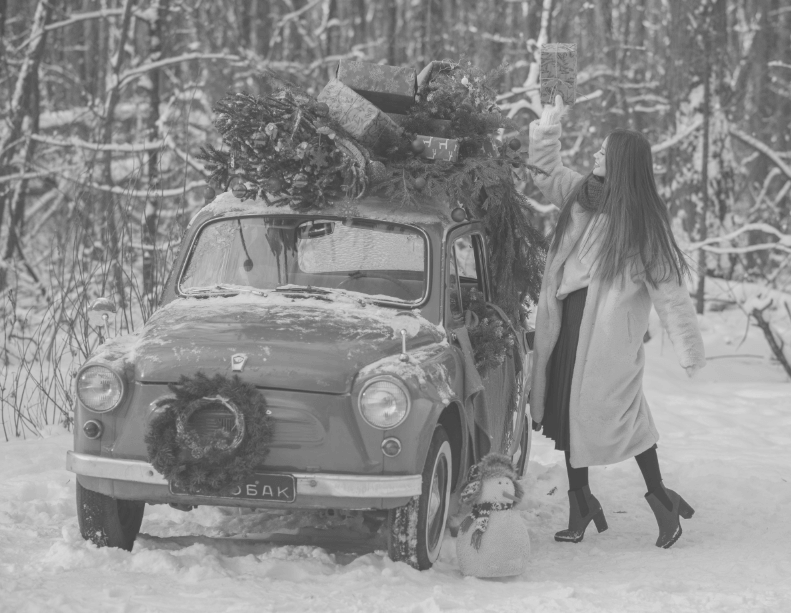
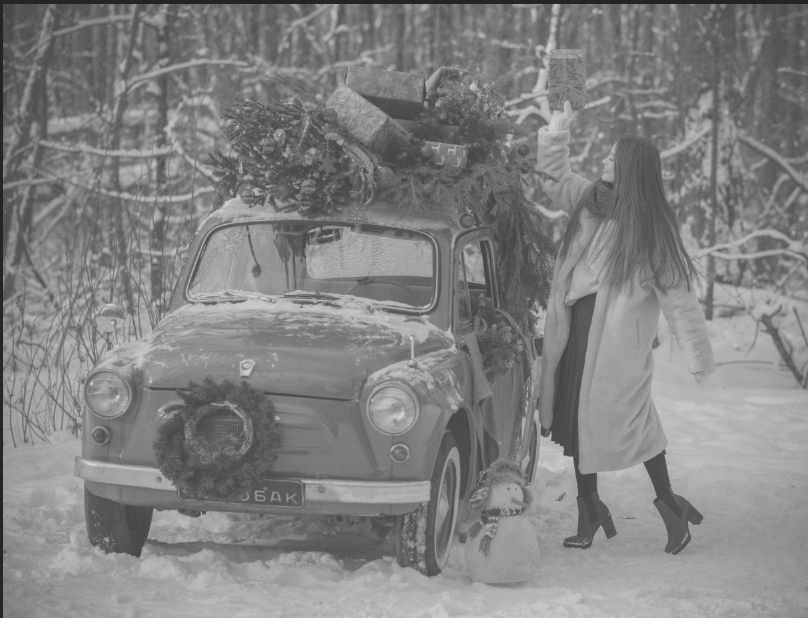
We’ll still have more to do, but here’s the basic black-and-white look.
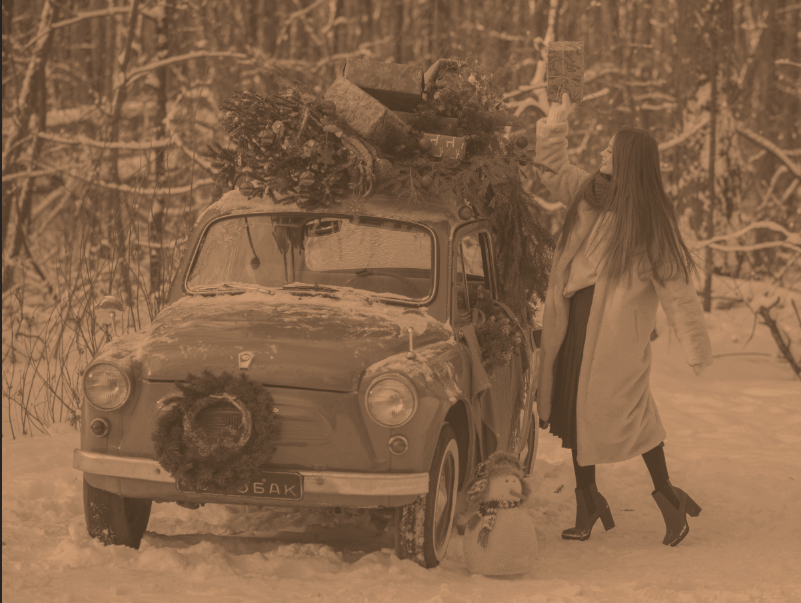
Sepia
Another typical old-fashioned look is the sepia tone, a reddish-brown look. To get to this effect, go to Layer, hover over Adjustment Layer, and choose Photo Filter.
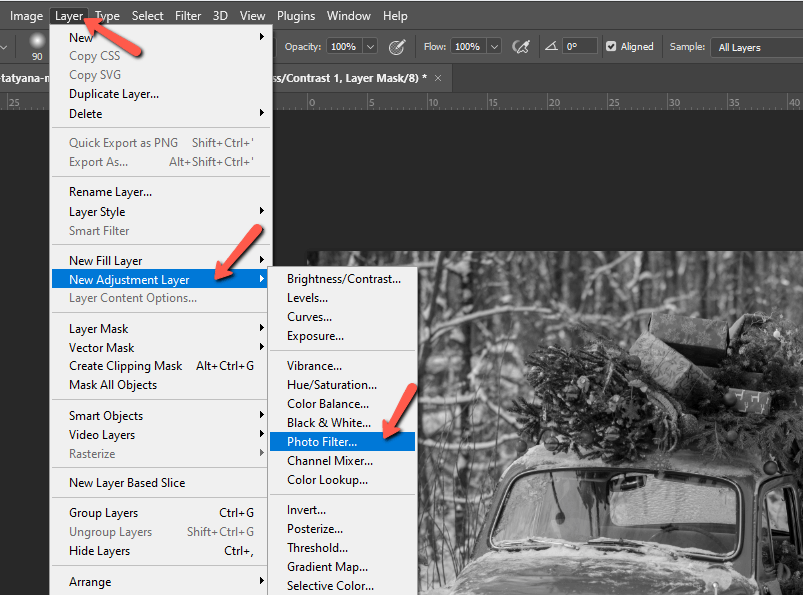
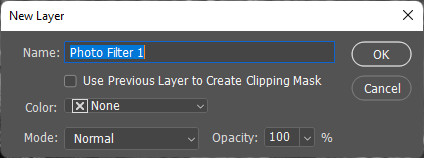
Name your layer and press OK in the window that opens.
In the Properties panel, you’ll see a few options you can play with. Click the dropdown menu for the Filter option to find a list of preset color casts you can add to the image. If you prefer to add an exact color, click the Color radial button and choose your color from the color picker.
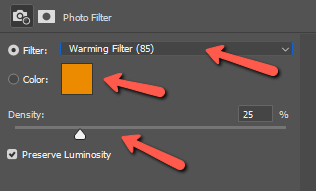
The Density slider controls the saturation of the color that is being added. Uncheck the Preserve Luminosity box to get a more faded look.
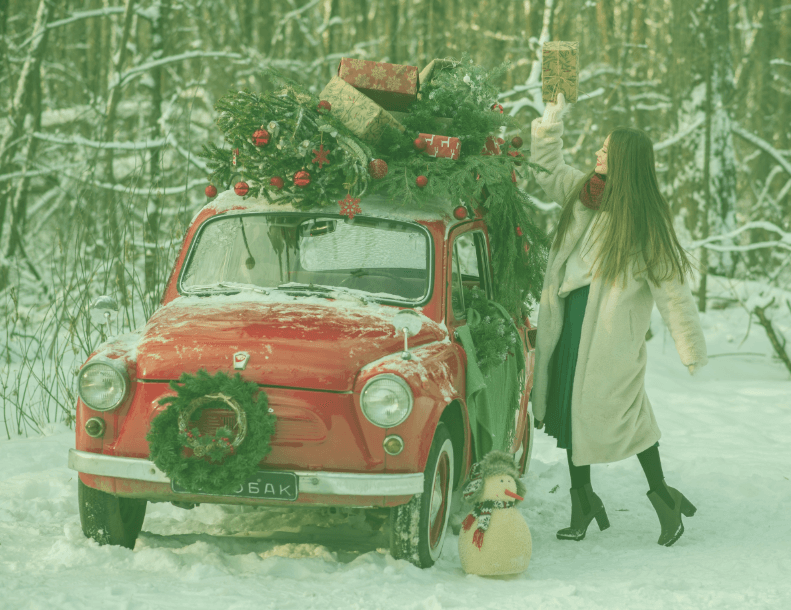
Greenish Tint
Old color photographs often have a greenish tint because of the way that magenta inks break down. To add this effect, let’s use the Color Balance adjustment layer.
Go to Layer hover over New Adjustment Layer and choose Color Balance. Again, name your layer and click OK.
In the Tones box, you can choose whether you want to affect the Shadows, Midtones, or Highlights. Play around with the different options and focus on adding green and yellow to your image.
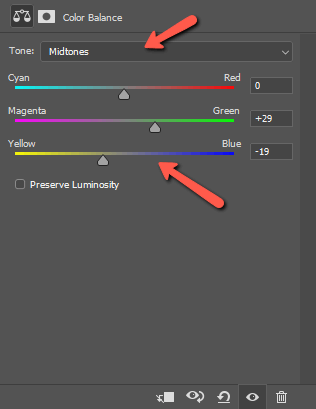
Adding cyan will make your image cooler while red will add an almost sepia tone.
Step 4: Add Noise
Old photographs were not taken with the quality and clarity that our equipment is capable of today. They were noisy and grainy, so to mimic this look, we need to add some noise to the image.
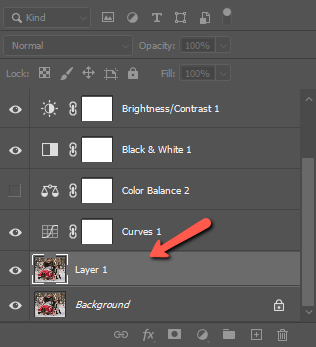
Make sure to select your photo layer to add the noise directly to the image. (As opposed to one of your adjustment layers on top.)
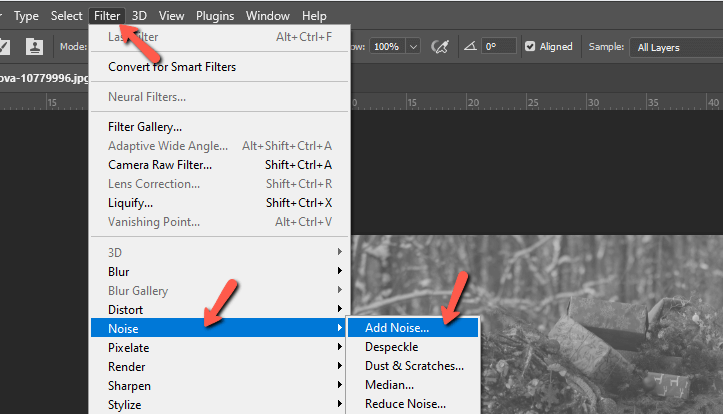
Go to the Filter menu, hover over Noise and choose Add Noise.
In the box, you’ll see a small preview window showing how the changes will affect your image.
Slide the Amount slider up until you get an acceptable look. Make sure to check the Monochromatic box to avoid adding specks of color noise to the image.
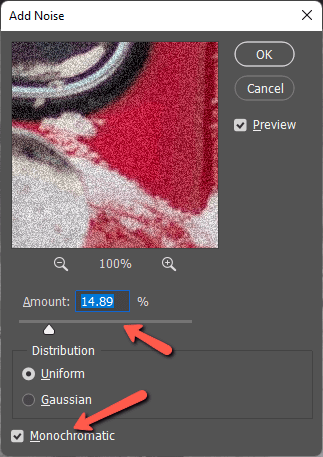
Press OK when you’re satisfied with the look.
Step 5: Add a Vignette
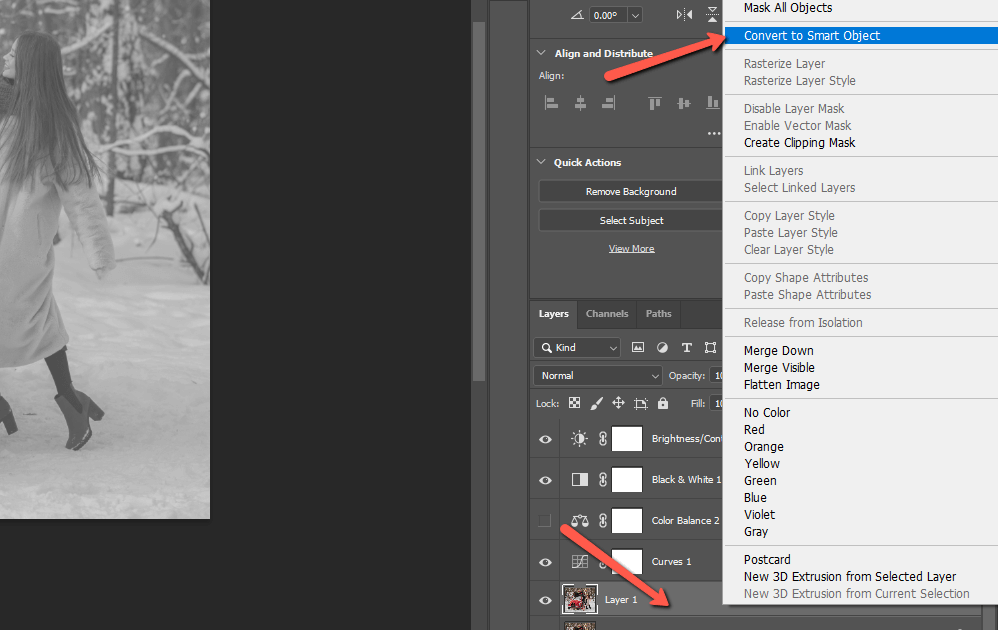
Finally, let’s add a vignette to complete the look. To keep the edit non-destructive, let’s first convert the image to a smart object.
Right-click on the image layer and choose Convert to Smart Object.
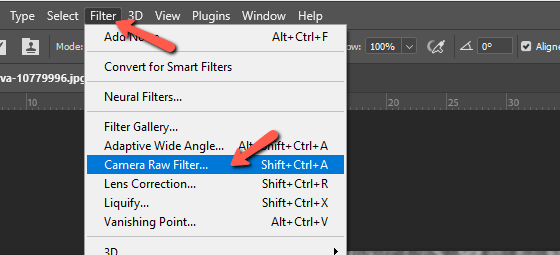
Now go to Filter and choose Camera Raw Filter.
Camera Raw will use a preview of your image without the adjustment layers applied so you’ll see your original image. Don’t worry, the added effects will still be there when we close out of this window.
Scroll down among the options on the right to find the Optics section.

There is a slider conveniently named vignette. Slide it to the left to add a dark vignette or to the right to add a light one. Click OK when finished.
You’ll go back out to your image with all the effects applied, including the new vignette effect.
Cool, right?
Have fun converting your photographs into vintage relics.