
If you are looking to create professional mockups for sales purposes, to create a mockup on Canva, you start by choosing a premade mockup design found in the Elements tab and then upload a photo of your product to snap into a frame.
You are not alone if you have been dabbling with the thought of creating a small side hustle over the past few years. It can seem overwhelming to embark on that journey, especially when it comes to the marketing side of things.
My name is Kerry, and I’ve found some tricks on Canva that will help ease these efforts and am excited to share them with you!
In this post, I’ll explain the steps to create mockups on Canva that can be used for product listings and advertisements. This is a feature that is so useful for small businesses and those who don’t have training in creating professional product photos.
Are you ready to learn how to create awesome mockups for your business? You may be inspired to start one when you see how simple it is! Let’s get into it!
Table of Contents
Key Takeaways
- Mockups are used to present products in a clean and professional format that can be used for advertisements, campaigns, and product listings.
- There are premade mockup designs already on the Canva platform that can be used as a background for product photos.
- By adding a frame on top of the mockup, you’ll be able to snap the uploaded product photo into the design making it look clean-cut and professional.
Why Should I Create Mockups
Especially in today’s world of online shopping and hubs for small businesses such as Pinterest, Etsy, and Squarespace, mockups are a huge part of gaining views on your product. It is proven that neat and professional-looking mockups allow businesses to thrive and get more views!
If you don’t know what a mockup is, don’t worry! Mockups are basically a model to show what a product would look like in real life.
An example of this would be if you created a piece of digital artwork (perhaps on Canva!) that you wanted to sell, you could juxtapose it within a frame or place it on top of a canvas to show what it could look like in a home space.
How to Create a Mockup in Canva
One of the main purposes for creating a mockup of a product is to showcase it to the world, so the beginning stage of this process is actually important. It is where you will decide if you want to post your mockup on a specific social media platform or website.
This will determine the size of your canvas and make it much easier for posting later on. Follow these steps to learn how to create a mockup on Canva.
Step 1: On the home page of the Canva platform, navigate to the search option and select the desired preset options for your project. (This is where you can choose Instagram posts, Facebook posts, flyers, and so much more.)

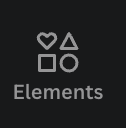
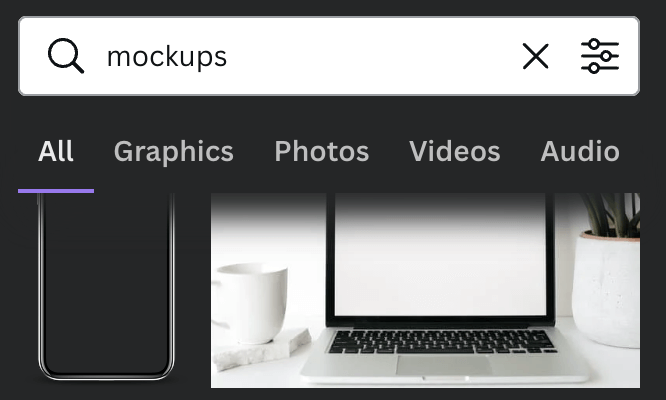
Step 2: Once you choose the desired size, a new canvas will open up with the specified dimensions. On the blank canvas, navigate to the left side of the screen where you’ll find the toolbox. Click on the Elements tab.
Step 3: In the search bar of the Elements tab, search for mockups and choose the one that works best for your needs. Click on it to use it as a background image for your product. You can resize it by clicking and dragging on the white corners to make it larger or smaller.
Remember that any graphic or element with a crown attached to it that you find in the Canva library is only available for purchase or through a Canva subscription with access to premium features.
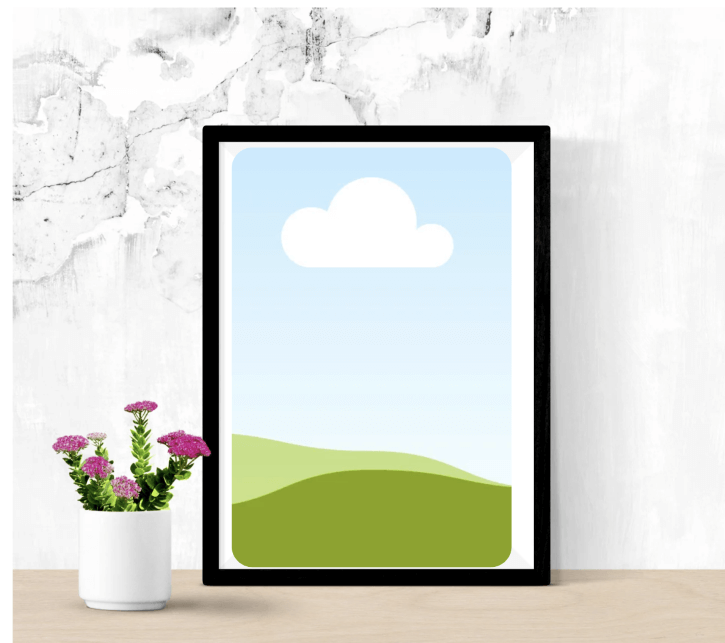
The mockup will have a blank, white space in it. This is where you should place your product!
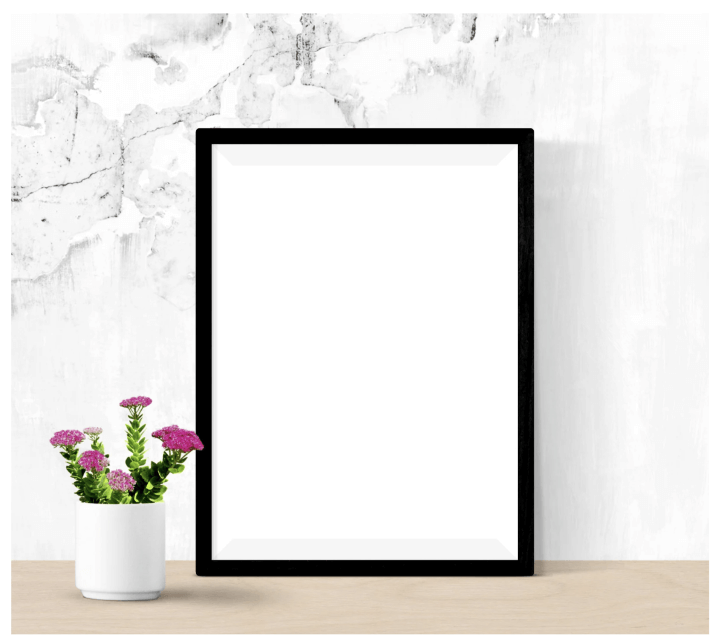
Step 4: In the same Elements tab, search for frames. Adding a frame will allow you to upload a photo of your product to more easily be integrated into the design because it will snap to the shape without any overlap. Click on the frame that you want to use and then drag it onto the canvas.
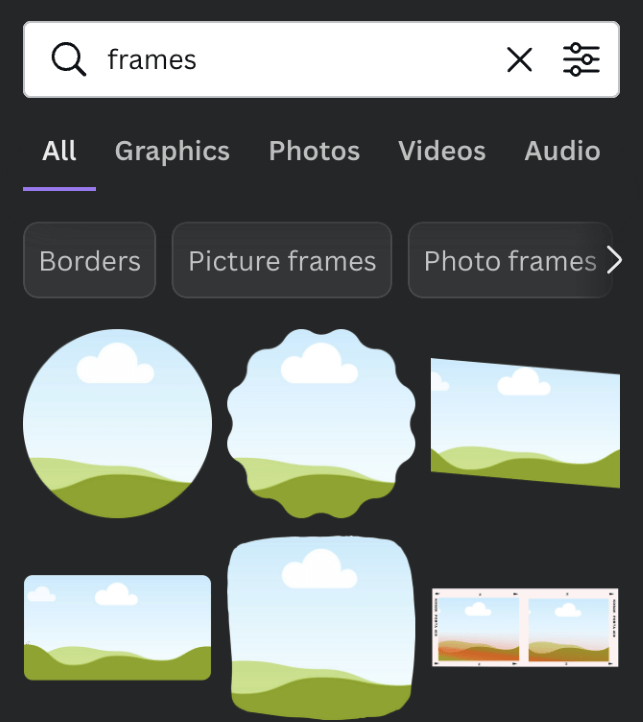
You can also choose a frame based on the shape that you need to match your mockup design! It may take a little bit of time to play around and match the frame to your mockup, but the more you work performing this action, the quicker you will get!
Step 5: Once you worked with the frame and resized it into the mockup, head over to the Uploads tab and upload a photo of the product that you already have on your device. (Transparent backgrounds are best when creating mockups because it is easier to work with.)
Step 6: Drag and drop the photo of your product into the frame and it will snap to the frame size and shape. You can adjust as you need, but now you have your mockup!
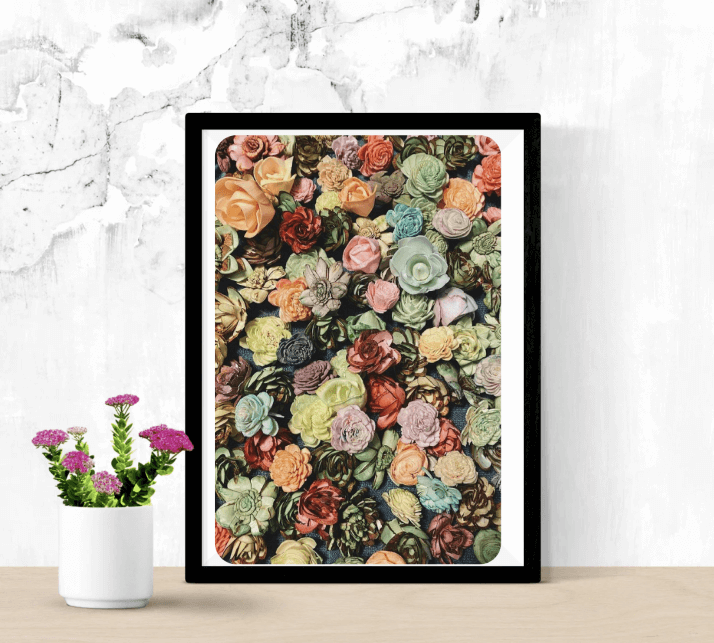
Don’t forget to download your work by clicking the Share button and choosing the file format that is best for your needs so that it is saved for future use to upload onto websites such as Etsy, Squarespace, or social media.
Final Thoughts
In the past, it has been difficult for small businesses to create professional-looking mockups without professional software. This feature on Canva allows so many more entrepreneurs to achieve those goals by creating product materials that will elevate and support their businesses!
Have you tried to create a mockup on Canva before? If you have or are planning to, we would love to hear about your experience. Share your thoughts and ideas in the comment section down below!