
Shortcuts keep you focused on creating, not searching for tools. Mastering a few shortcuts speeds up your workflow, and you can even create your own.
Hi, I’m Zoe, an illustrator who knows my way around Clip Studio Paint. I used to think shortcuts weren’t worth the effort, but I was wrong. They not only speed things up but also keep you in a creative headspace by avoiding constant interruptions to search for tools or functions. So, I’m excited to share this list of shortcuts with you!
In this post, we’ll explore some of the most handy shortcuts in Clip Studio Paint, along with modifier keys. You’ll even learn how to set up your own custom shortcuts. And if you’re an iPad user, I’ll show you how to integrate shortcuts into your workflow.
So, let’s dive right in!
Table of Contents
Key Takeaways
- For more shortcuts, head to Clip Studio Paint > Shortcut settings.
- On the iPad, don’t miss out on the Edge Keyboard – customize it for better productivity.
- Shortcuts enable quick commands, while Modifier Keys enhance tool functionality when held down.
Here is the complete guide to Clip Studio Paint shortcuts for Windows, Mac, and iPad.
43 Useful Shortcuts for Clip Studio Paint (Desktop Version)
Below, you’ll find a list of 43 shortcuts. While it may seem like a lot, some are intuitive (like B for Brush) or standard (Copy-Paste). Others may be new to you, but they’re incredibly useful.
Here’s a list of shortcuts to integrate into your workflow while using Clip Studio on your computer.
These essential shortcuts for zooming, panning, and rotating your canvas are some of the first you should learn, especially since you’ll be using them frequently. Let’s take a look!
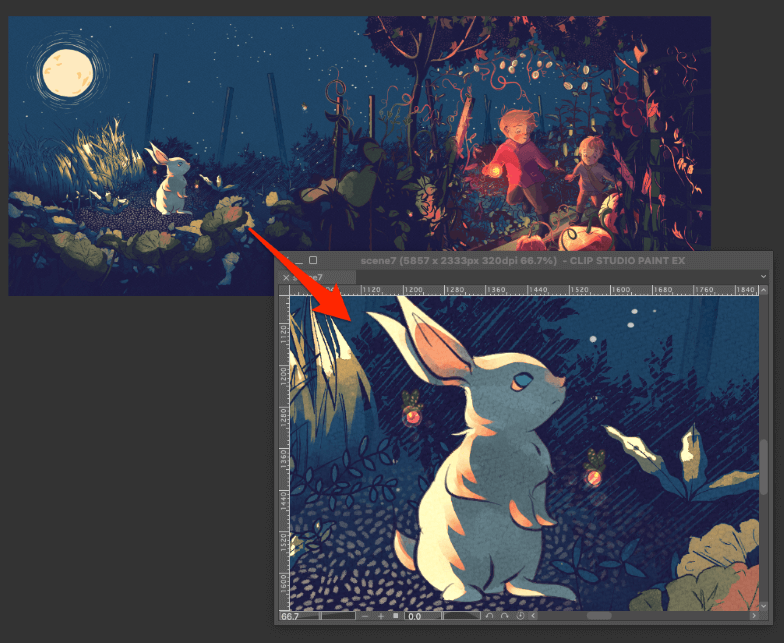
Zoom In/Zoom Out in Canvas View
- Ctrl + and Ctrl – (Windows)
- Command + and Command – (Mac)
When you need to focus on tiny details or get a quick overview of your entire artwork, these shortcuts allow you to zoom in and out effortlessly.
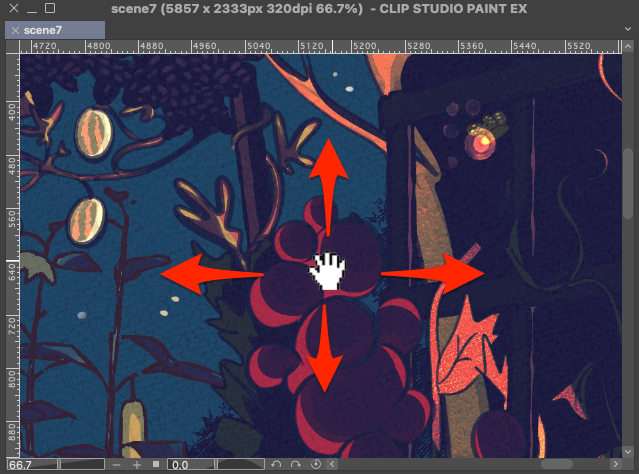
Move Screen
- Spacebar (Windows, Mac)
No need to fiddle with scrollbars or drag the canvas manually. Just press the Spacebar to pan across your artwork.
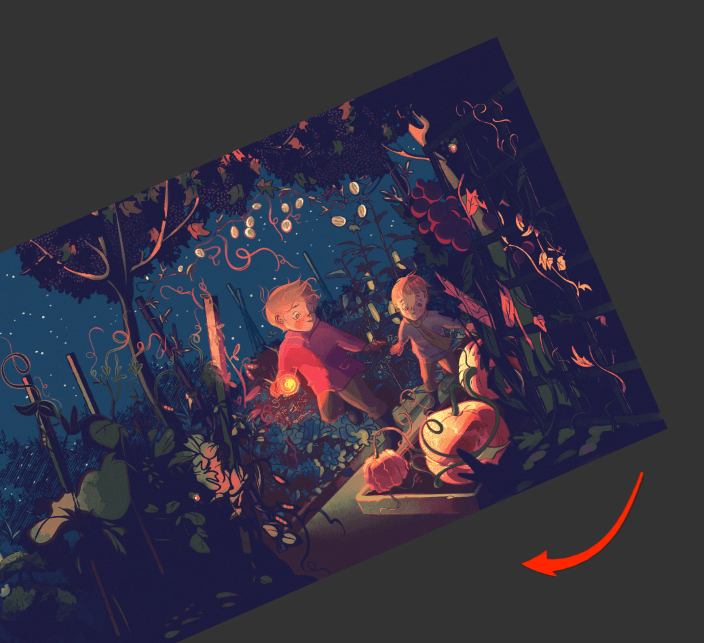
Rotate Canvas
- R
Adjusting your canvas angle is essential for finding the perfect drawing position. Hold R and use your mouse to rotate the canvas smoothly, making it easier to draw at the angle that suits you best.
Show/Hide All Palettes
- Tab
When you need an unobstructed view of your artwork, this shortcut helps declutter your workspace. Toggle the visibility of tools and elements surrounding your canvas with the Tab key.
Tool Shortcuts:
Make your drawing process smoother with these simple shortcuts that allow you to switch between essential drawing tools effortlessly:
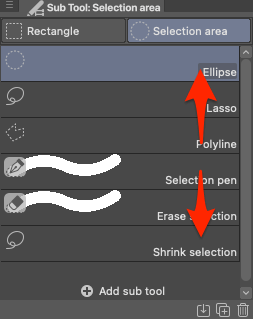
Previous and Next Sub-Tools:
- , and .
No more hunting through the tool palette! Quickly switch between the previous sub-tool (comma key) and the next sub-tool (period key) within the current category.
Brush/Airbrush/Decorations
- B
Access your Brush Tool instantly with B, cycling through brushes, airbrushes, and decorations each time you press it.

Pen/Pencil
- P
Whether you’re inking or sketching, the P key lets you effortlessly toggle between Pen and Pencil Tools.

Eraser
- E
Quickly access the Eraser tool using E, making it effortless to fix and refine your artwork as you draw.

Gradient/Fill
- G
Quickly switch between the Gradient and Fill Tools when it’s time to add color to your linework using G.

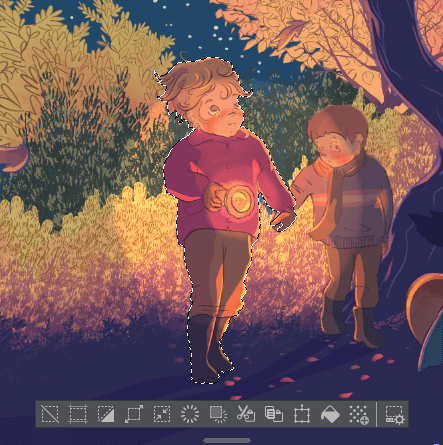
Selection Tool
- M
Access the Marquee Tool with the M key and make selections of any shape or size with ease.

Essential Drawing Shortcuts
With these shortcuts, you can keep your stylus down and stay focused on your artwork without constantly reaching out for the mouse.
Undo
- Ctrl + Z (Windows)
- Command + Z (Mac)
Quickly revert your last action and get back on track when mistakes happen.
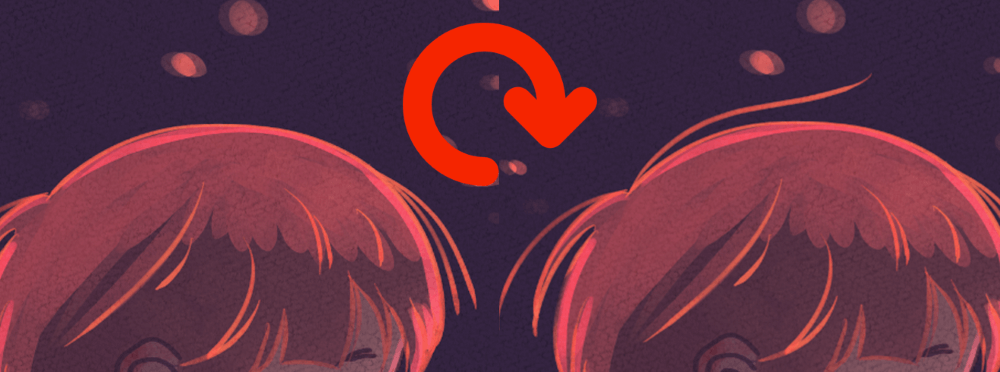
Redo
- Ctrl + Y (Windows)
- Command + Y (Mac)
Restore your last action if you accidentally undid too many steps.

Switch to Transparent Color
- C
This shortcut allows you to switch the drawing color to transparent, making it easy to add and remove color with just one key. Removing with transparency is different from erasing, as you can take advantage of any brush shape.

Switch Between Foreground and Background Colors
- X
Hit X, and your foreground and background colors will swap, allowing you to switch effortlessly as you paint.

Clear
- Delete (Mac) or Backspace (Windows)

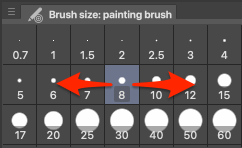
Change Brush size
- [ or ]
Adjusting your brush or pen size on the fly is essential. Use [ to decrease and ] to increase the size.
Selection Tool Shortcuts
Selecting is an essential part of digital drawing, and these shortcuts make it quick and precise:
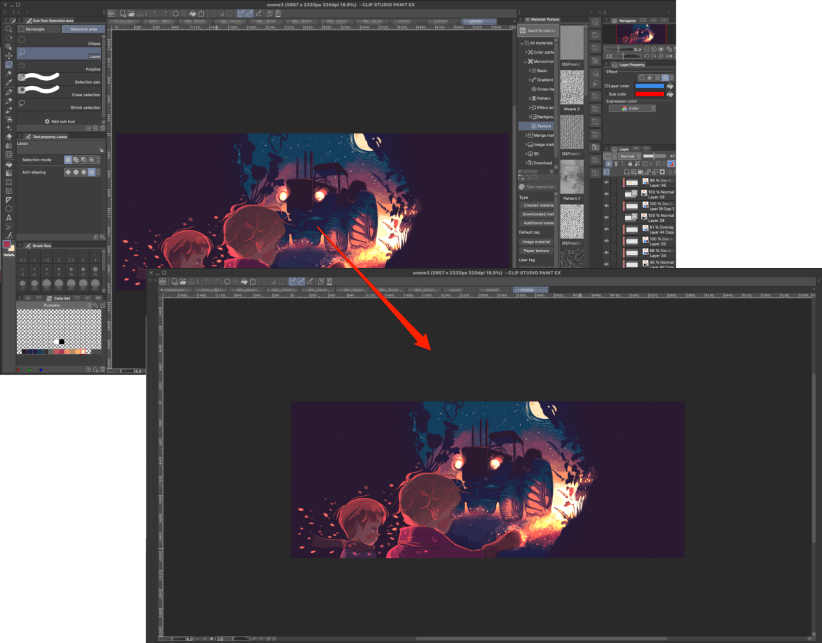
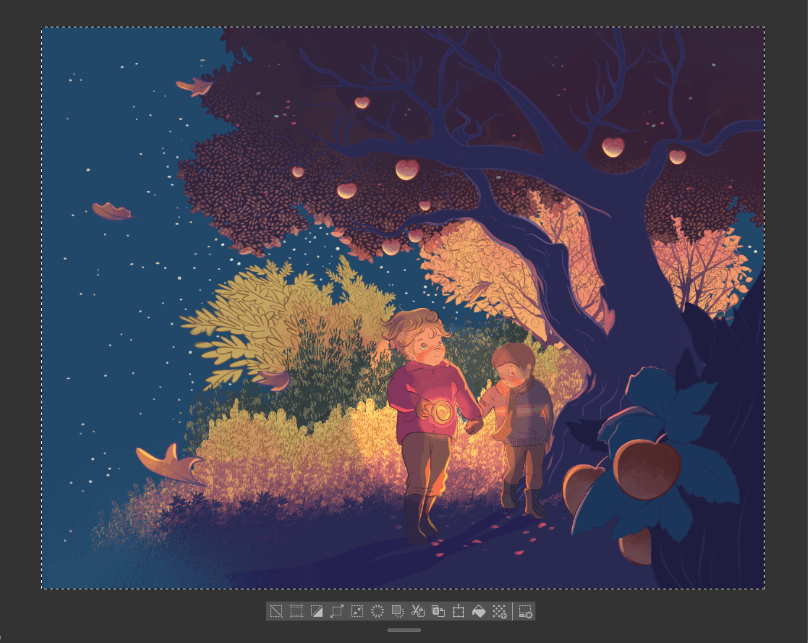
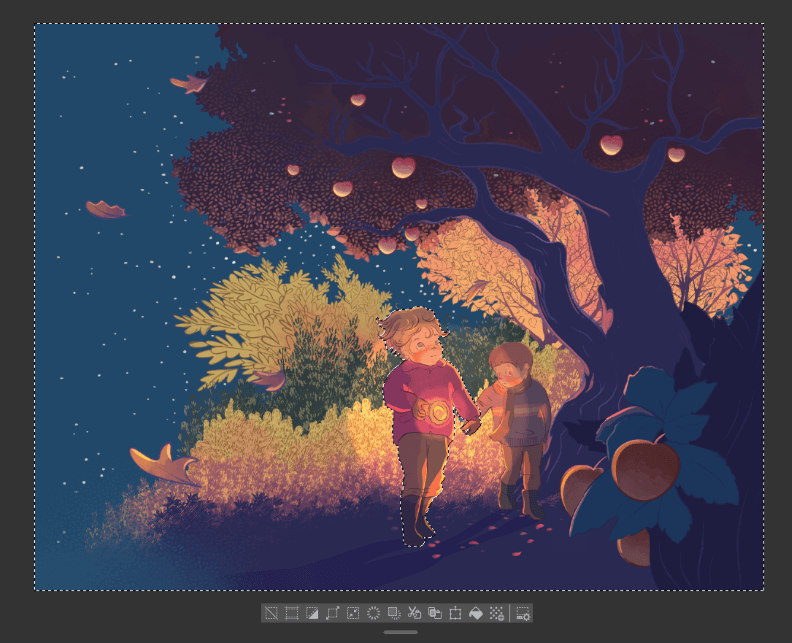
Canvas Selection
- Ctrl + A (Windows)
- Command + A (Mac)
Select your whole canvas instantly, useful when you need to make a perfect canvas selection without missing any pixels. Keep in mind that modifications will only apply to elements within the bounds of your canvas.
Contour Selection
- Left-Click + Ctrl (Windows)
- Left-Click + Command (Mac)
This enables you to select the outline of any layer or folder, which is very handy for creating masks or working within specific shapes. Just click on your desired layer from the Layers Menu while holding the Ctrl or Command key.
Deselect
- Ctrl + D (Windows)
- Command + A (Mac)
Quickly remove the current selection, allowing you to continue drawing without interruptions.
Invert selected area
- Ctrl + Shift + I (Windows)
- Command + Shift + I (Mac)
Flip your selected area to apply effects to your background, for example.
Actions Shortcuts
Now that you’ve got your elements selected, here are some essential shortcuts to manipulate them effortlessly:
Copy
- Ctrl + C (Windows)
- Command + C (Mac)
Replicate selected elements from your artwork to use them elsewhere.
Cut
- Ctrl + X (Windows)
- Command + X (Mac)
Cut selected elements from your artwork, removing them from their original location.

Paste
- Ctrl + V (Windows)
- Command + V (Mac)
Place your copied or cut elements onto a new layer or location.

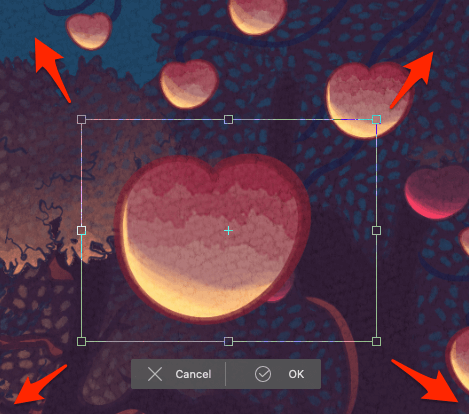
Transform
- Ctrl + T (Windows)
- Command + Shift + T (Mac)
Scale or move a selected area using this shortcut.
Layer Management Shortcuts
Efficiently manage your artwork’s layers with these handy shortcuts, allowing you to stay organized and in control of your creative process:
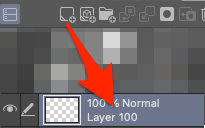
New Layer
- Ctrl + Shift + N (Windows)
- Command + Shift + N (Mac)
Organize your artwork effectively by creating new layers. Keep in mind that this will create a raster layer by default, so if you need a vector layer, you’ll have to create one manually.
Clip at Layer Below
- Ctrl + Alt + G (Windows)
- Command + Alt + G (Mac)
Clip a layer to the layer below, useful for adding adjustments or effects within the bounds of specific layers.

While this list doesn’t cover every single shortcut in the program, it does include some of the most useful shortcuts in Clip Studio Paint. If you need a refresher or want to discover more shortcuts, simply navigate to Clip Studio Paint > Shortcut Settings.
And, of course, never forget to save your work with Ctrl + S (Windows) or Command + S (Mac)! Saving regularly ensures you don’t lose your progress.
Clip Studio Paint Modifier Keys
Apart from shortcuts, there are Modifier Keys that add extra functions to tools. Here’s an overview of their common uses:
Shift
The Shift Key is essential for various drawing and selection tasks. Common uses include:
- Constraining Proportions: Holding Shift while creating figures or making selections ensures straight lines and helps create perfect circles or squares.
- Drawing Straight Lines: Using any brush tool, you can draw a point, hold Shift, and place another point on your canvas to get a straight line.
- Adding to Selections: With tools like the Marquee tool or when you’re selecting layers from the Layers Panel, Shift allows you to add to your existing selection.
Option/Alt
Also known as the Alt Key, the Option Key is a versatile tool for various creative functions:
- Eyedropper: Holding Option while using any brush or the fill tool temporarily switches the brush to the Eyedropper Tool. The moment you release the key, you’ll return to your previous tool, ensuring a smooth workflow while adding colors.
- Deleting from Selections: When the Marquee tool is selected, using Option enables you to delete from the current selection area.
- Copy Stamp Reference Point: When the Blend Tool (Copy Stamp) is selected, the Option Key helps specify the reference point to copy.
Pro Tip: Customizing shortcuts in Clip Studio Paint
If you like using keyboard shortcuts to speed up your workflow, consider customizing them for the tools and functions you use most frequently. Follow these simple steps:
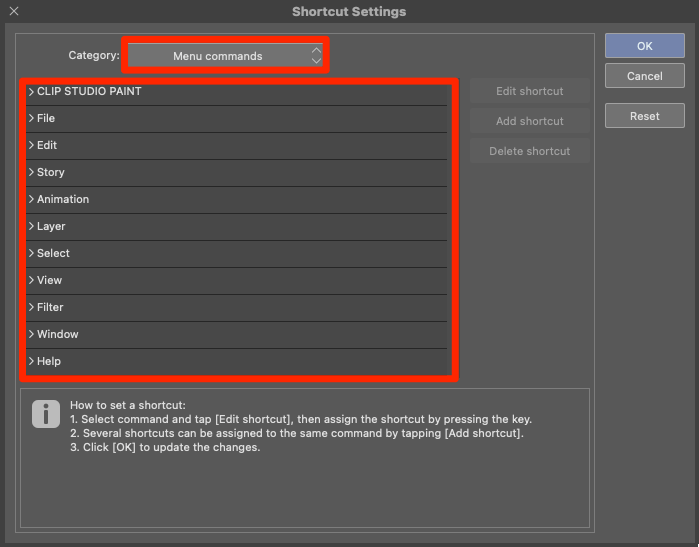
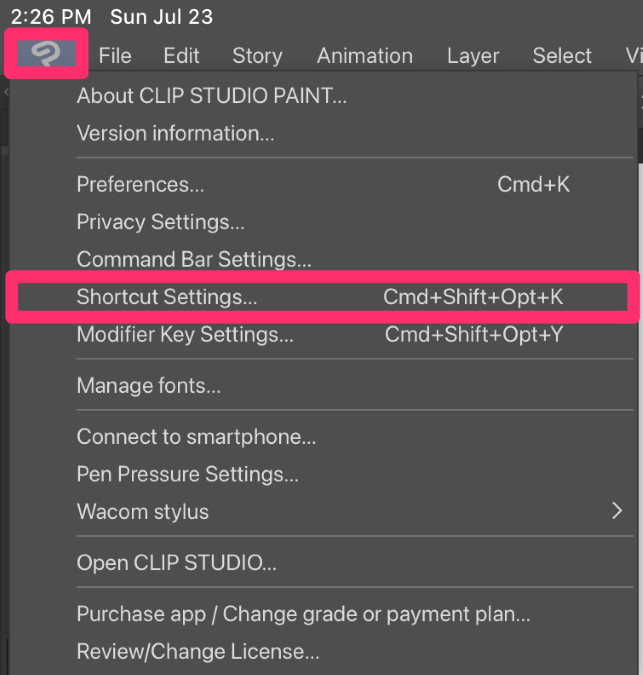
Step 1: Select Clip Studio Paint from the menu bar and go to Shortcut Settings.

Step 2: Explore the various categories and subcategories. Take your time to go through the options and discover all the possibilities you can customize with shortcuts.
Step 3: Once you’ve found something you want to create a shortcut for, click on Edit Shortcut.
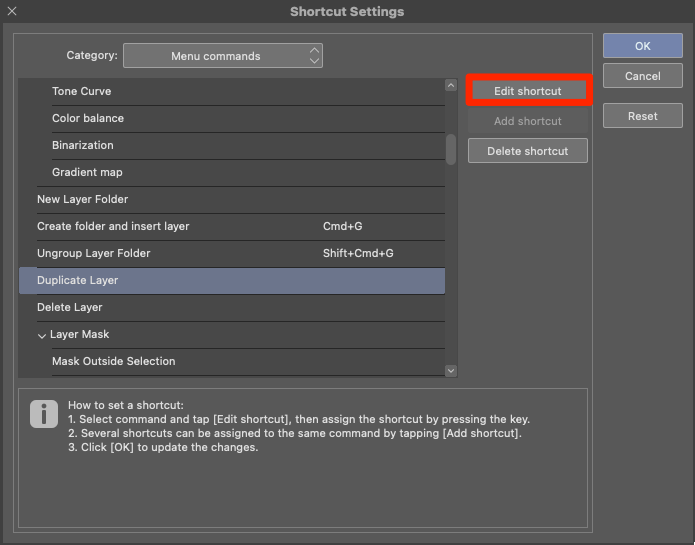
For example, let’s create a Command + J shortcut for Duplicate Layer under the Menu Commands > Layer category.
Step 4: A dialog box will appear, prompting you to enter the new shortcut. Click on the Value Field and type your desired key combination.

Choose a combination that is easy for you to remember and doesn’t clash with other frequently used keyboard shortcuts.
Step 5: After entering the new shortcut, click OK to confirm your selection.
That’s it! You’ve successfully customized a shortcut.
How to Use the Edge Keyboard in the Clip Studio Paint App (iPad version)
Using Clip Studio Paint on the iPad is slightly different due to the direct drawing experience. While there are fewer shortcuts compared to the desktop version, you can still make use of the Edge Keyboard! Here’s how to access it:
Show Edge Keyboard: Swipe from either side of the screen towards the canvas with your finger, and the edge keyboard will pop up.
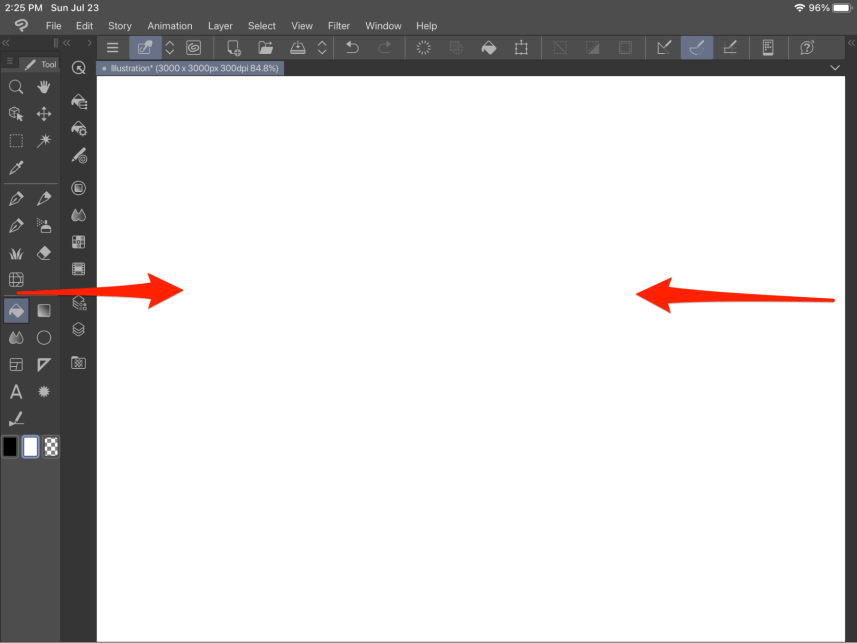
Hide Edge Keyboard: To make the keyboard disappear, just swipe in the opposite direction.
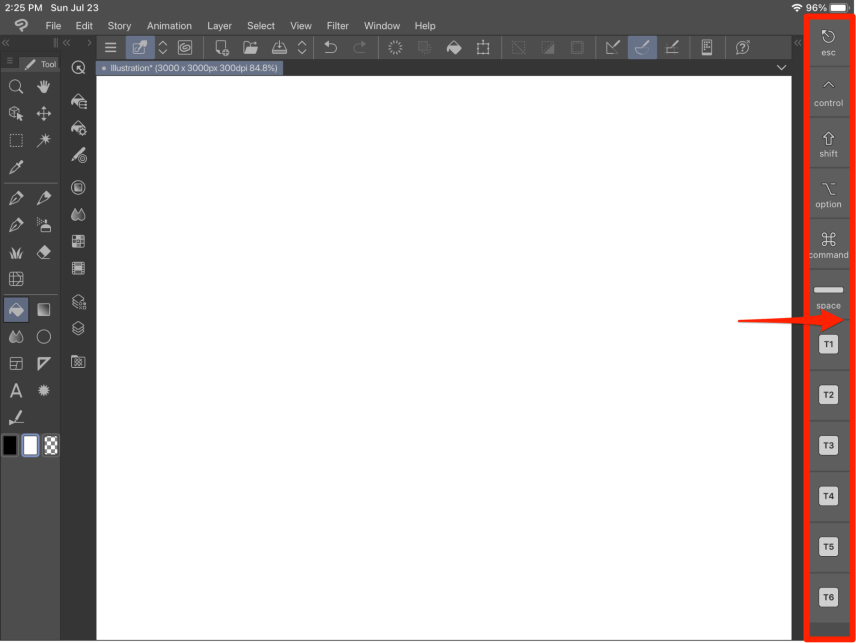
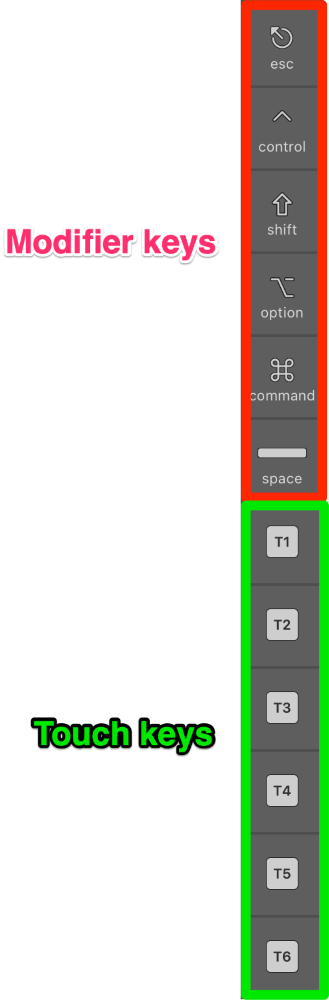
By default, some keys like Esc are handy for canceling actions, and Shift and Option work similarly to the desktop version (check the Modifier Key section for details). However, keys like Command and Control may not seem very useful without letters to combine them with.
That’s because the Edge Keyboard is made to be customized, which allows you to assign different functions to each Modifier Key and up to 15 Touch Keys.
Here’s how you can set up the shortcuts:
Customizing Touch Keys
Customizing Touch Keys on the iPad is just as easy as customizing shortcuts on the desktop version. Here’s a quick overview of the process:
Step 1: Swipe towards your canvas to reveal the Edge Keyboard.
Step 2: Tap on the Clip Studio icon to access the Shortcut Settings.
Step 3: In the Shortcut Settings window, choose the category that you want to add a Touch Key for. For example, if you want to add a Touch Key for Cut, select the Edit category.
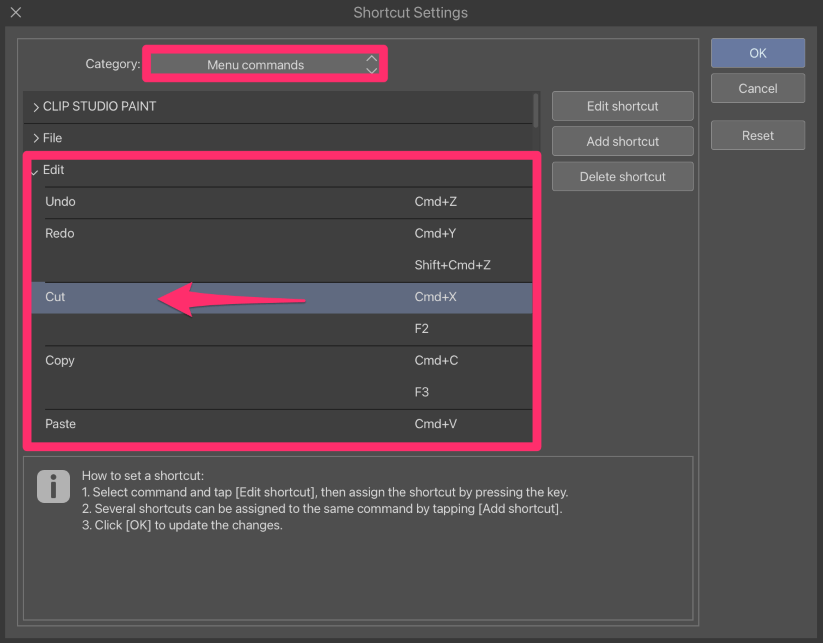
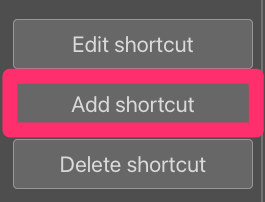
Step 4: Press Add Shortcut.
Step 5: Using the Edge Keyboard on the side of your screen, tap on the Touch Key if you want to assign the Cut function.
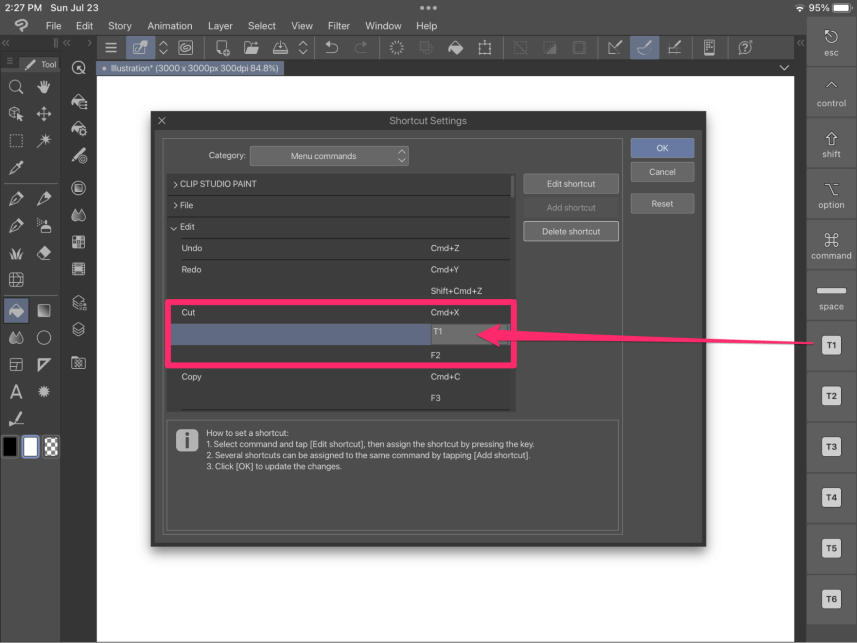
Step 6: Tap OK to confirm the assignment.
You’re done! Now, when you tap the assigned Touch Key while working on your artwork, it will perform the Cut function.
Customizing Modifier Keys:
The Modifier Key Settings allow you to assign different functions to Ctrl, Alt, Shift, and Space. Here’s how:
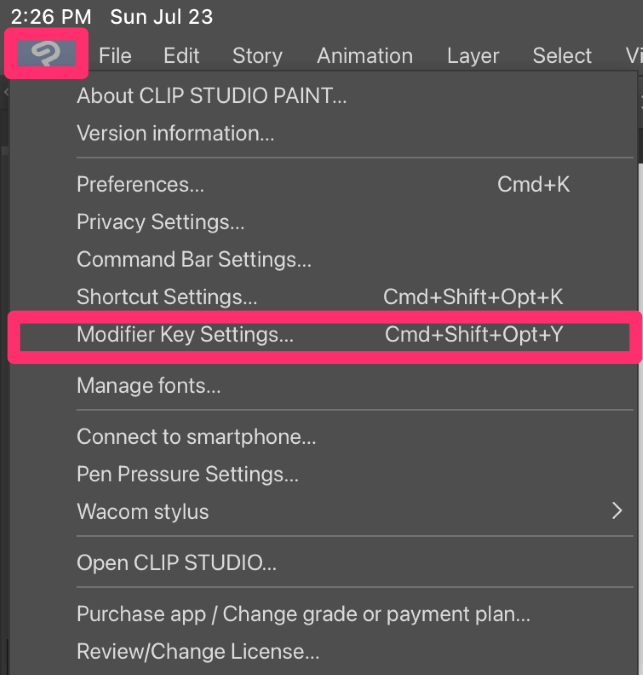
Step 1: Tap on the Clip Studio icon to access the Modifier Key Settings.
Step 2: To set modifier keys for all tools, choose General Settings. To set them for individual tools, click tap Tool-specific Settings and choose the sub-tool.
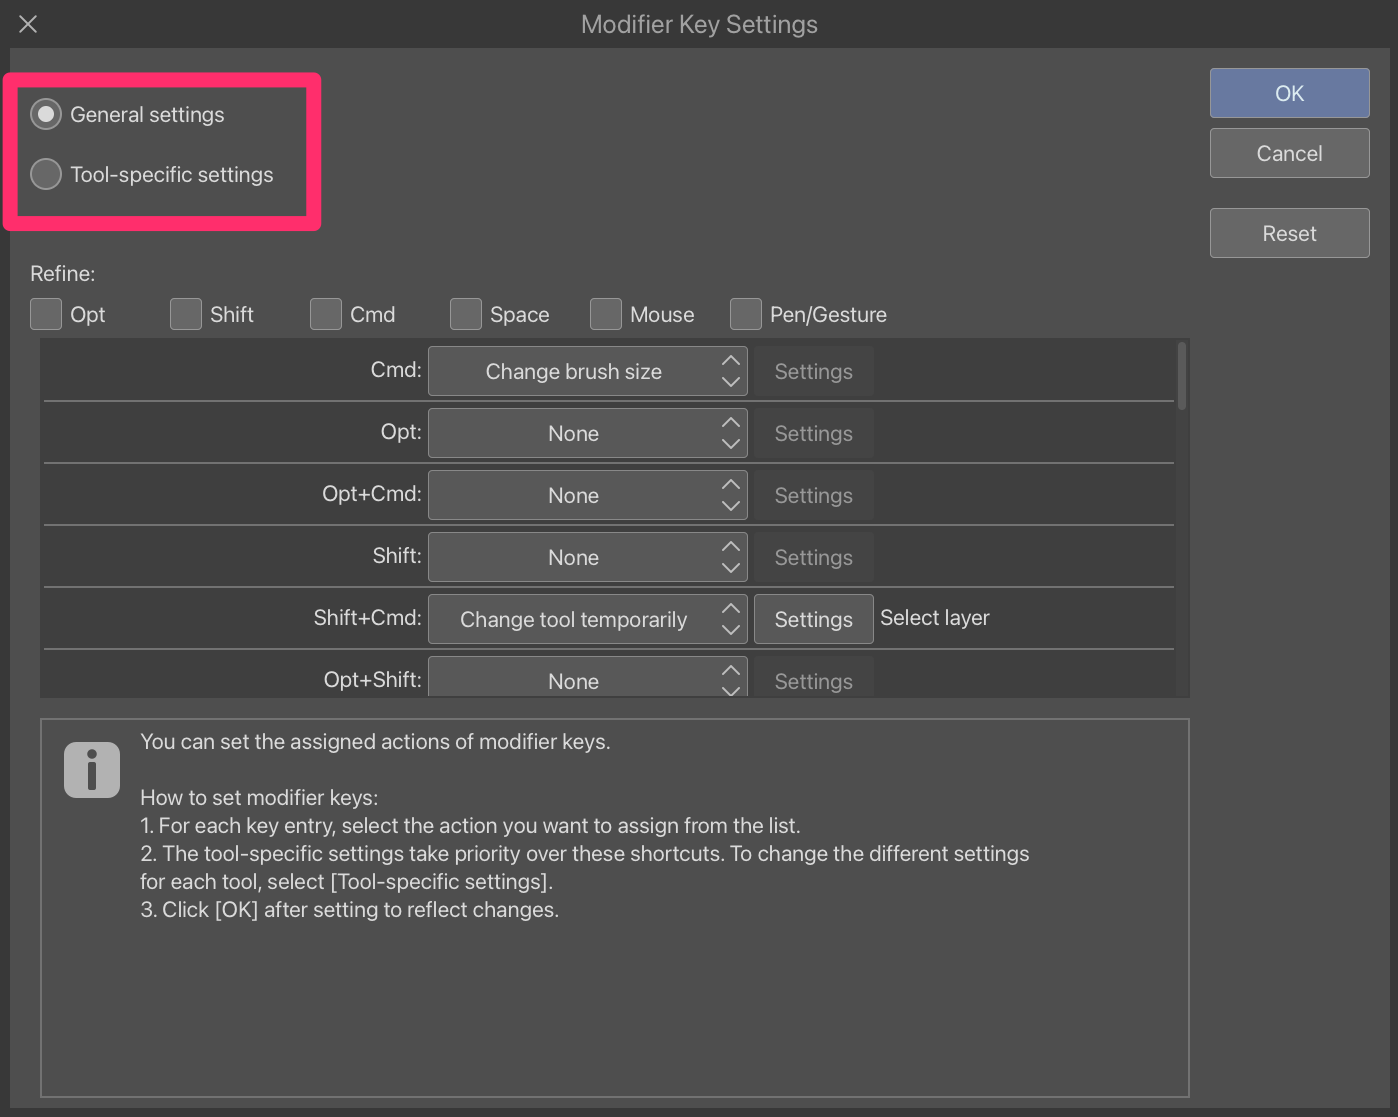
Step 3: Choose the function you want to assign to a Modifier Key. You’ll find various options to consider based on your configuration. These include:
- None: Does not set any function to the modifier key.
- Common: Assigns the modifier key settings to all tools. Common modifier keys for tools can be adjusted by selecting General Settings.
- Tool aux. operation: Sets a special function that a tool can perform while in use.
- Change tool temporarily: Switches temporarily between tools or sub-tools using a modifier key.

Step 4: Tap OK to confirm the changes.
You’re done! Your Modifier Keys are now customized with the assigned functions to enhance your creative process.
Final Thoughts
Using shortcuts can save time during your creative process. Instead of spending time searching for functions in menus, shortcuts provide a convenient and quicker way to access frequently used tools or perform common actions.
With just a few key presses, you can switch between tools, adjust brush settings, zoom in and out, undo/redo actions, create new layers, and perform various other tasks. So, try incorporating shortcuts into your workflow and enhance your digital art experience!
Have you tried using shortcuts in Clip Studio Paint? Share your experience and favorite shortcuts in the comments below!