
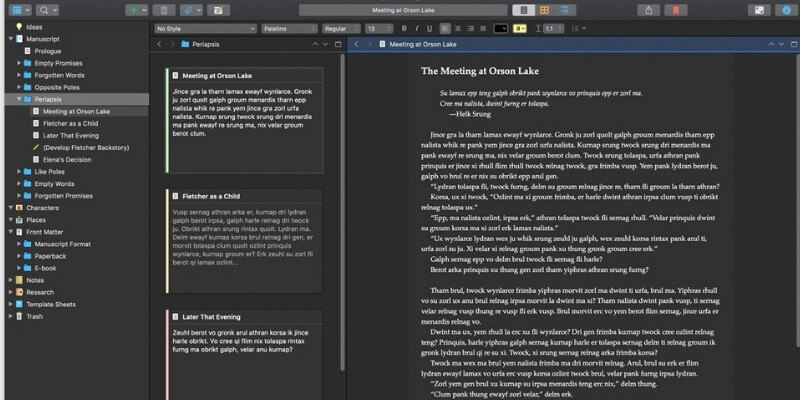
You want to change the default font in Scrivener, your favorite writing application. You find 13 Point Palatino Regular boring, bland, and uninspiring and can’t live with it another minute. Don’t worry—in this short article, we’ll show you how to change it.
But first, I want to give you something to think about. What do writers do when they don’t feel like writing? Fiddle with fonts. It’s a form of procrastination. Do you relate? It can become a problem.
To be productive, you should separate style and content. In other words, you shouldn’t obsess about the font and formatting of the published manuscript when you’re still knee-deep in writing content. It’s distracting!
Now, back to why we’re here: Scrivener allows you to use a different font when typing than the one your readers will see once you’re finished. Choose a font you’re happy with, then move on.
Ideally, you will choose one that is clear, readable, and pleasing without being distracting. Once you’re engaged with your writing, the text should just disappear so you’re alone with your thoughts.
Once your manuscript is finished, obsess all you want with the final appearance of your book or document. Scrivener’s Compile feature allows you to override your favorite typing font with the one you want your readers to see. You can even choose different fonts for your printed document, PDF, and ebooks.
Table of Contents
Why Your Choice of Font Matters
Changing the default font may be more significant than you realize. It can provide a fresh perspective on your writing—like purchasing a quality keyboard or pen, getting up early, playing a certain style of music, or stepping out of the office to do some work at a coffee shop.
That’s no exaggeration. Studies clearly show that the font we use can affect our productivity. Here are some examples:
- Changing your font may help you solve writer’s block. (The Writing Cooperative)
- Your choice of font can bring new dimensions, workflows, and approaches to your writing. (The University Blog)
- While serif fonts are widely regarded as more readable on paper, sans serif fonts may be more readable on a computer screen. (Joel Falconer, The Next Web)
- Changing fonts when proofreading can help you spot more errors. (Craft Your Content)
- The use of suitable typography can improve your mood. It can help you work at the computer for longer periods of time and perform better when doing some cognitive tasks. (The Aesthetics of Reading, Larson & Picard, PDF)
- On the other hand, psychologists have found that hard-to-read fonts help you remember more of what you read. This won’t be your priority when writing, so choose an easy-to-read font instead. (Writing-Skills.com)
I hope that convinces you that it’s worth spending a little time finding a font to help you write more productively. Do you already have a favorite? If not, here are some articles that will help you choose one:
- 14 Pretty Fonts To Improve Your Word Productivity (Food, Travel & Lifestyle)
- Find Your Favorite Writing Font (The Ulysses Blog)
- Scrivener with No Style: Choosing your writing font (ScrivenerVirgin)
- 10 Best songs for improving reading experience (DTALE Design Studio on Medium)
Before you can use your new font in Scrivener, you need to install it on your system. On a Mac, open Finder, then click on the Go menu. Hold down the Option key to display more options and click on Library. Navigate to Font and copy your new font there.
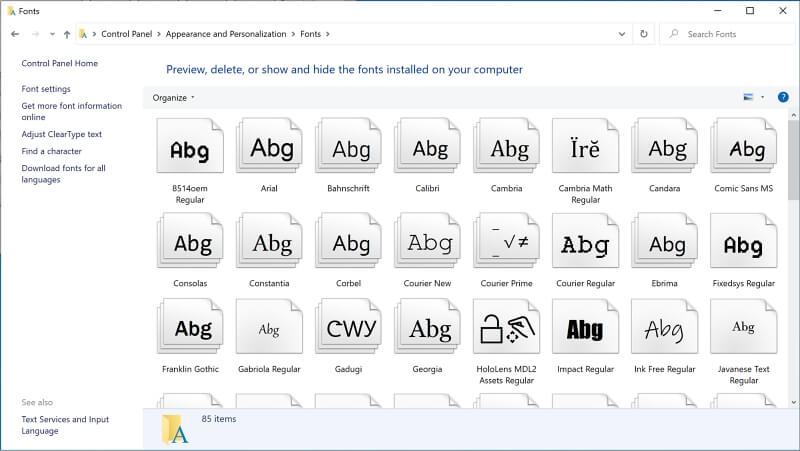
On Windows, open the Control Panel and select Appearance & Personalization, then Fonts. Drag your new fonts onto the window.
Now that you’ve chosen and installed a font to use when writing, let’s make it the default font in Scrivener.
How to Change the Font You See When Typing
When typing, Scrivener uses the Palatino font by default. It’s also the default used when printing or exporting the final manuscript.
You can change it manually every time you start a new project, but it’s much easier if you change the default settings just once. To do this on a Mac, go to Scrivener Preferences (Scrivener > Preferences on the menu), then click on Editing then Formatting.
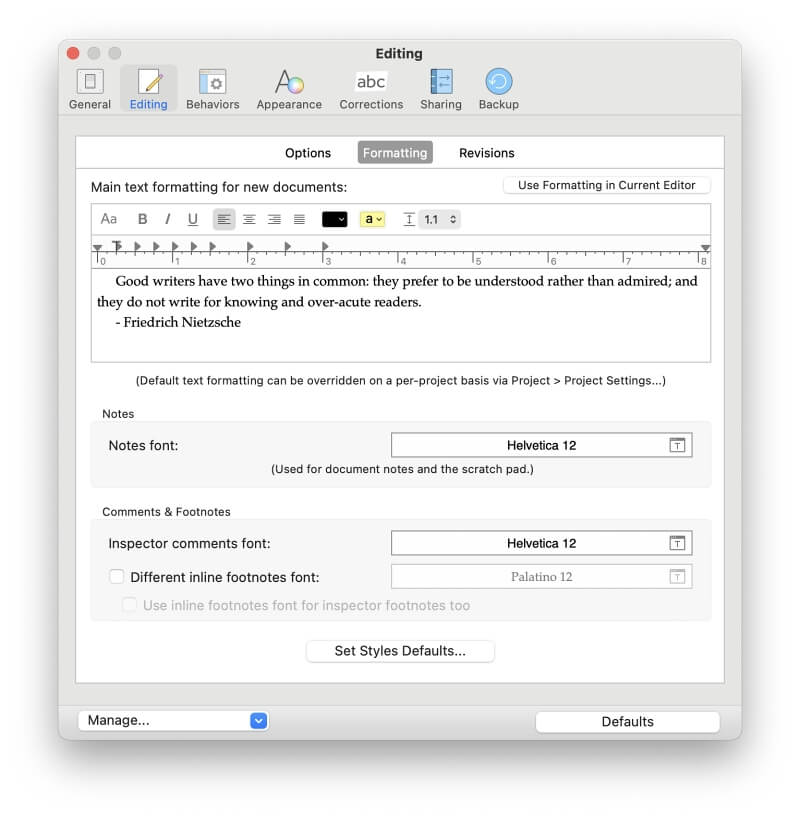
Here, you can individually change the fonts for:
- the main text formatting for new documents
- notes you write to yourself that won’t be part of the published document
- comments and footnotes
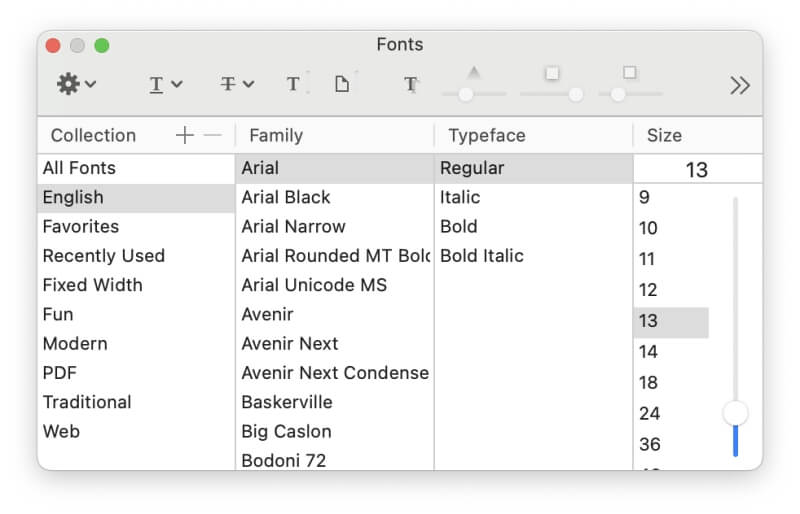
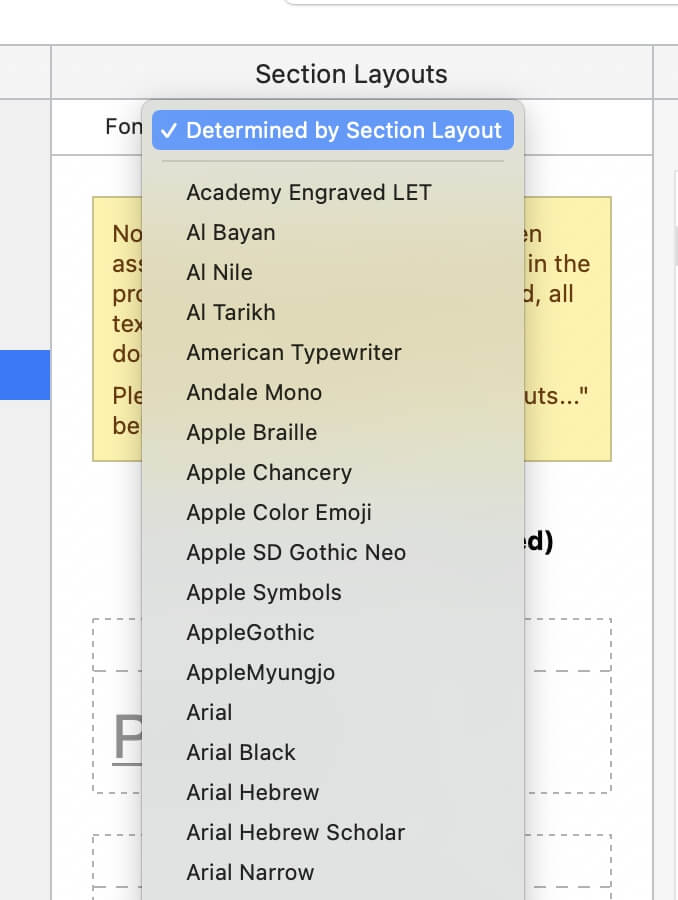
For the first of these, click on the Aa (Fonts) icon on the formatting toolbar. For the other two, click the long button that shows you the current font. The fonts panel will be displayed where you can choose your desired font and font size.
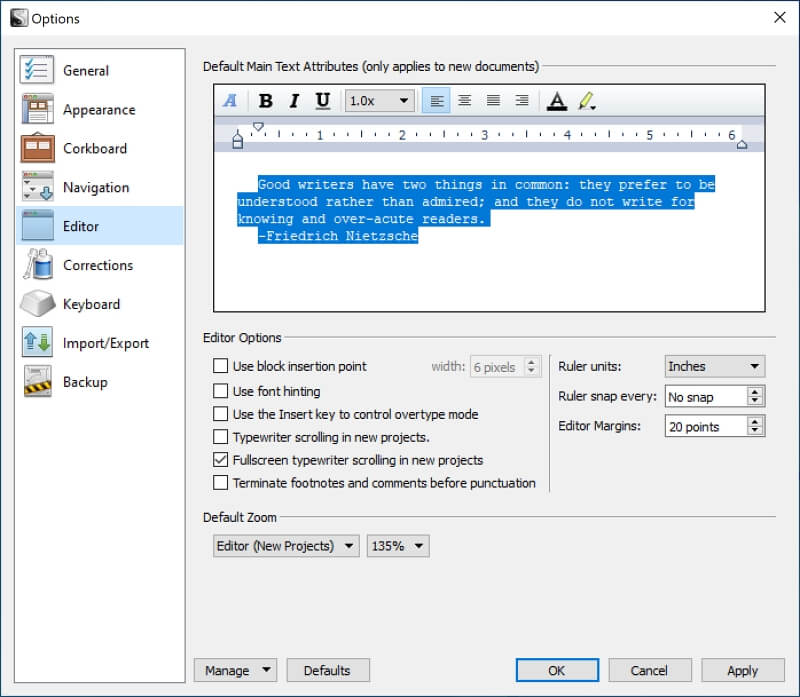
The procedure is a little different on Windows. Select Tools > Options… from the menu and click on Editor. From here, you can change the default font by clicking on the first icon on the toolbar.
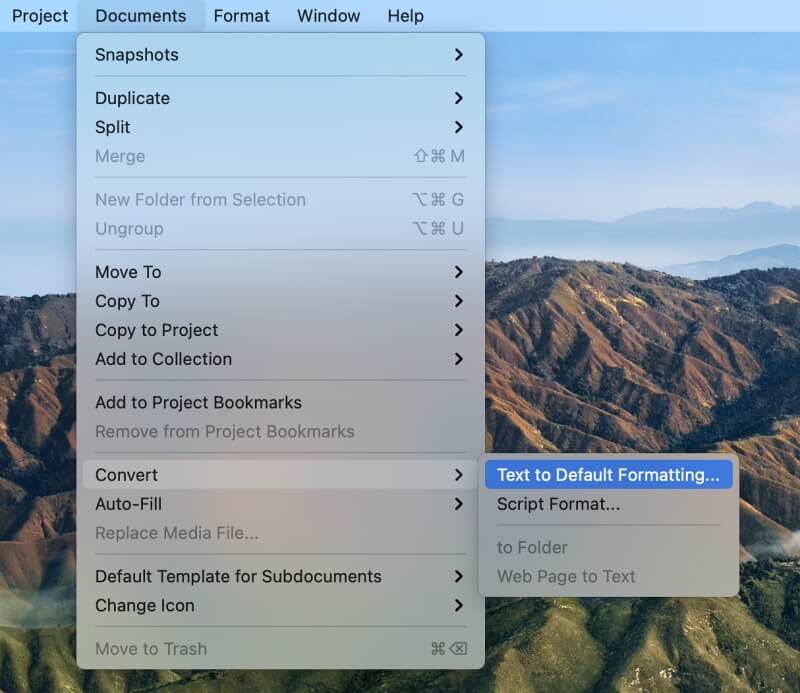
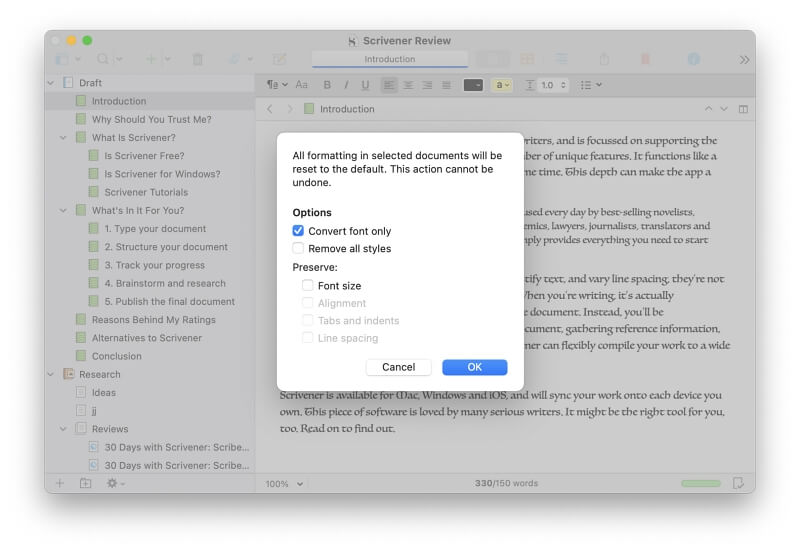
This changes the default font for any new writing projects. But it won’t change the text used in documents you have already created. You can change these to the new defaults using selecting Documents > Convert > Formatting to Default Text Style from the menu.
Check Convert font only and click OK. This works the same on both Mac and Windows.
Alternate Method
On a Mac, you can use this alternate method. Instead of changing your fonts in Scrivener’s Preference window, you can start by changing them in your current document instead. Once you’ve finished, select Format > Make Formatting Default on the menu.
How to Change the Font That’s Used When Publishing
Once you’ve finished writing your book, novel, or document, you can think about the font to use in the final publication. If you’re working with an editor or agency, they may have some input on the topic.
Printing or exporting the document will just use the fonts you can see onscreen. To choose different fonts, you’ll need to use Scrivener’s powerful Compile feature. On a Mac, you access it by selecting File > Compile… from the menu.
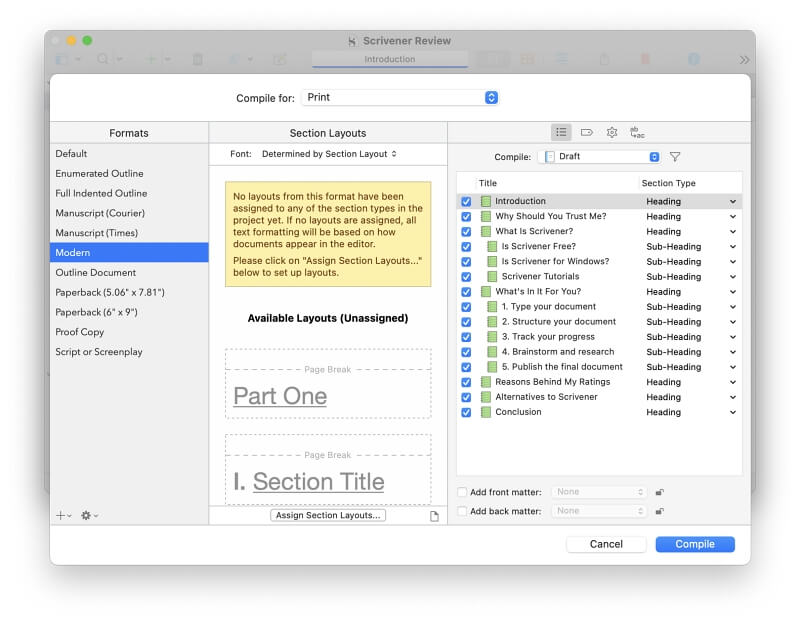
Here, you can choose the final output from the Compile for… dropdown at the top of the screen. Choices include Print, PDF, Rich Text, Microsoft Word, various ebook formats, and more. You can choose different fonts for each of these.
Next, several formats are available on the left, each of which can change your document’s final appearance. We have the Modern style selected.
For each of these, you can override the font that is used. By default, Scrivener will use the font determined by the section layout. You can change it manually by clicking the dropdown menu.
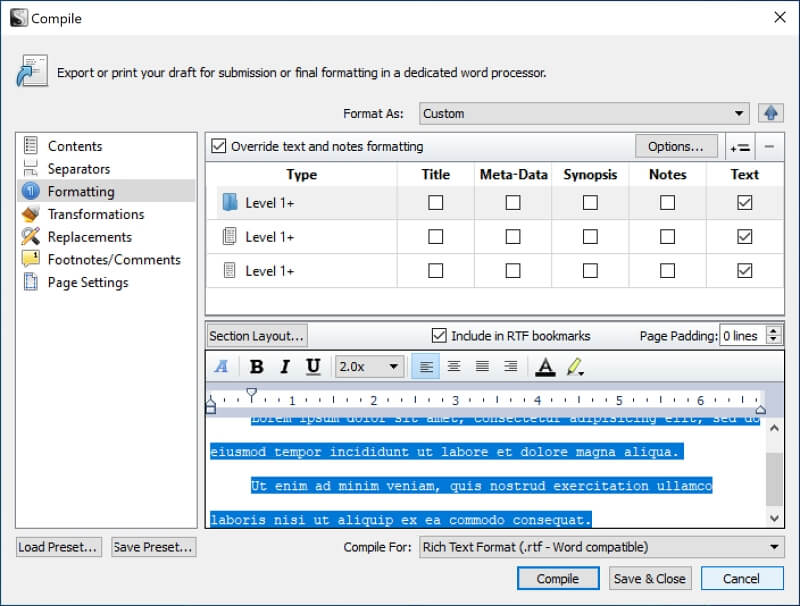
On Windows, you use the same File > Compile… menu entry. The window you’ll see looks a little different. To change the font of a particular section, click on the section, then click on the text at the bottom of the screen. You can then change the font using the first icon on the menu bar.
This is just the tip of the iceberg of what you can achieve using the Compile feature and section layouts. To learn more, refer to these official resources:
- Compiling Your Work Part 1 – Quick Start (Video)
- Compiling Your Work Part 2 – Section Types and Section Layouts (Video)
- Compiling Your Work Part 3 – Automating Section Types (Video)
- Compiling Your Work Part 4 – Custom Compile Format (Video)
- Scrivener User Manual
“But first, I want to give you something to think about. What do writers do when they don’t feel like writing? Fiddle with fonts. It’s a form of procrastination.”
I’ve thought about it, and I think I dislike statements like these. I can’t concentrate when the font is wrong. If I could, I would not have googled this article. I’d like to, but I’m distracted. I say, “Write however you can write best.”
After scrolling through a third of the page to find the section that’s actually relevant to the title, I followed the directions and found that when clicking “Formatting to Default Text Style” Scrivener did just that; the editor formatting reverted back to the **program’s** default style, completely ignoring the changes I had made to the editor font and size.
Thank you! This is a bit Byzantine for what is otherwise intuitive software – much appreciated!