
One of the great benefits of digital art over traditional art is how easy it is to change the colors of your artwork. Understanding this technique opens up infinite artistic possibilities; you might use it to experiment with the colors in your paintings, make basic photography fixes, or create any number of other abstract color expressions.
To beginners in digital art, this technique looks pretty advanced, but it’s fairly simple to learn. Most well-known painting software has a similar tool, and paint.net’s Recolor tool is one of the more intuitive and well-controlled.
This tutorial will focus on the Recolor tool, but there are a few tools in paint.net that are helpful when you’re changing your artwork’s colors and we’ll touch on the Hue/Saturation adjustment as well as the Magic Wand tool.
Changing Colors in Paint.NET Using the Recolor Tool
Paint.net is a downloaded program, so be sure you have paint.net installed and updated if necessary. For this tutorial, I will be using version 4.3.12, and some older versions will work slightly differently.
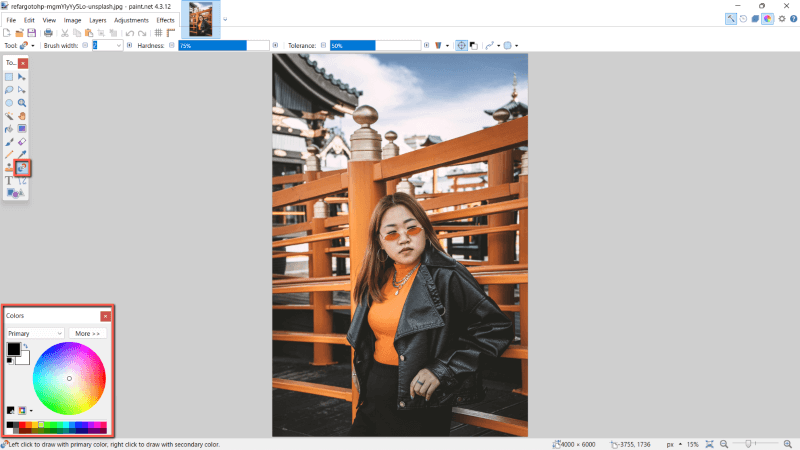
Step 1: With your artwork open in paint.net, set up your workspace and make sure your Colors window is open. If it isn’t, select the color wheel at the top right-hand corner of the window.

The screenshot was taken in paint.net
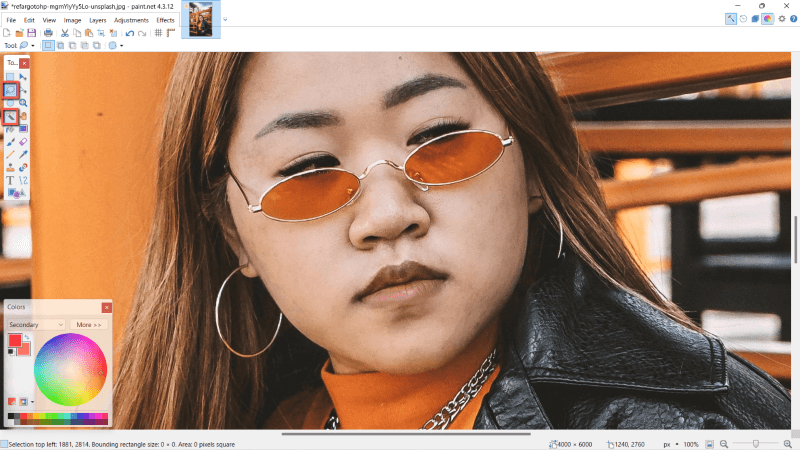
Step 2: From the left-hand toolbar select the Recolor tool. The keyboard shortcut for this tool is R.
Step 3: Set up your brush settings. Depending on the size and amount of color variation in the area you are recoloring, adjust your brush width, hardness, and tolerance.
Tolerance describes how similar the pixels must be to the replaced color. Set to 0% only exact matches will be recolored, and at 100% all pixels will be recolored.
Moving along the toolbar, Tolerance alpha mode gives you the option between Premultiplied and Straight. This affects the selection of transparent pixels.
The next icons are Sampling Once and Sampling Secondary Color. We’ll go over both modes.

Step 4: Select the desired Primary and Secondary colors.
While using Sampling Once, you’ll be able to paint with both colors.
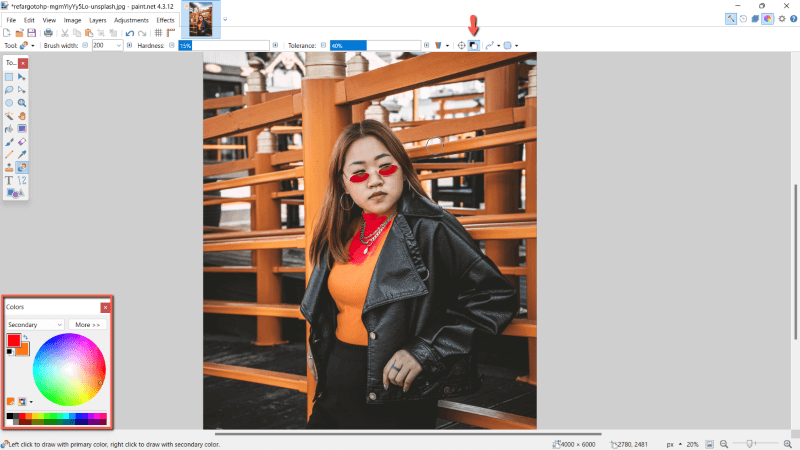
While using Sampling Secondary Color, you’ll paint with the primary color, and the secondary color will be sampled and recolored. For example, with red as your primary color and orange as your secondary, orange pixels will be replaced with red.
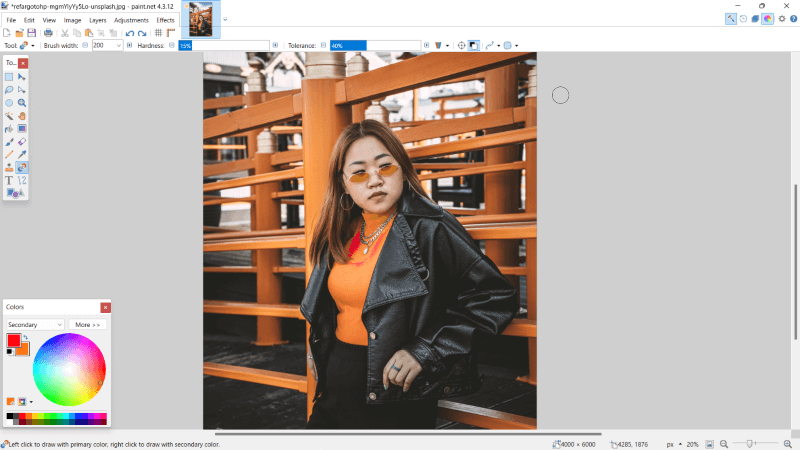
Step 5: Paint over the pixels you wish to replace.
With Sampling Once selected, left click and drag to paint with the primary color or right click and drag to paint with the secondary color. The first area you click on while you paint is the color that will be replaced.
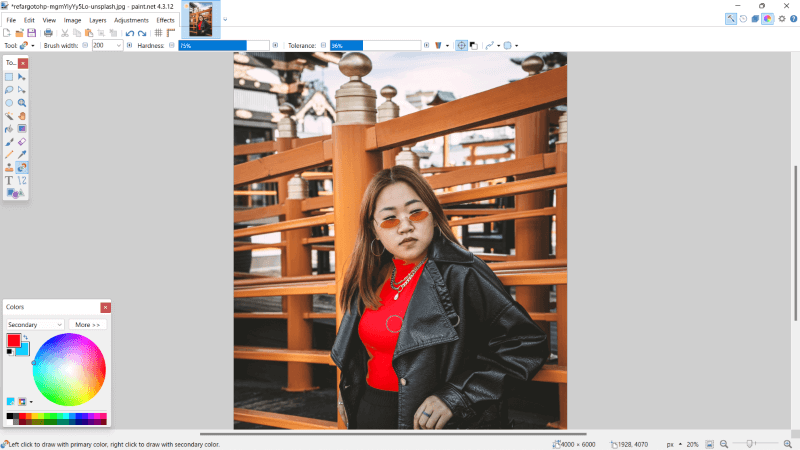
This action will work similarly with Sampling Secondary Color, only rather than replacing the color you clicked on in the image, it will only replace the secondary color. Right-clicking reverses the roles of the colors.
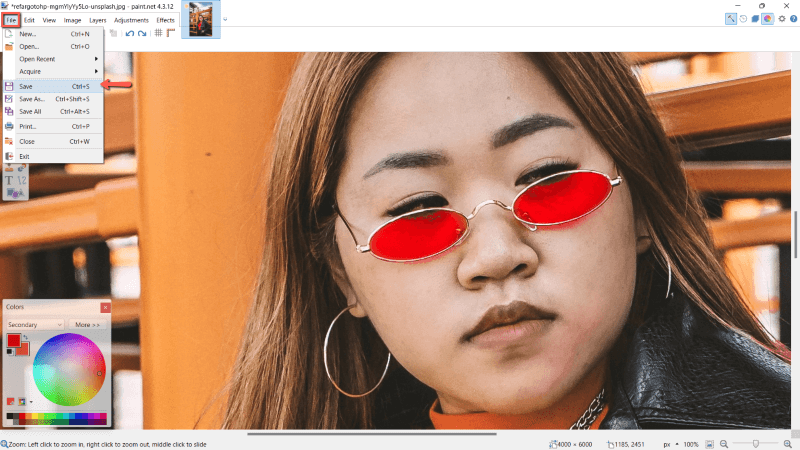
Step 6: Save your work by navigating to File in the Menu bar, and from the drop-down menu selecting Save as. Alternatively, press on your keyboard CTRL and S.
Additional Tips
If it’s a challenge to paint only over the right area, you may find it useful to draw a selection first. In this case, you’ll likely want to work with the Lasso Select tool or the Magic Wand tool, located on the left-hand toolbar.
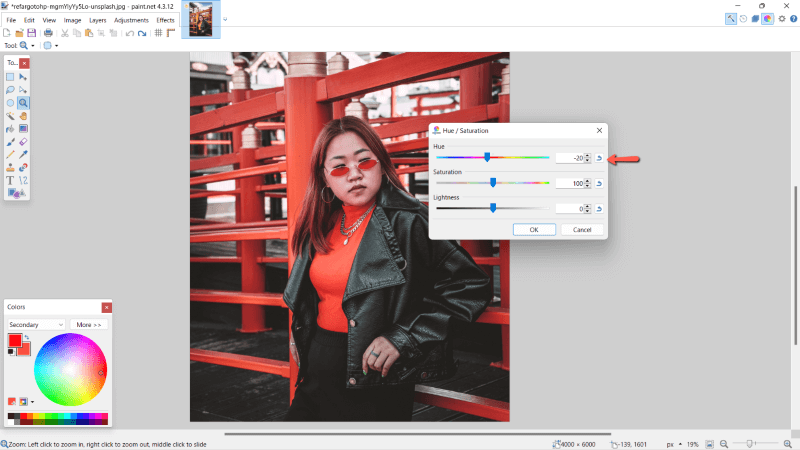
Another way to quickly change the colors of your work is through an adjustment. To use this technique, navigate to the Adjustment tab of the menu bar and choose Hue/Saturation.
Final Thoughts
It can take some experimentation to fully master, but recoloring artwork is an incredibly useful technique to know. With this in your toolbox, it’ll be easier to rework unsatisfactory coloring or take your artwork to another level with unexpected abstraction.
Do you think paint.net’s recolor tool is useful? Share your perspective in the comments and let us know if you need anything clarified.