
What do you do when you have 857 photos to edit and only a couple of days to do it? If you said to drink lots of coffee and pull an all-nighter, you really need to read this article!
Hello! I’m Cara and as a professional photographer, I kind of have a love/hate relationship with photo editing.
Firstly, I love it because editing is the cherry on top. A little dodging and burning here, a little color correction there, and suddenly you have an outstanding image. Plus, four different photographers can take the same image and make four distinct images. It’s awesome!
However, editing is also time-consuming and that’s what I don’t like about it. And there’s a lot of busy work with the same edits that need to be done on every one of those 857 images.
What if you could make all those basic edits at once! You absolutely can when you learn how to batch edit in Lightroom. Let’s take a look!
Note: the screenshots below are taken from the Windows version of Lightroom Classic. If you are using the Mac version, they will look slightly different.
Table of Contents
Batch Editing with Presets
The quickest way to edit multiple images is to simply apply a preset to a bunch of photos at once. Don’t have any good presets to use? Learn how to make your own presets here.
Once you’ve got your preset ready, it’s super simple to apply it.
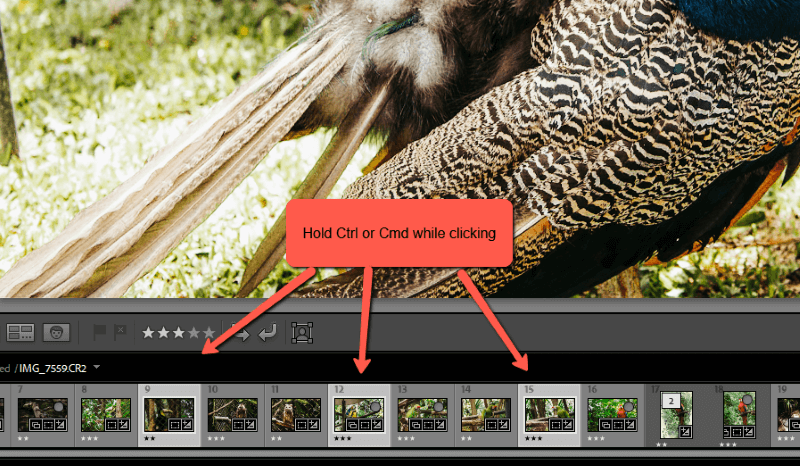
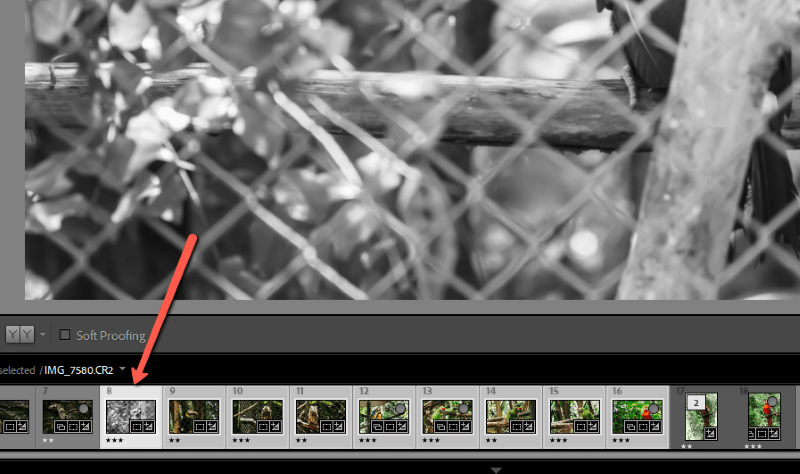
Step 1: In the Develop module, choose the images you want to edit. If you’re choosing multiple images that are not next to each other, hold the Ctrl or Command key while clicking on each image to select them.
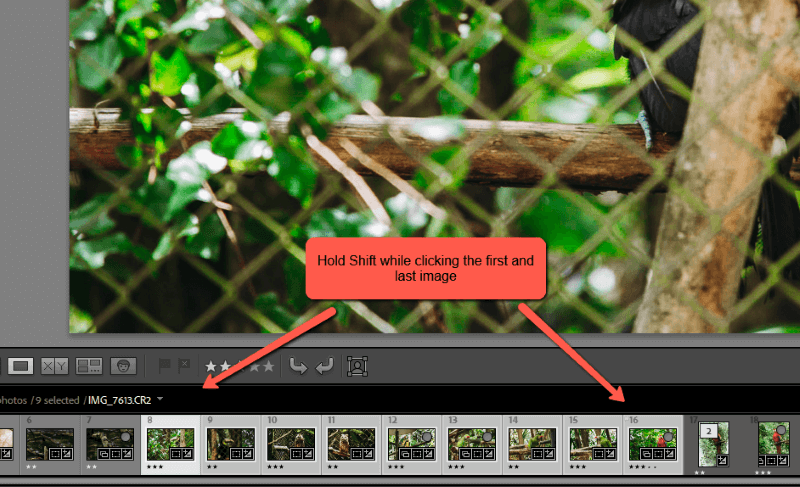
If you want to select multiple images in a row, hold Shift while clicking the first and last image in line.
If you want to select all the images currently in your filmstrip at the bottom, press Ctrl + A or Command + A. check out this article for more helpful Lightroom shortcuts.
Step 2: With your selections made, go to the Presets panel on the left underneath the Navigator window.
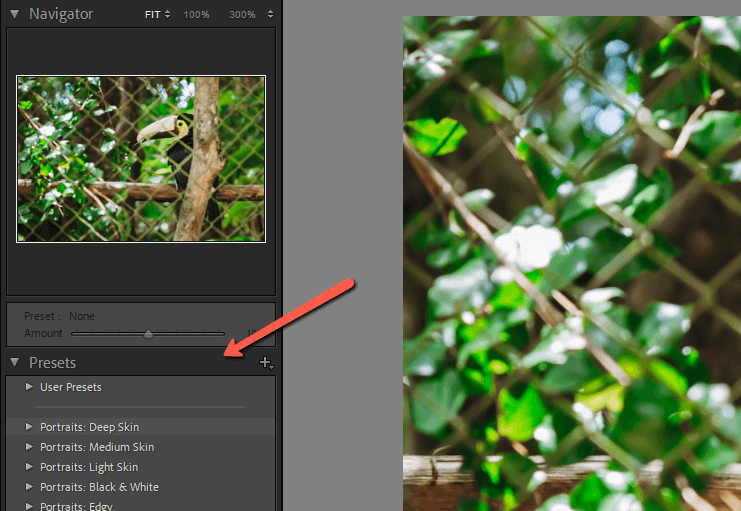
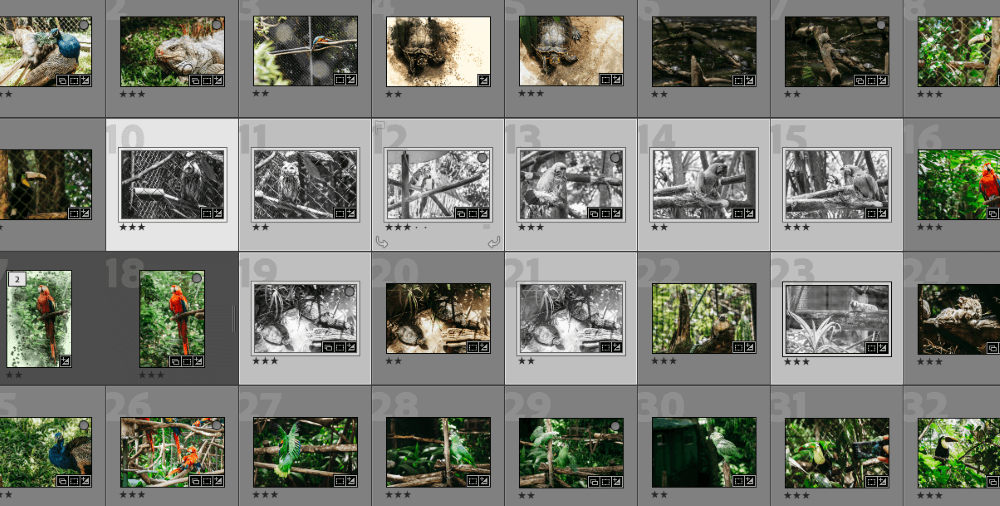
Scroll through and choose whichever preset you want to apply to the images. I’ll grab a black and white preset so you can easily see the changes I’m making.
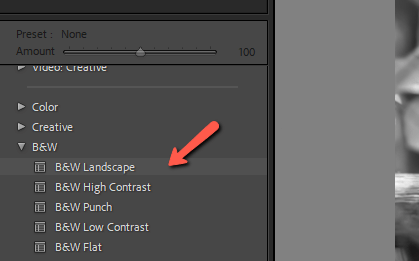
Choose the preset and it will be applied to only the first image. What happened?
No worries, it’s not done yet.
Step 3: Press the Sync button on the right under the editing panels.
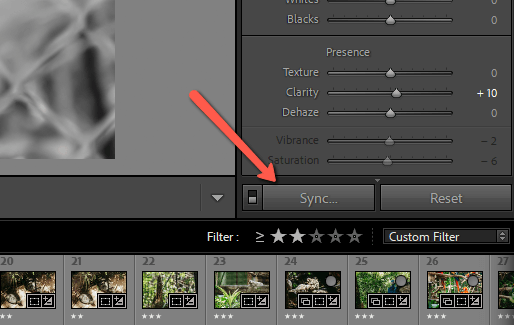
This box will pop up asking which types of edits you would like to sync.
Step 4: Check the boxes (or check all to save time) and press Synchronize.
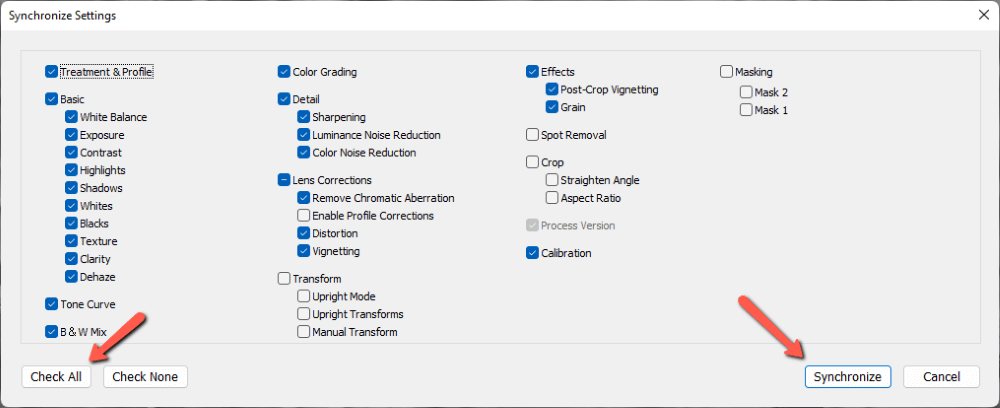
This will apply the selected settings to all the selected images.

Batch Editing Manually
What if you don’t have a preset and will be making a bunch of changes to the image?
You can use the same technique. Simply make all your changes to one image. When you’re ready, select all the images and hit the Sync button.
Make sure that you click on your edited image first and then select the other images. Lightroom will take the edits from the first image and apply them to everything else.
Another option is to make edits simultaneously. You’ll notice a little toggle switch to the left of the Sync button. Flip this and the Sync button changes to Auto Sync.
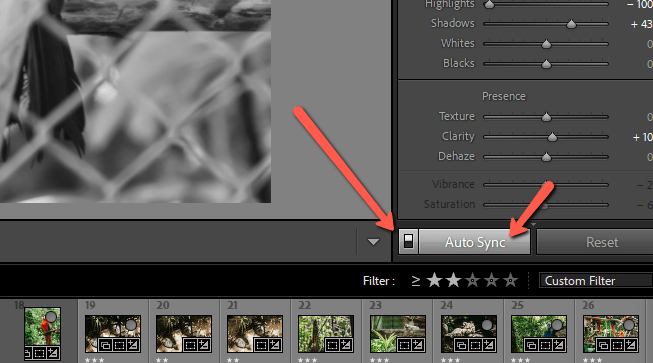
Now, any changes you make to any of the selected images will automatically be applied to all the selected images.
Note: depending on your system, Lightroom can be slow when using this method, especially when using tools that take a lot of power.
Batch Editing in the Library Module
There’s one other quick method you can use in the Library module. This is handy when you’re picking and choosing lots of images. Instead of scrolling back and forth on the film strip, you can choose the images from the grid.
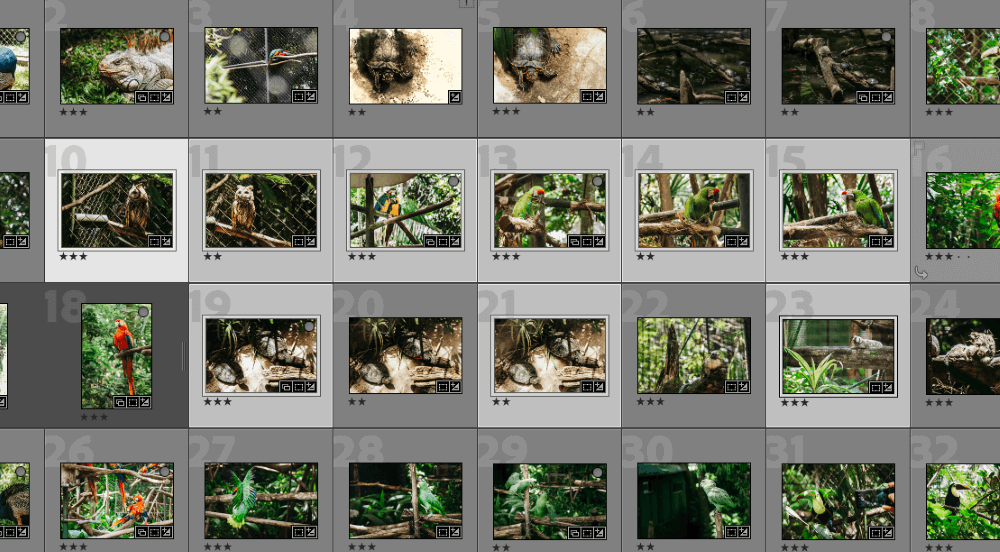
Step 1: Press G on the keyboard to jump to the Grid view in the Library module. As before, select the images you want to edit. Hold Shift for consecutive images or Ctrl or Command for non-consecutive ones.
Pro tip: Select the consecutive images first, then select the individuals.
Step 2: Go over to the Quick Develop panel on the right under the histogram. Click the arrows in the Saved Preset box.
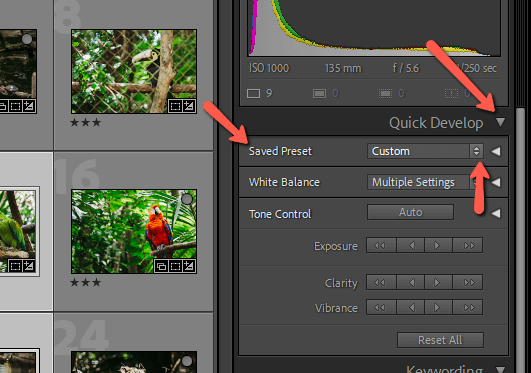
This will open your list of presets.
Step 3: Navigate to the one you want to use and click on it.

All the preset settings will automatically be applied to your selected images.
Making Your Images Awesome
Of course, though using presets saves a ton of time, individual images may still need a few tweaks. Visit each of your batch edited images to see how they look and apply any other edits.
Yes, you’ll still have to look at each of your 857 images individually, but you won’t have to painstakingly apply the same 24 basic edits to each one. Imagine the time you’ve saved!
Wondering how else Lightroom can help your workflow? Check out the masking tools in Lightroom and how to use them here.