
Your smartphone is probably your most-used computing device. It stores contacts, communications, appointments, to-do lists, and memories in the form of photos and videos.
Yet they are vulnerable to theft and damage, which places your valuable data at risk. How do you safeguard your data? By creating a backup.
Apple has provided its own tightly integrated backup solution in the form of iCloud Backup, but you may want to consider backing up to Google Drive as well. There are several benefits to doing this:
- It allows you to more easily access your data on non-Apple devices
- It keeps your options open in case you want to migrate to Android in the future
- Google offers more free cloud storage space than Apple (15 GB rather than 5)
- Google offers unlimited photo backup for free if you’re willing to cap the resolution of your photos
- It’s a convenient way to create an extra online, off-site backup
There are also some negatives. The biggest is that, unlike iCloud Backup, Google Drive doesn’t safeguard everything on your phone. It will back up your Contacts, Calendars, Photos and videos, and Files. But it won’t back up Settings, Apps, App data stored in databases rather than files, Text messages, and voicemails.
While Google’s free plan is more generous than Apple’s, their paid plans cost the same. But Google does offer more tiers, and some include more storage than you can get with iCloud. Here’s an outline of the available plans and their prices:
Google One:
- 15 GB free
- 100 GB $1.99/month
- 200 GB $2.99/month
- 2 TB $9.99/month
- 10 TB $99.99/month
- 20 TB $199.99/month
- 30 TB $299.99/month
iCloud Drive:
- 5 GB free
- 50 GB $0.99/month
- 200 GB $2.99/month
- 2 TB $9.99/month
With that brief introduction out of the way, let’s get to the nitty-gritty. Here are three methods to back up your iPhone to Google Drive.
Table of Contents
Method 1: Backup Contacts, Calendar & Photos with Google Drive
The Google Drive iOS app backs up your contacts, calendars, photos, and videos to Google’s cloud services. Note that this is a single copy of your data, not multiple versions. The previous contact and calendar backups will be overwritten each time. There are several limitations you should be aware of:
- You must be on a Wi-Fi network to back up photos and videos
- You must be using a personal @gmail.com account. The backup is unavailable if you are signed in to a business or education account
- The backup must be performed manually
- The backup will not continue in the background. You won’t be able to use other apps during the backup, and the screen must remain on until the backup is finished. Fortunately, if the backup is interrupted, it will continue from where it left off
For many users, those limitations are less than ideal. This method is the best way to back up your contacts and calendars to Google, but I don’t recommend using it for your photos and videos.
Method 2 is my preferred method for those items; it has none of the limitations listed above. It allows you to back up using mobile data to any Google ID (including business and education accounts). Finally, it backs up in the background without the need to manually restart from time to time.
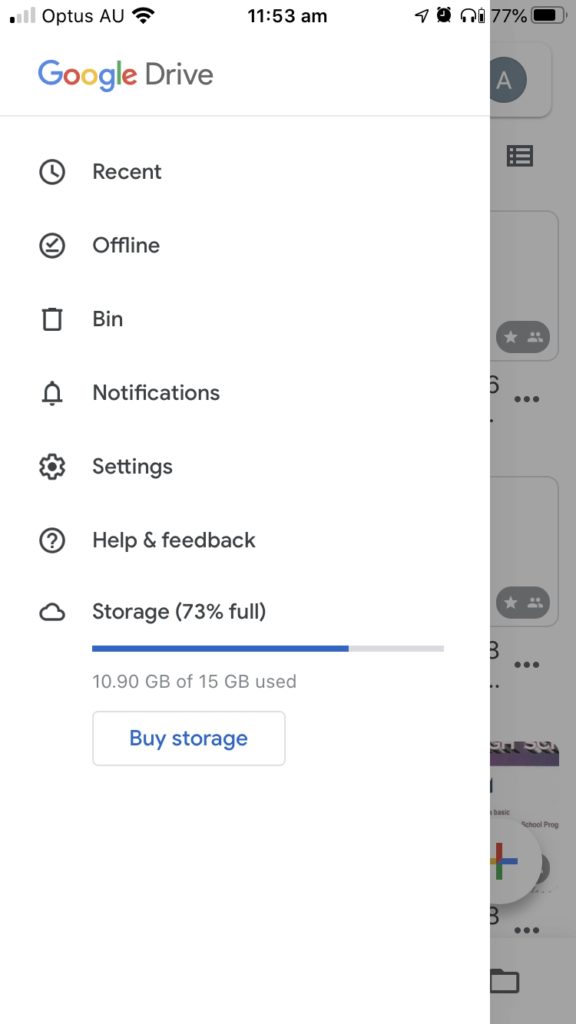
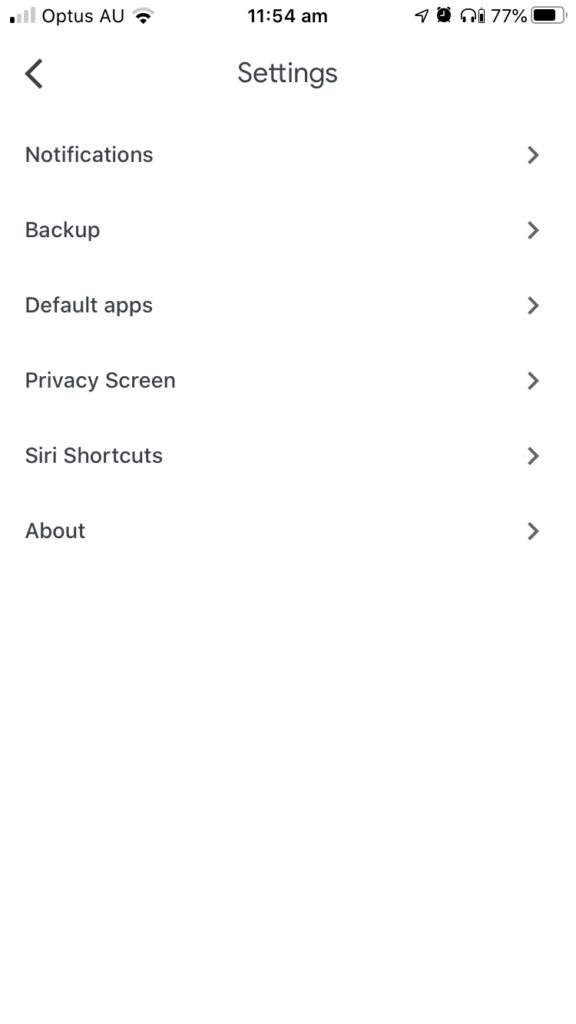
Here’s how to use the Google Drive app to back up your iPhone’s data. First, open the app, then tap the “hamburger” icon in the top left to display the menu. Next, tap Settings, and then Backup.
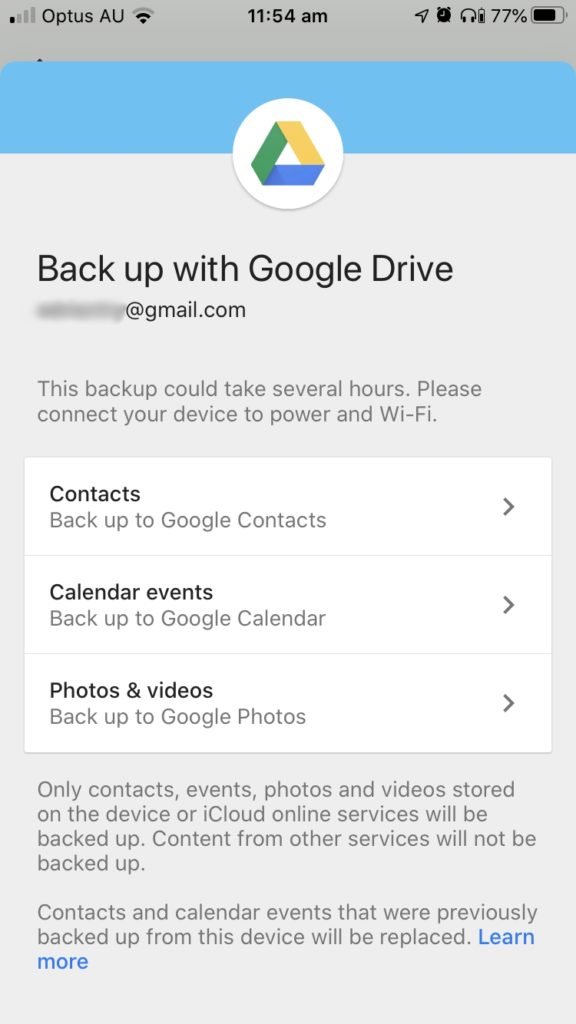
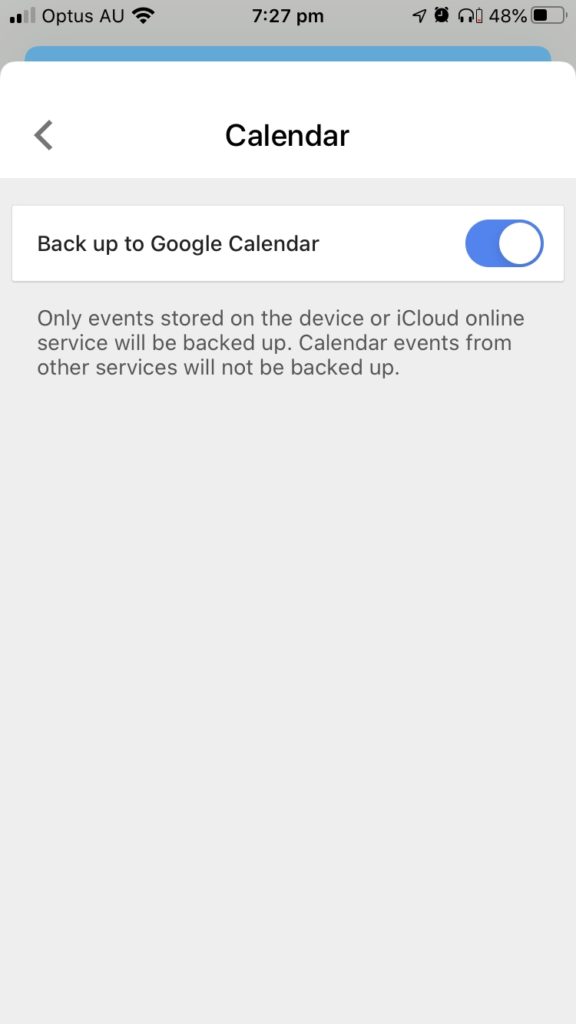
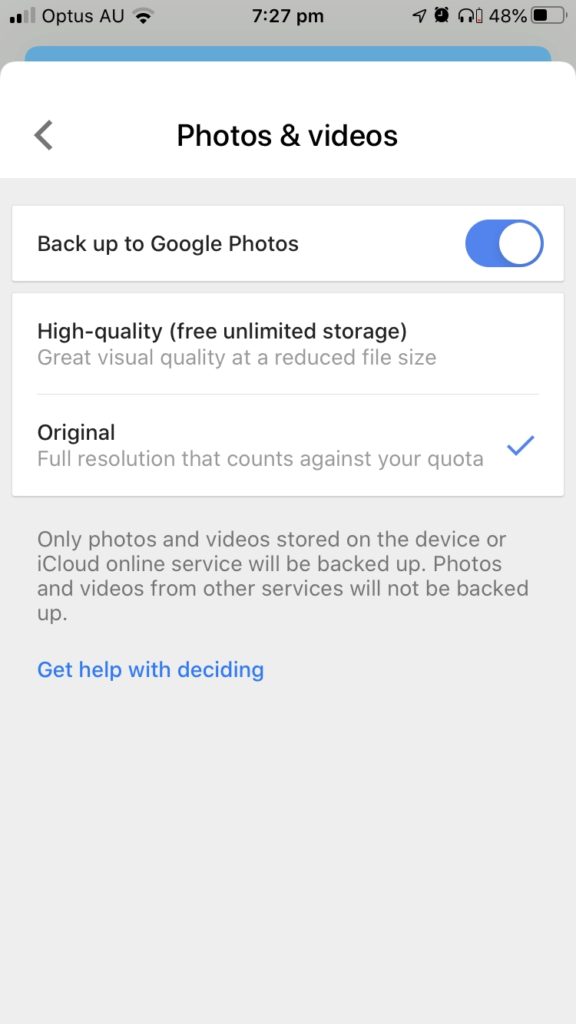
By default, your contacts, calendar, and photos will all be backed up. Your photos will retain their original quality and will count towards your storage quota on Google Drive. You can change these settings by tapping on each item.
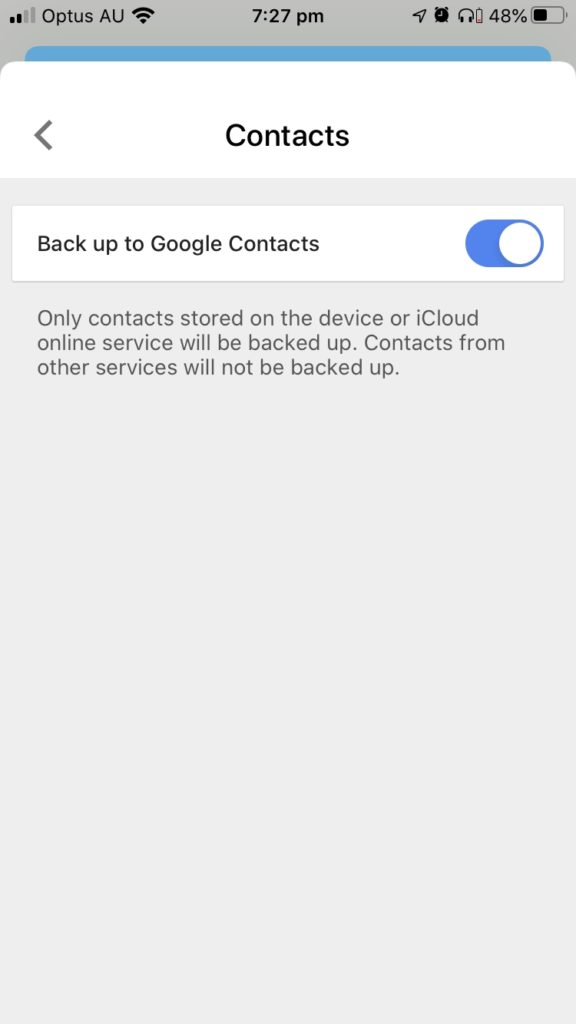
Disable Back up to Google Photos if you plan on using Method 2.
How much quality do you lose by choosing “high quality” photos? Photos larger than 16 megapixels will be reduced to that resolution; videos larger than 1080p will be reduced to that resolution.
I’m happy with the compromise because it’s not my only backup. They still look good on-screen, and I get unlimited storage. Your priorities may differ from mine.
Once you’re happy with your choices, click the Start Backup button. The first time you do this, you’ll need to permit Google Drive to access your contacts, calendar, and photos.
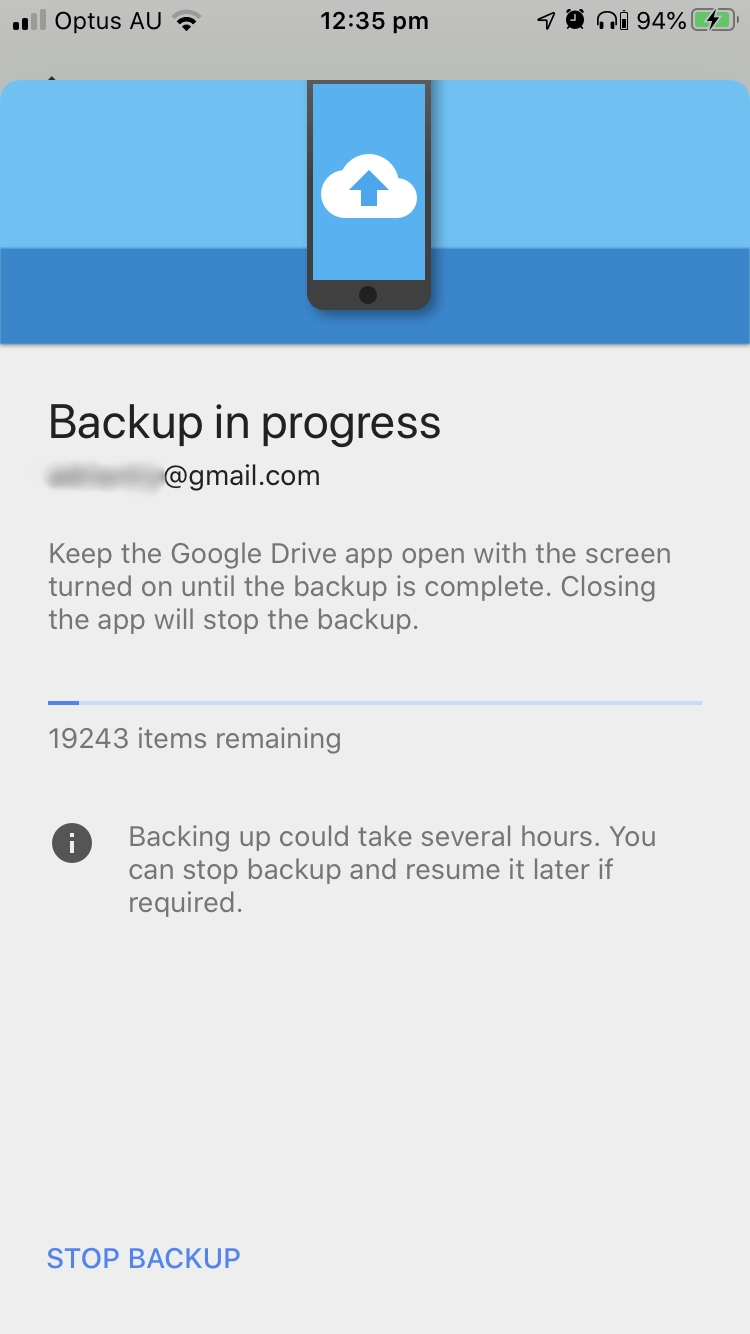
Your contacts and calendars will be backed up quickly, but your photos and videos may take some time—Google warns that it may take several hours. After three or four hours, I found that only about 25% of my photos had been backed up.
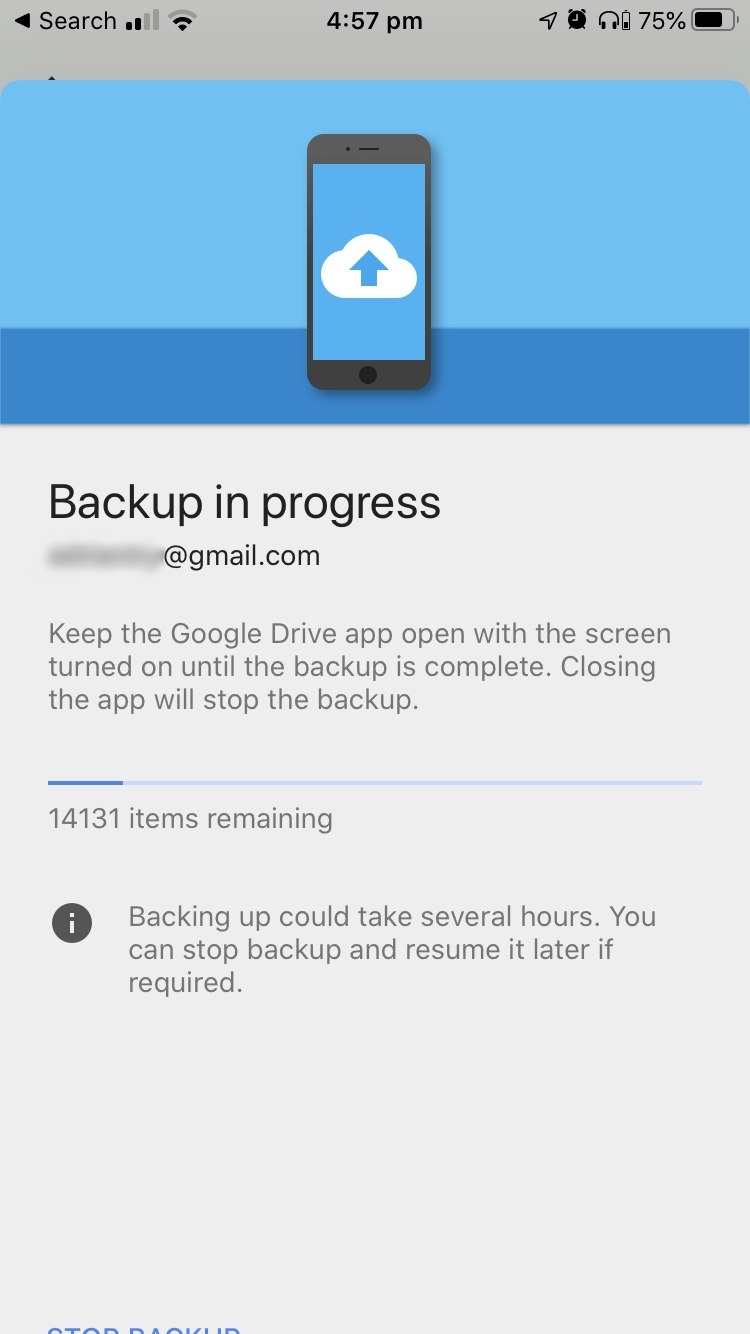
I was unable to wait until the backup was complete before using my phone. When I returned to the app, I discovered that the backup had been stopped. I restarted it manually, and it continued from where it left off.

Once your data is in Google Contacts, Calendar and Photos, you can access it from your iPhone. That only makes sense if you lose your data since it will still be on your phone. You’ve only made a second copy of it in Google Drive.
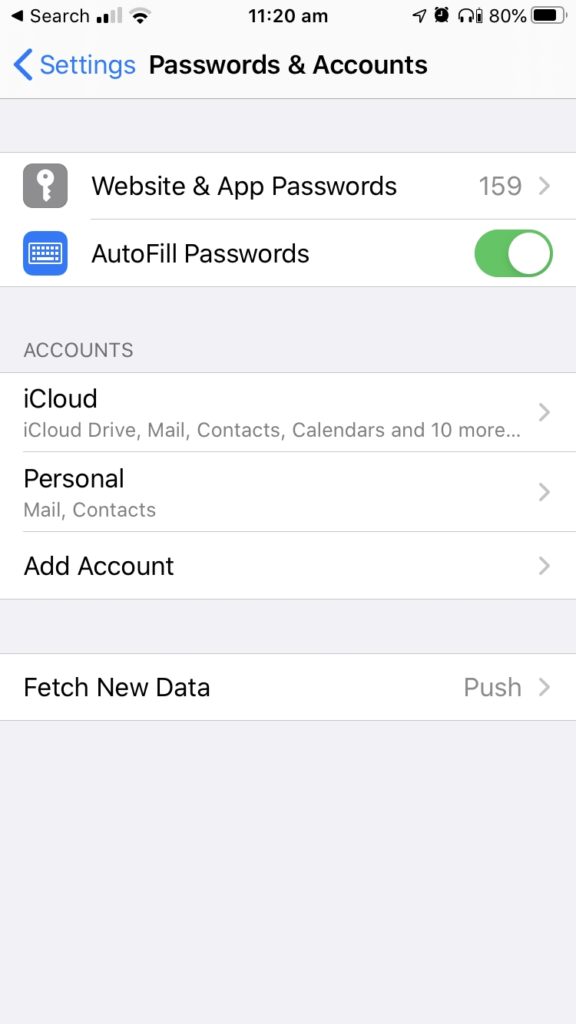
Open the Settings app then scroll down to and tap Passwords & Accounts. Tap Add Account so you can enable the Google account that you backed up your data to.

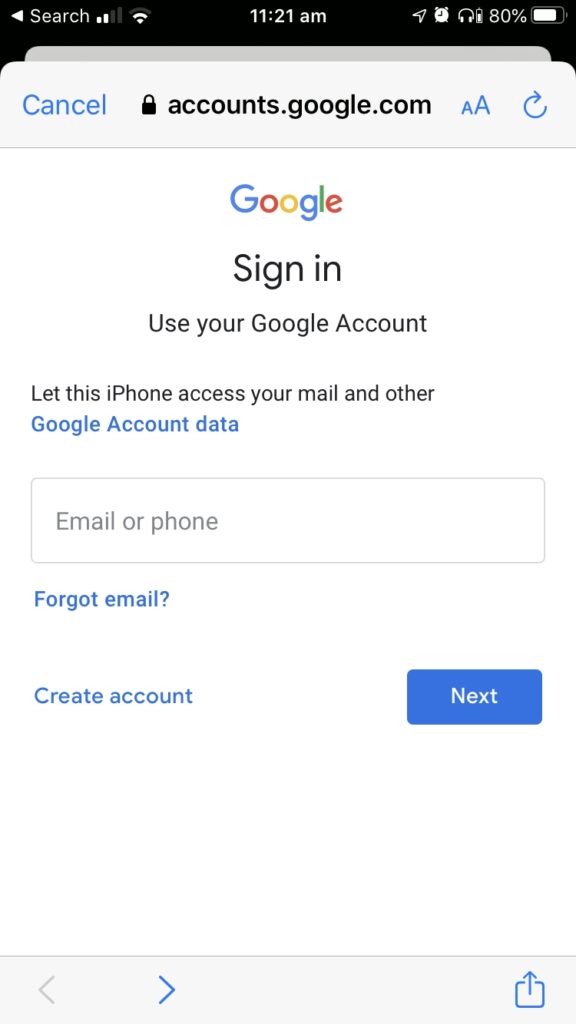
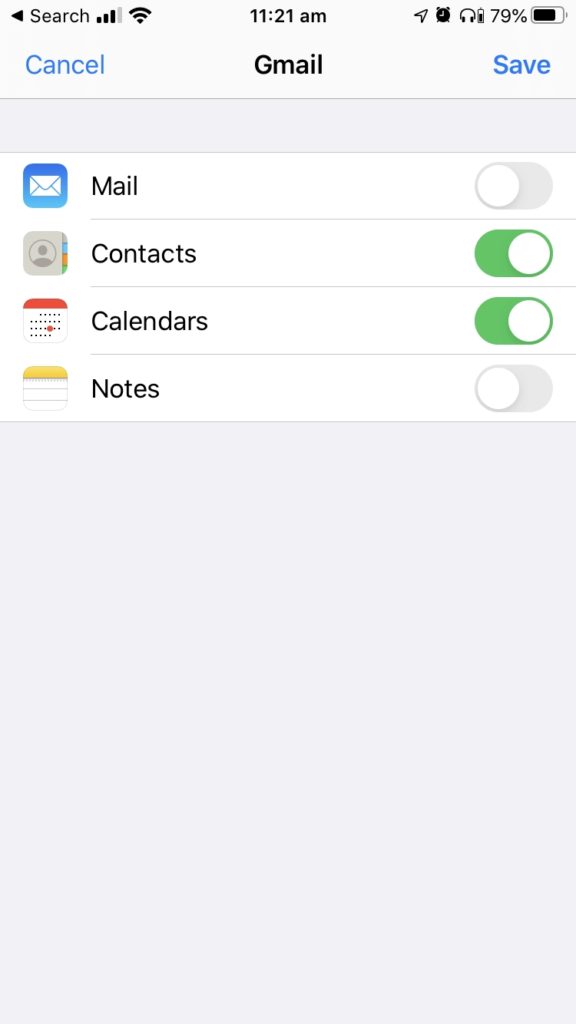
Tap Google, then sign in to the appropriate account. Finally, make sure that Contacts and Calendars are enabled. You should now be able to see your data in the iOS Contacts and Calendar apps.
To view your photos, install Google Photos from the App Store and log in to the same Google account.
Method 2: Automatically Back Up & Sync Photos Using Google Photos
Method 1 is the best way to back up your contacts and calendars to Google, but this is a better way to back up your photos. We’ll use the Backup & Sync feature of Google Photos.
Using this method, you won’t need to keep the app open during the backup because it will continue in the background. New photos will be backed up automatically. You will be able to back up to a business or education account if you prefer, and you can opt to back up using mobile data if that suits you.
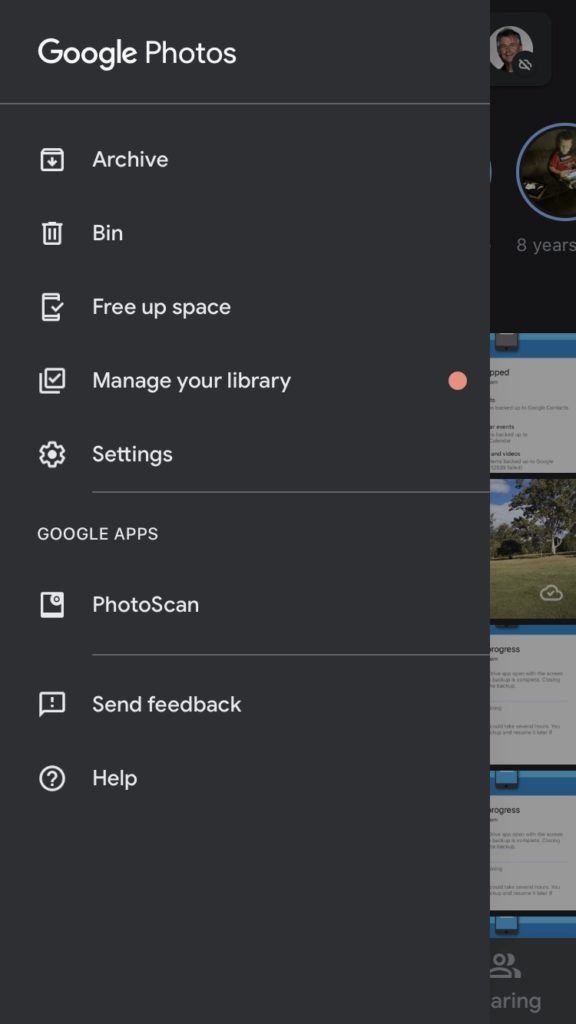
To get started, open Google Photos then tap the “hamburger” icon in the top left to display the menu. Next, tap Settings, and then Backup & Sync.
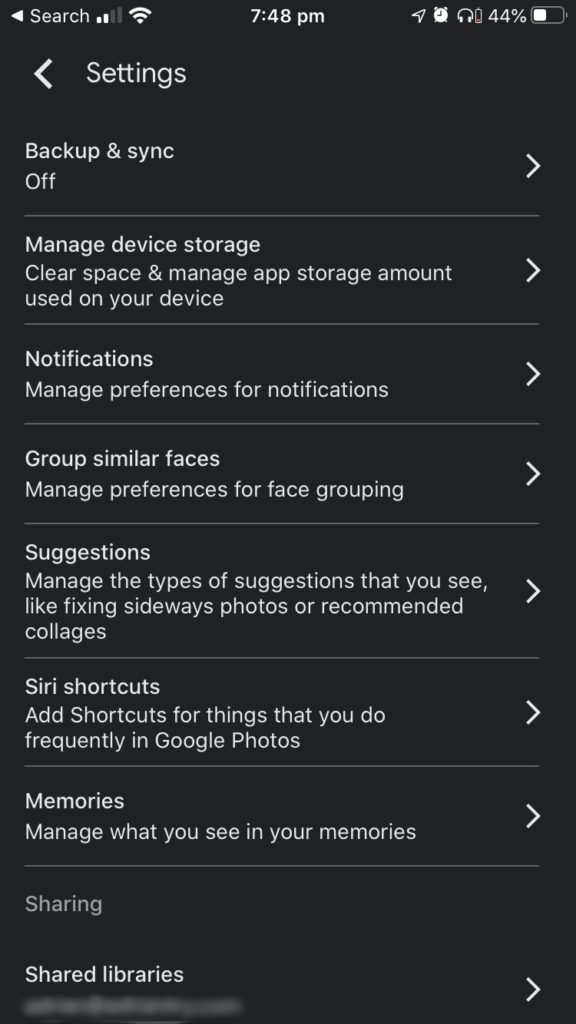
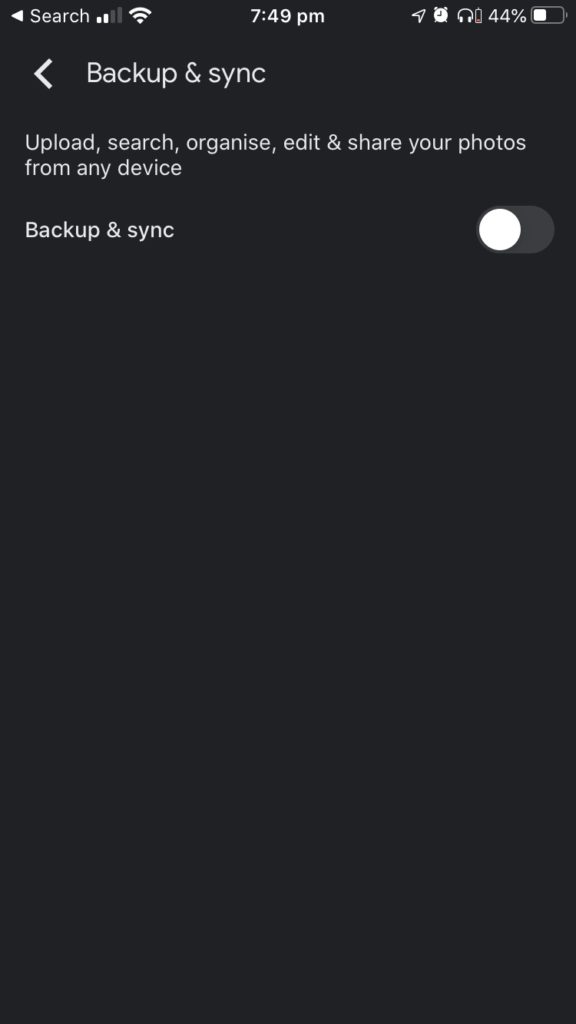
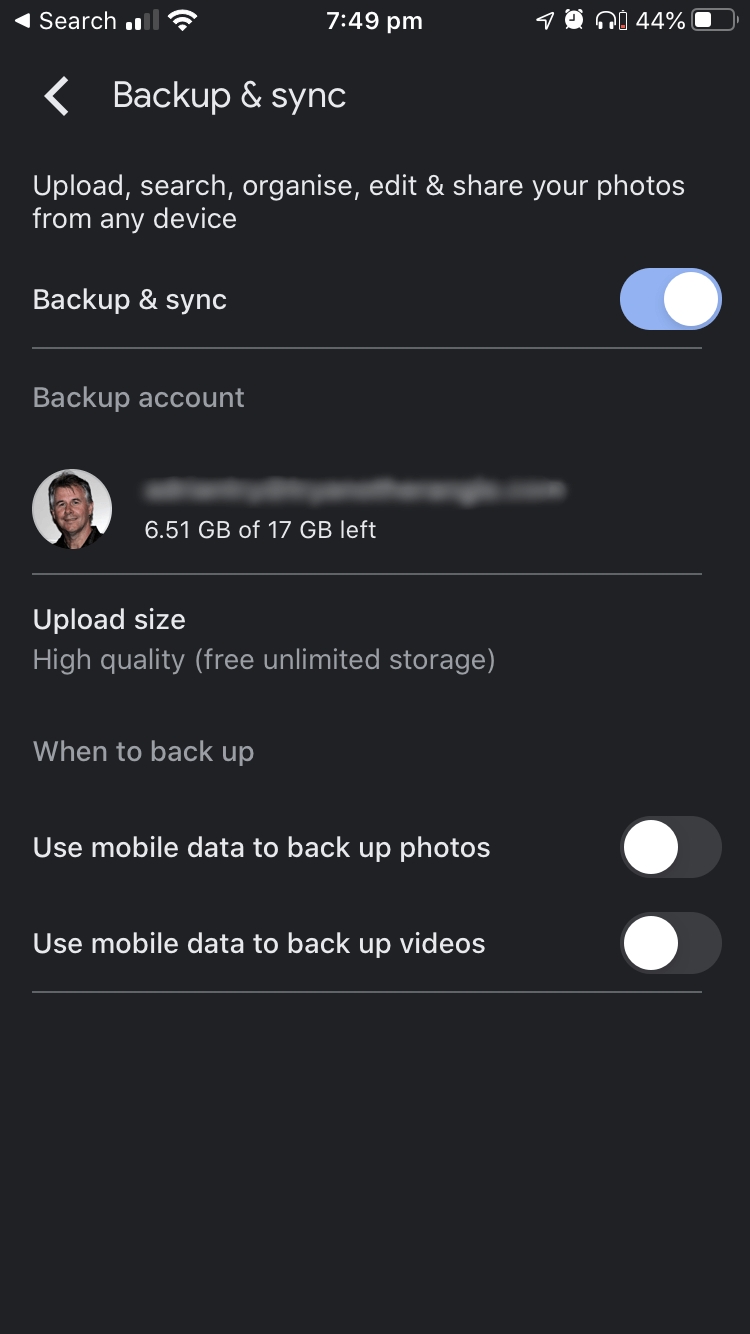
Enable backup by flipping the switch, then choose the settings that suit you. The Upload Size options are the same as we discussed above under Method 1. You can choose whether to use mobile data when backing up in photos and videos.
Method 3: Manually Back Up Files and Folders with the Files App
Now that you’ve backed up your contacts, calendars, photos, and videos, we turn our attention to backing up your files and folders. These are documents and other files that you created using various apps or downloaded from the web. They’re stored on your iPhone and can be backed up to Google’s servers for safekeeping.
In theory, you could use Google Drive for this, but it’s inconvenient. You can’t select multiple files and folders; you need to back up one item at a time, which would quickly become frustrating. Instead, we’ll use Apple’s Files app.
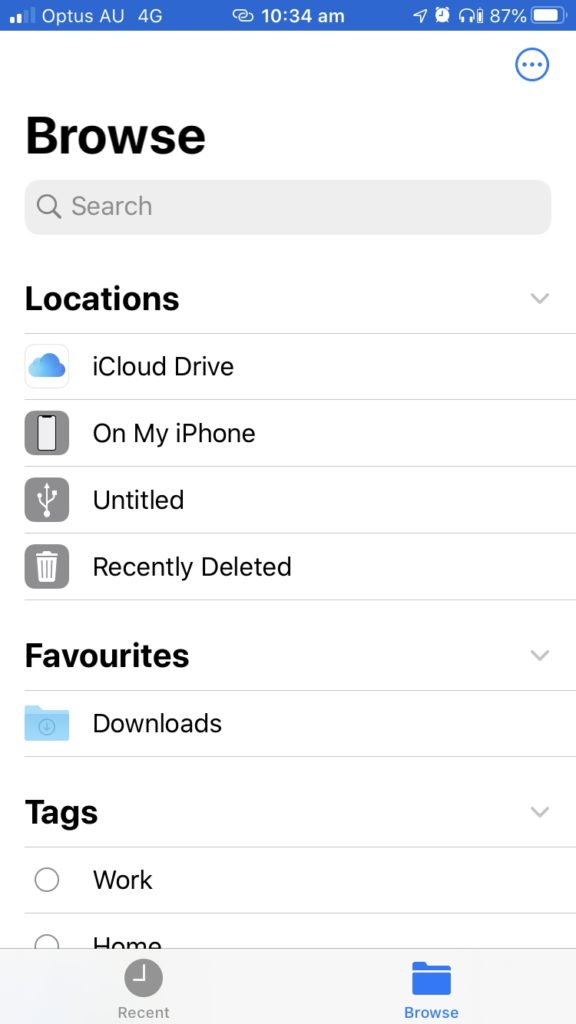
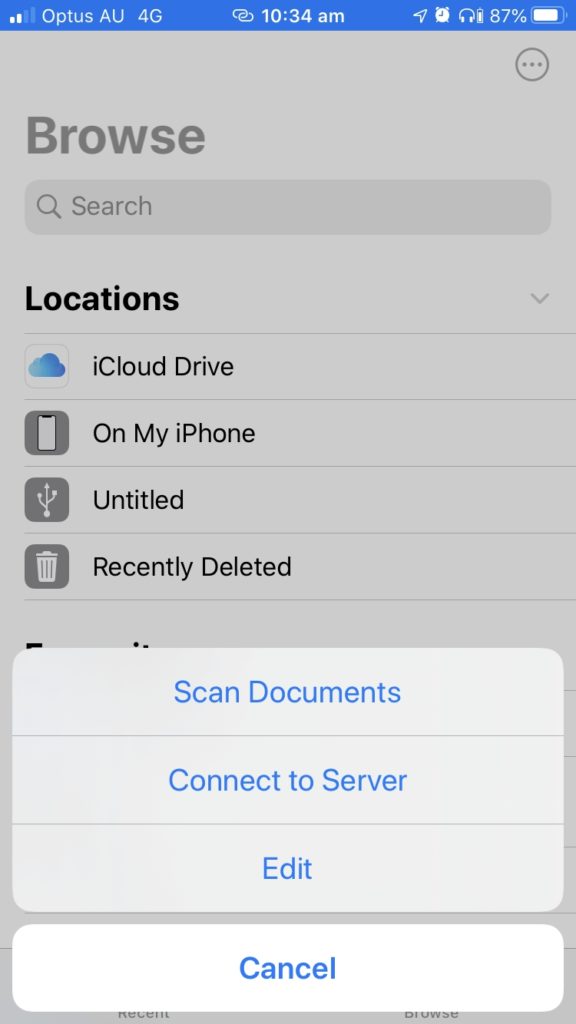
First, you need to give your iPhone access to Google Drive. Open the Files app, then tap Browse at the bottom of the screen. Next, tap Settings (the icon at the top right of the screen), then tap Edit.
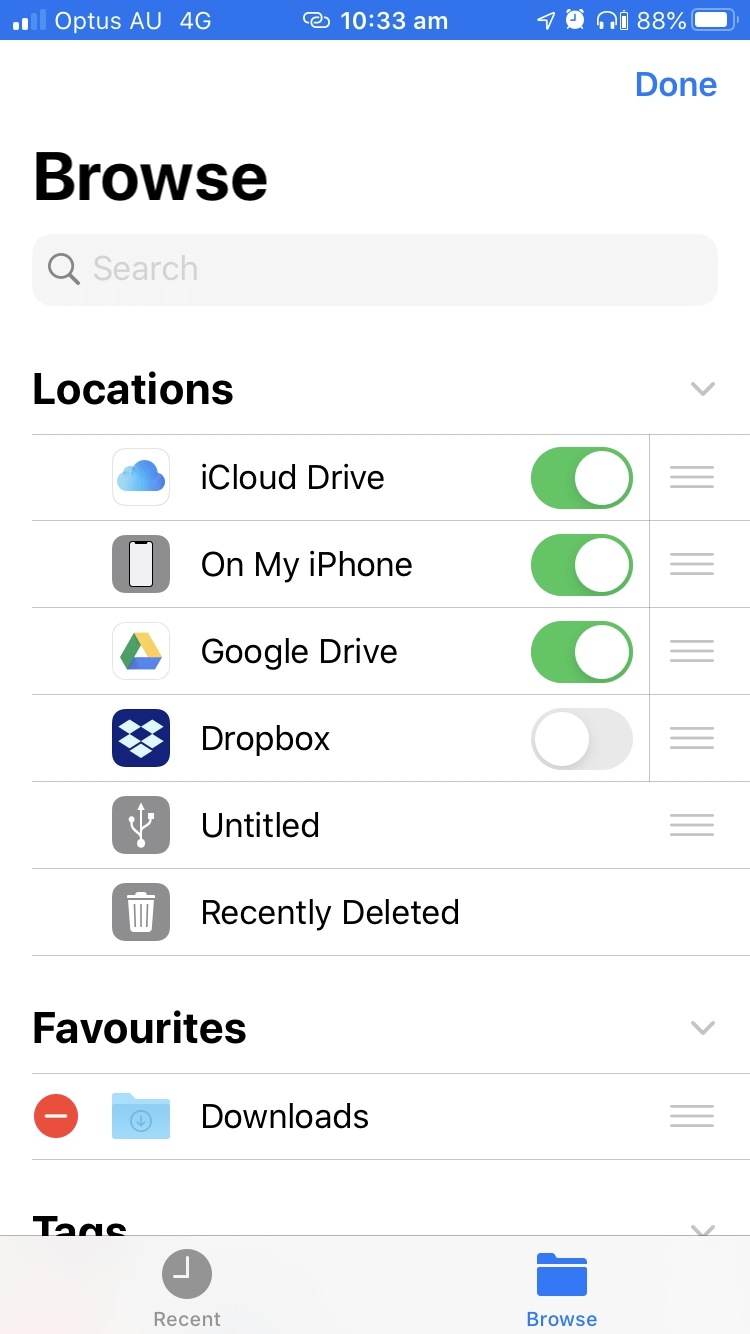
Tap the switch to turn on Google Drive, then click Done. You may need to sign in with your Google ID.
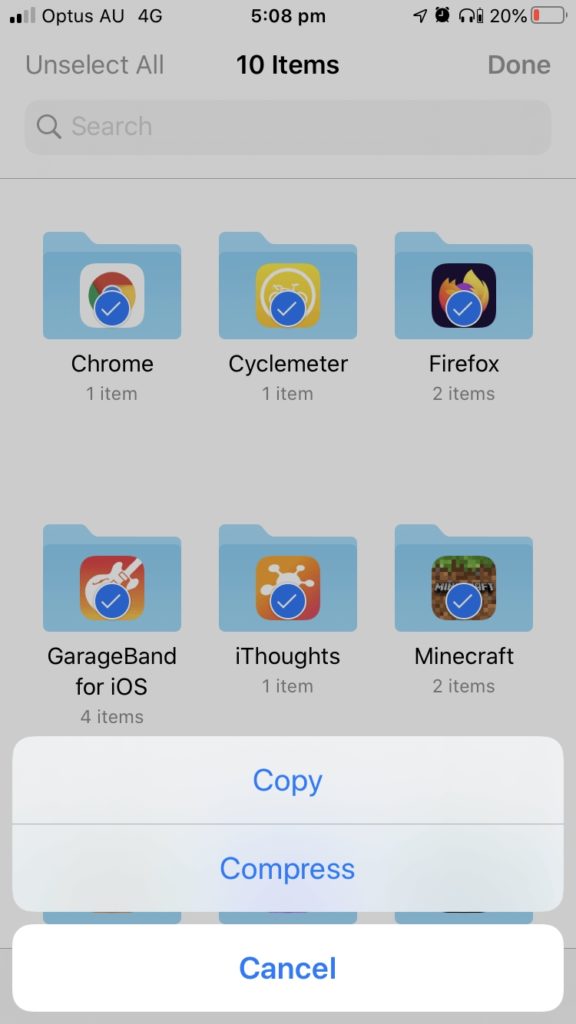
Next, navigate to On My iPhone. You can select every file and folder by tapping Select, then Select All.

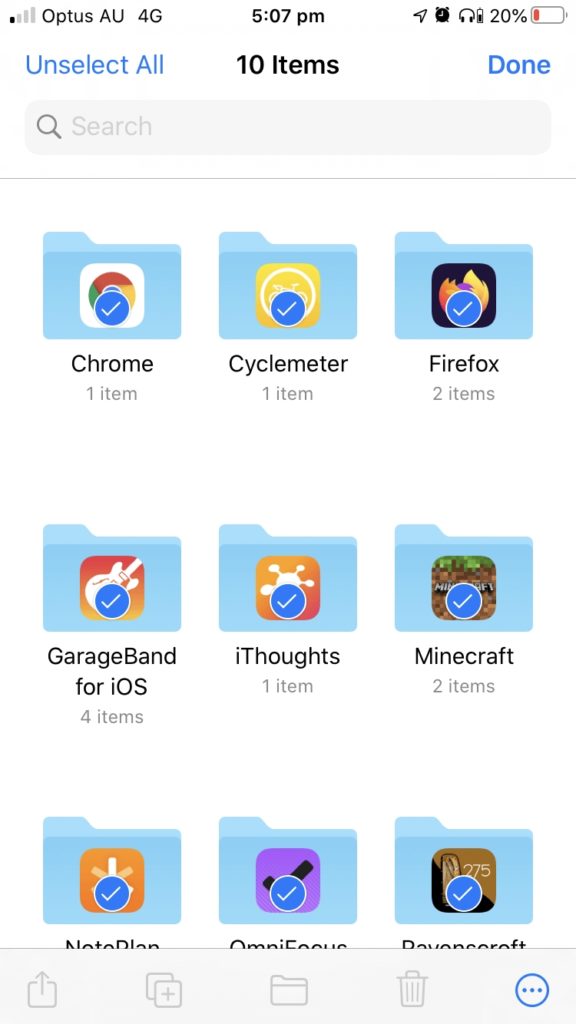
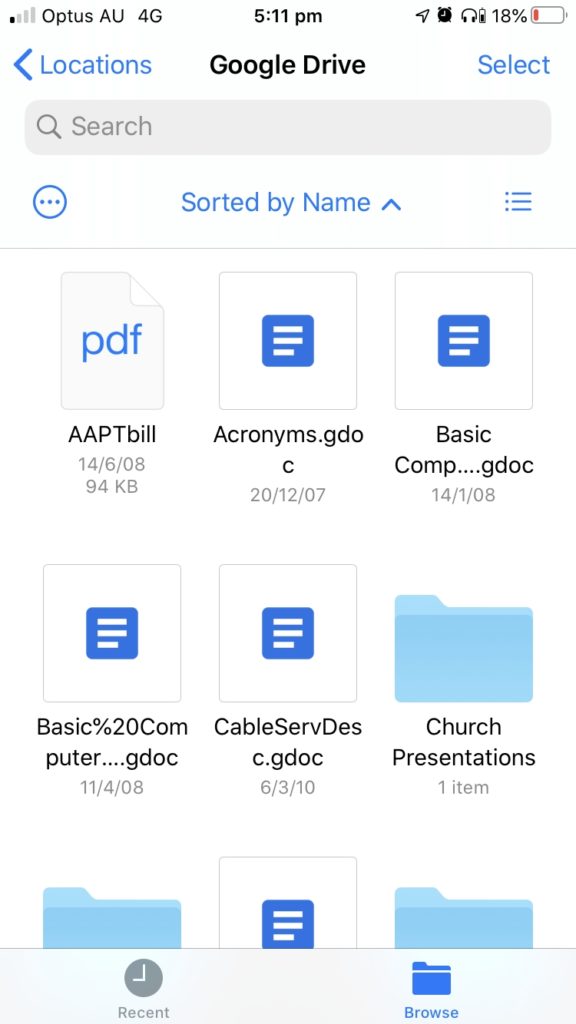
Copy them to Google Drive using copy-and-paste. Tap the icon at the bottom-right of the screen (with three dots), then tap Copy. Now, navigate to Google Docs.
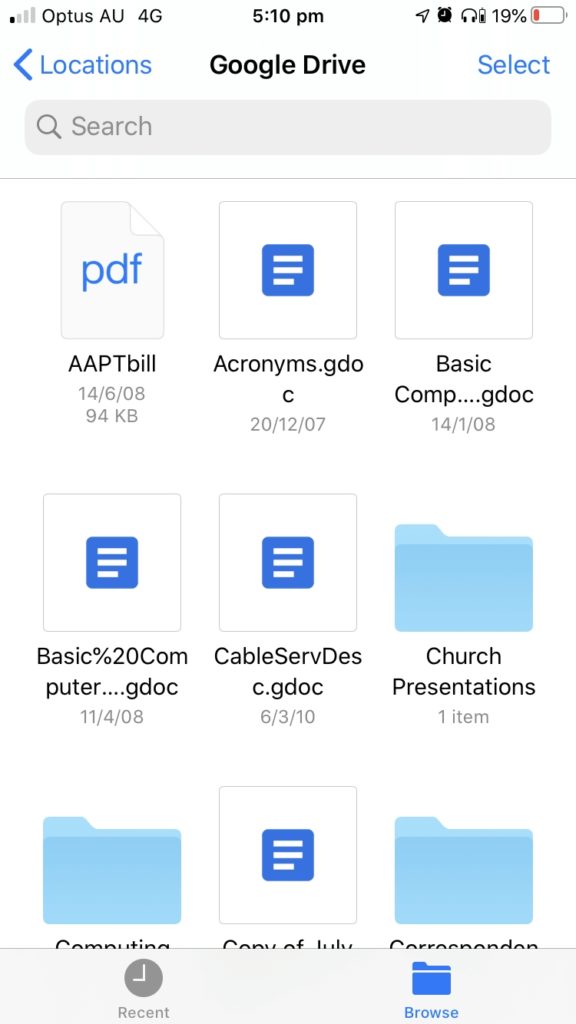
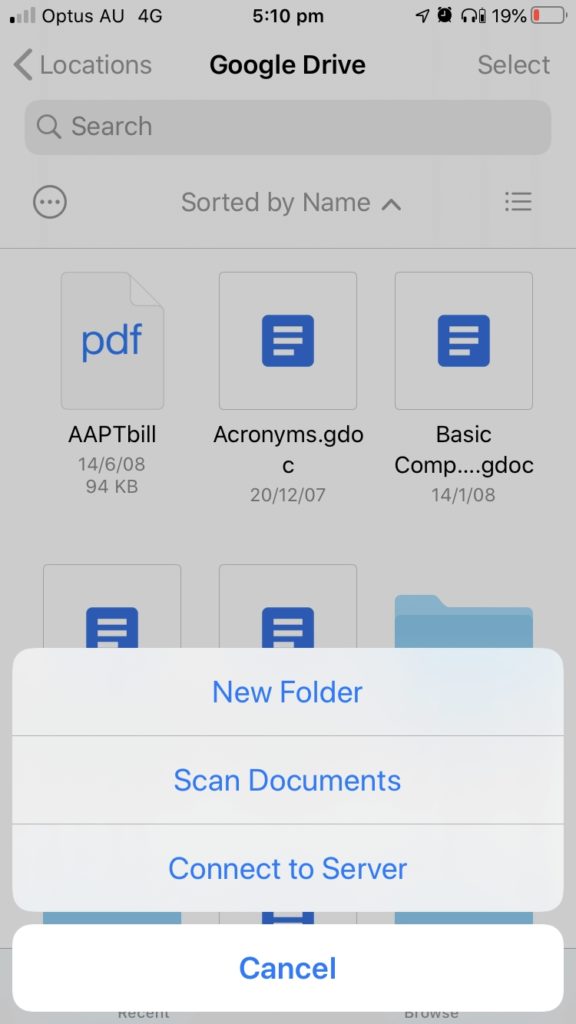
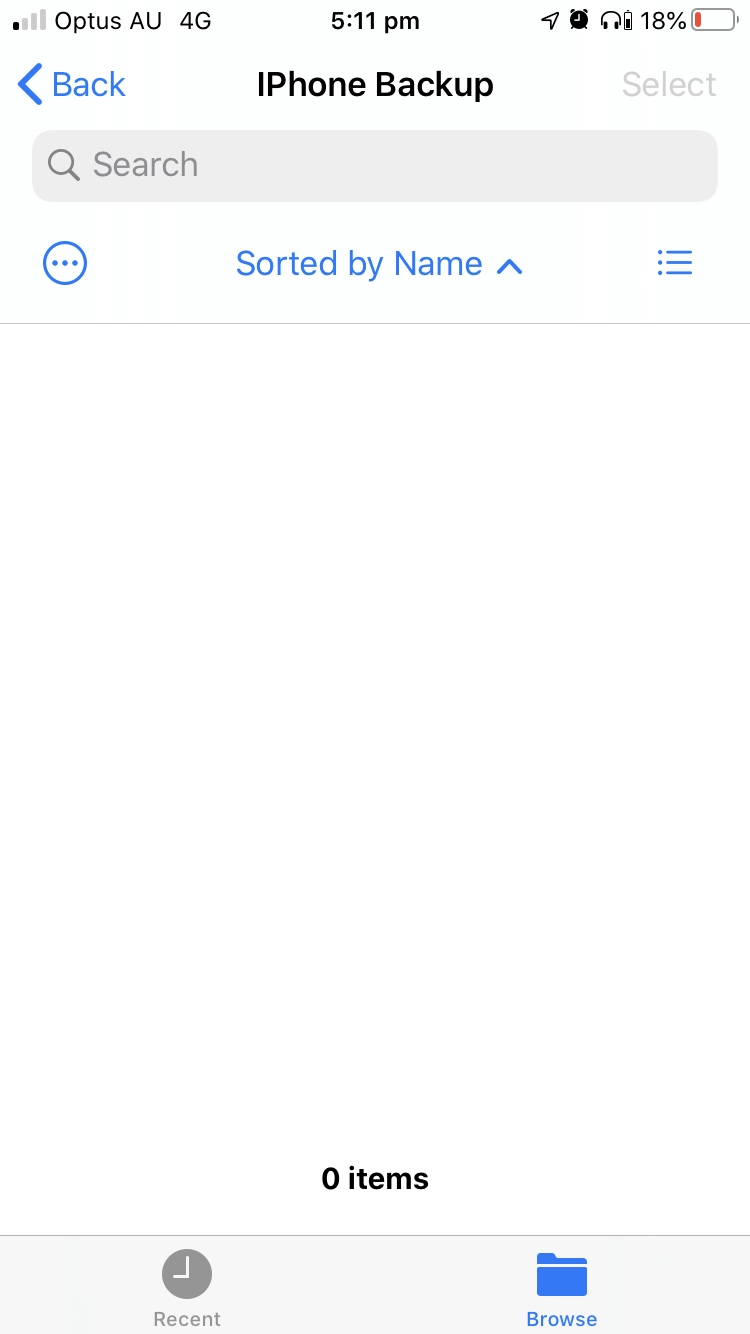
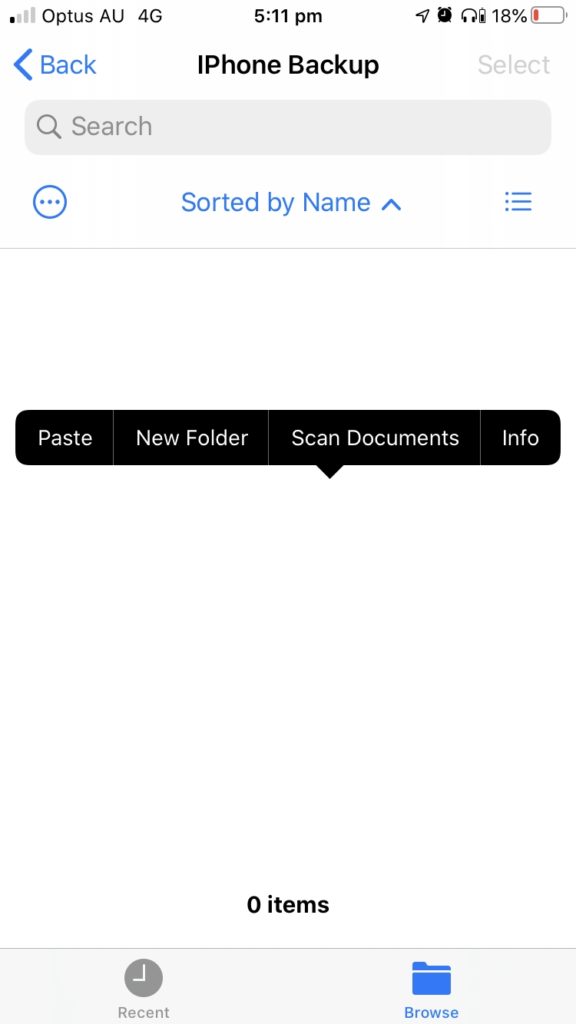
In this example, I created a new folder called iPhone Backup. To do that, pull the window down to display the toolbar, then tap on the first icon (the one with the three dots) to display a menu. Tap New Folder, name it iCloud Backup, then tap Done.

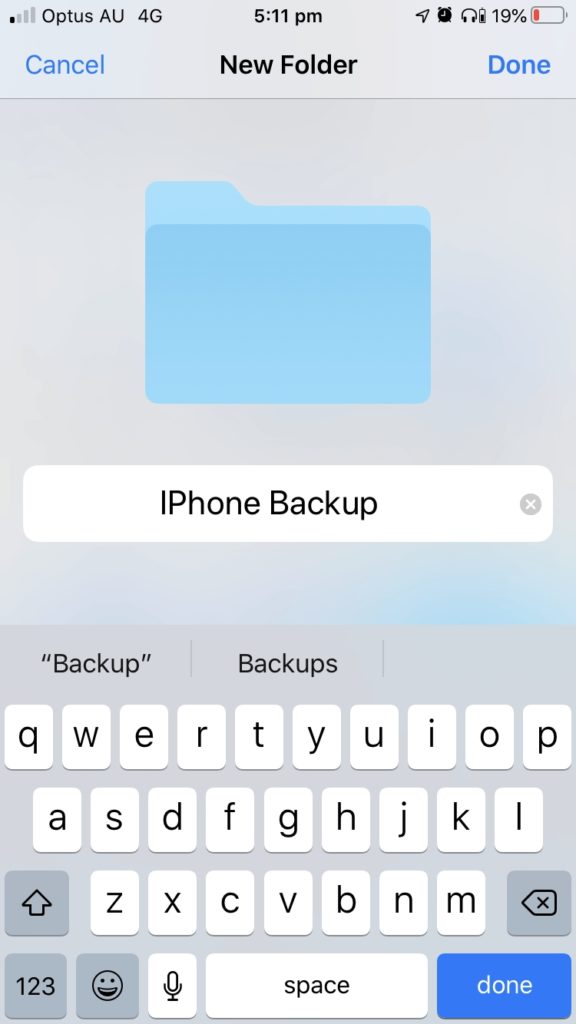
Now, navigate to that new, empty folder.
To paste our files and folders, long-tap on the folder’s background, then tap Paste. The files will be copied and uploaded to Google Drive.
That’s it. Hope you find these tutorials helpful.