
To add text animation in Adobe Premiere Pro, go to the Effects panel, then search for the Text effect and drag and drop the text effect onto your text layer in the timeline.
Therefore, there are several ways to insert titles into your project, with each method giving you different options on how you can control and tweak the text.
In this article, I will explain how to add text using the type tool, using pre-animated templates, using fade-in and fade-out effects on your text, typewriting effect on your texts and finally moving text animation. Let’s fire on!
Table of Contents
Add Text Using the Type Tool
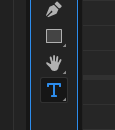
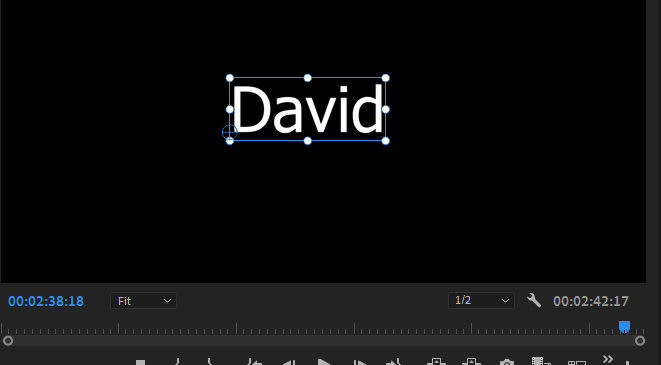
One of the easiest things to do in Premiere Pro is to add a title. While working on your sequence, just press T on your keyboard or select the text tool on your toolbar. Then, click anywhere on your Program Panel to type, and start to type your titles.
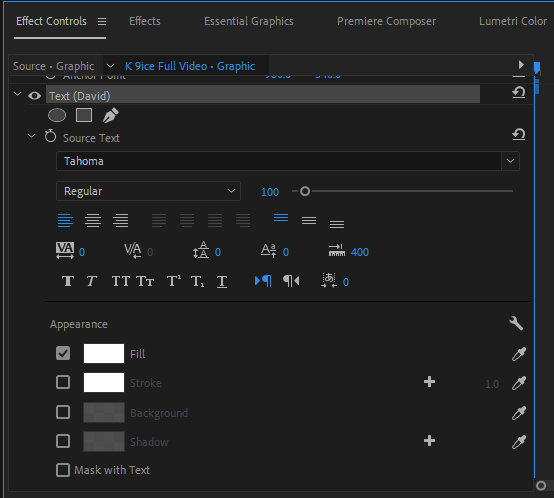
If you want to change your text parameters, go to the Effects Controls panel, here, you can change the font type, size, alignment, and color of your text.
Using Pre-Animated Templates in Premiere Pro
Another way to animate your text is to use pre-animated templates from the essential graphics panel, which you can tweak or customize in your own way. These Pre-Animated Templates are also called MOGRT files.
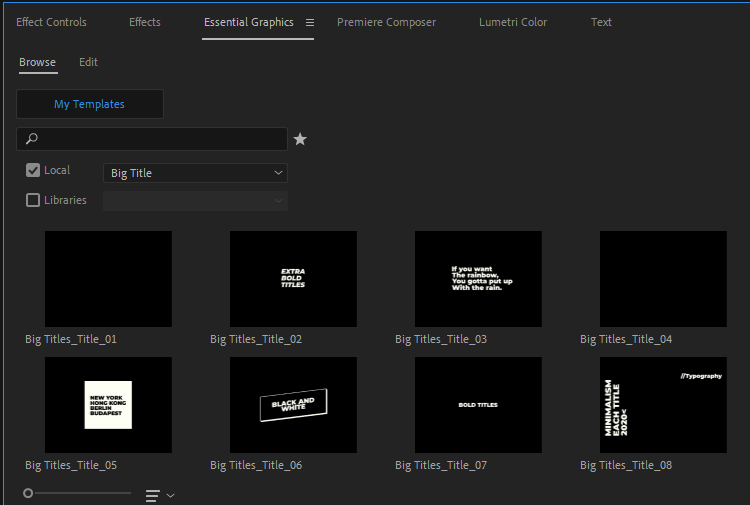
Open the essential graphics panel from your graphics tab, then search the title templates until you found the one you like most. After being satisfied with that, drag it into your sequence timeline and place it above the clip, in which you want it to appear.
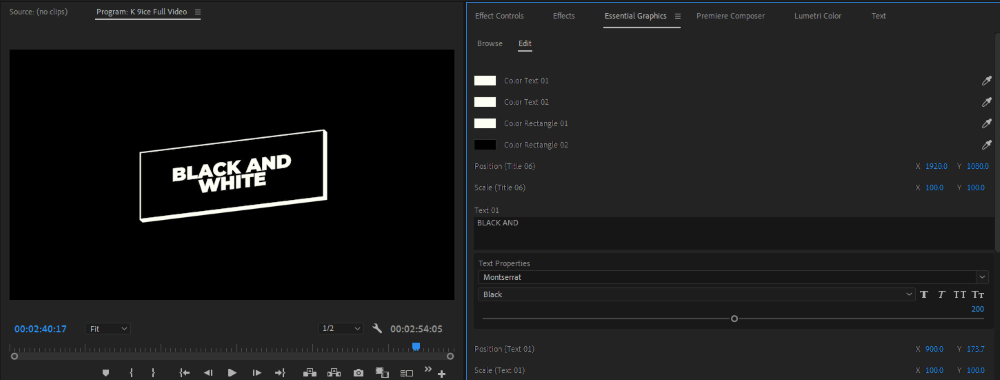
Thus, to work on this template, make sure you select the MOGRT file. Go to the Essential Graphics Panel, under the Edit Section, feel free to customize this template as wanted.
Using Fade-in and Fade-out Effects on Text in Premiere Pro
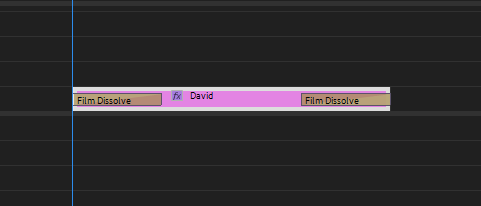
Select the pink text clip from your timeline, go to the effect panel, and search for dissolve effect, you will see a lot of dissolve effects, the one I recommend using is the Film Dissolve Effect.
Drag the film dissolve at the very beginning of the text clip in your timeline, this will allow your text clip to fade in. And if you want to fade it out, follow the same process and drag the same film dissolve to the end of your text clip and you will be glad to see that effect.
Better still, in a situation whereby you wish to repeat this effect over time in your sequence. From the effect panel, right-click on the film dissolve to set it as a default transition, and then to apply it to your texts, select the text and press Ctrl + D.
Typewriting Text Effect in Premiere Pro
This typewriting effect is super simple. After you have done the necessary editing to your text – changing the color, adjusting the background, changing the font size, and other necessary things.
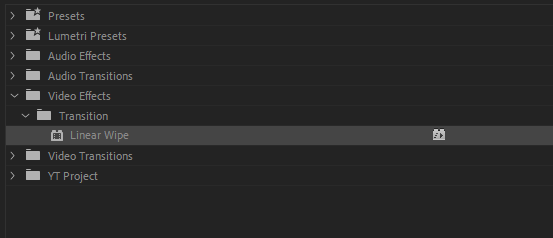
Go to the effect panel and search linear wipe, and drag it on the selected text clip. After that, go to the effect control panel, tweak your wipe angle to 270, change your transition completion to 0, then create a keyframe, from these keyframes, you can change how fast or how slow your text appears on the screen.

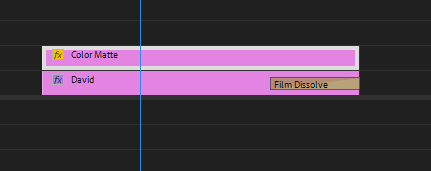
Create a black color matte layer, drag it on top of your text too, uncheck the uniform scale and change the scale width to 0.3 and the height to your text size, from the effect control panel.

Now create a blinking effect on the black layer. Drag your playhead to the very beginning of the text clip, then go to effect and change the opacity to zero, then move the playhead by 4 frames, then open the opacity to 100, then go again in four frames and change the opacity to 0.
After doing this, to repeat this effect, highlight the effect keyframes and copy them and move the play head forward to the last frame where the keyframes stop and paste it. Until it reaches the end of the text clip. Now add a keyboard sound to your project and adjust it to synchronize with the text clip and effect.
How to Create Moving Text Animation in Premiere Pro
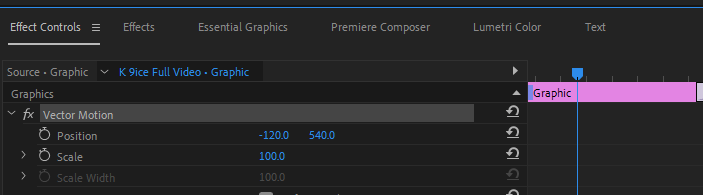
Select your text, now from your effect control panel, select the position under motion effect and change it to a minus percentage where your text will move totally from your program panel towards the left-hand side. Click on the stopwatch icon to create a keyframe.
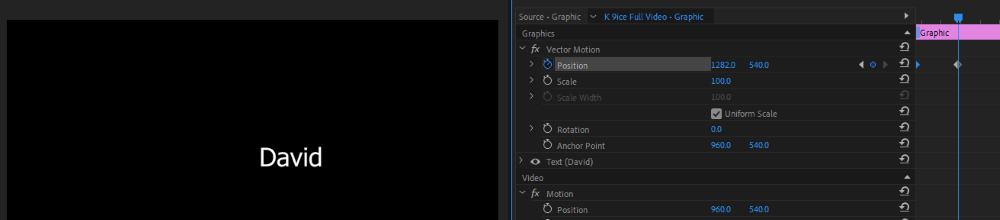
From the effect control panel, move the playhead bar towards where you want it to stop the movement and set a keyframe for the movement of that text clip. Then change the position effect back to a percentage where your text clip will show in the middle of the screen.
Conclusion
Adding text animation in Premiere Pro is a simple task that even beginners can do. All you need to do is go to the Effects panel and search for the Text effect. Drag and drop the text effect onto your text layer in the timeline. It’s done!
Have one or two questions for me? Let me know in the comment section.