
It’s straightforward to add text in Premiere Pro. You only need to select the text tool, make a text layer and input your text. There you go!
You are here! I’m going to show you step by step how to add text to your project, how to customize the text to make it more attractive, how to reuse your created text including the presets in other places in your project, what a MOGRT file is, how to install MOGRT files, and finally how to add and edit MOGRT file in your project.
Table of Contents
How to Add Text to Your Project
To add text to your project, navigate to the point you want to add the text to in your timeline. Click on the text tool or use the keyboard shortcut letter T to select the tool.

Then navigate to the Program Monitor and click on where you want to have the text created. Boom! You can then input any text you want.
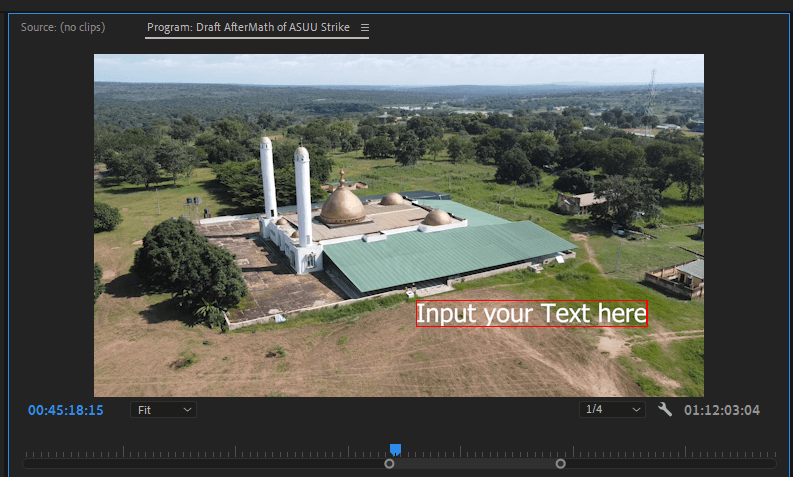
The moment you see the red outline on the Program Monitor, that means you can continue typing. Once you are done typing, go and pick the Move Tool or use the Keyboard shortcut V to move and scale your texts around the screen.
Premiere Pro will use the default time duration for your text, it’s always five seconds or less. You can increase or reduce it in your timeline as much as you want just like you would do for any clip.
Customizing Your Text Layer in an Attractive Way
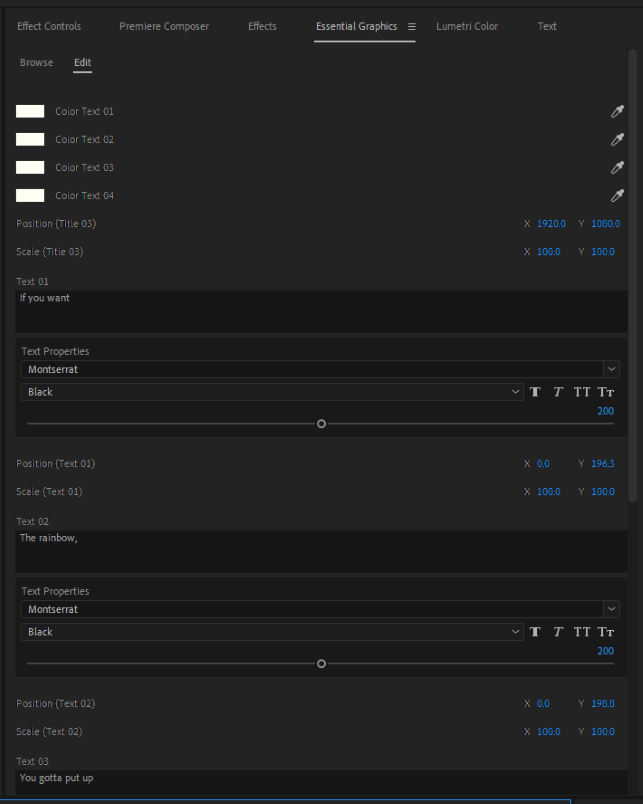
Don’t just have a dummy look on your project, make it more attractive. Make it more beautiful and lovely with colors. It’s very simple to do this, you only need to navigate to the Essential Graphics Panel or open it up if not opened already.
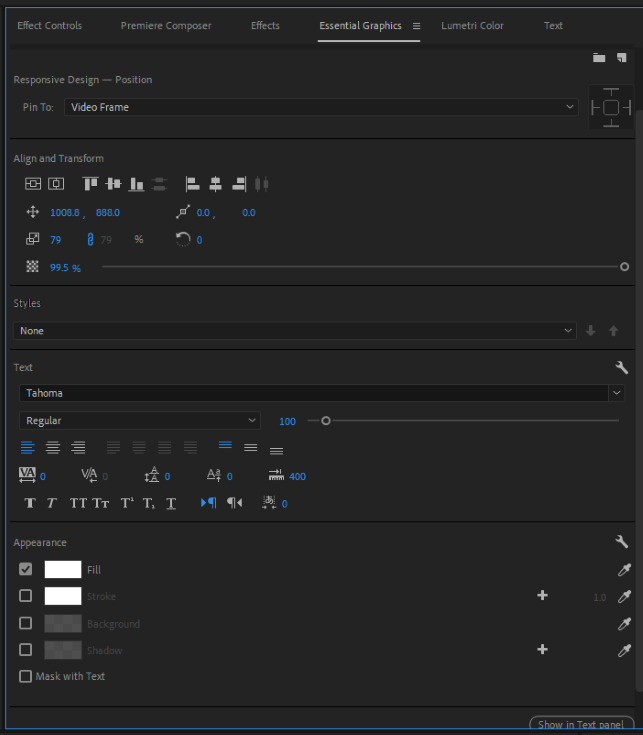
To open up your Essential Graphics Panel, go to Windows > Essential Graphics. There you go! Now, let’s customize our text layer.
Make sure the layer is selected. Under Align and Transform, you can choose to align your text to any side you want, scale it up, and adjust the position, rotation, anchor point, and opacity. Interestingly, you can also keyframe/animate your text layer here just by toggling on the icons.
In the style section, after you are done customizing and it looks so amazing to you like you’ve really done a good job, you can create a style to apply to your other texts. Lovely right?
In the Text section, you can change your font, increase the text size, align your text, justify, kerning, track, lead, underline, adjust the tab width, change the Caps, and so on. There’s so much to play with here.
To wrap it up, now the Appearance tab, here you can change the color, add strokes, add background, shadow, and even mask with text. You can choose to change the parameters of each one.
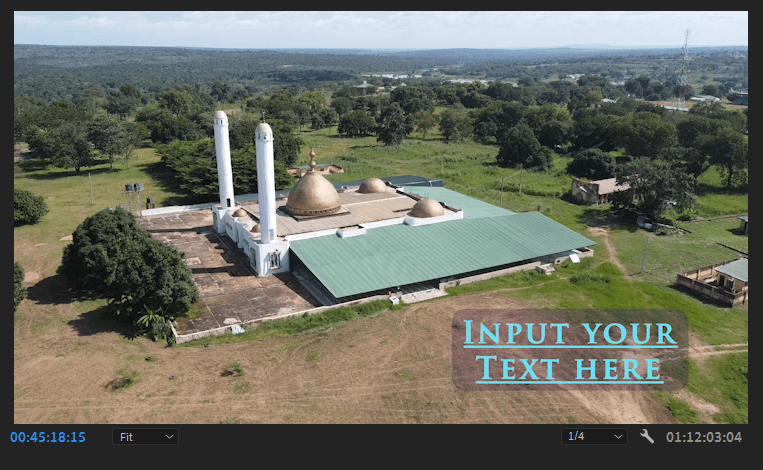
See how I have customized my text below. Beautiful right?
How to Reuse Your Text in Other Places
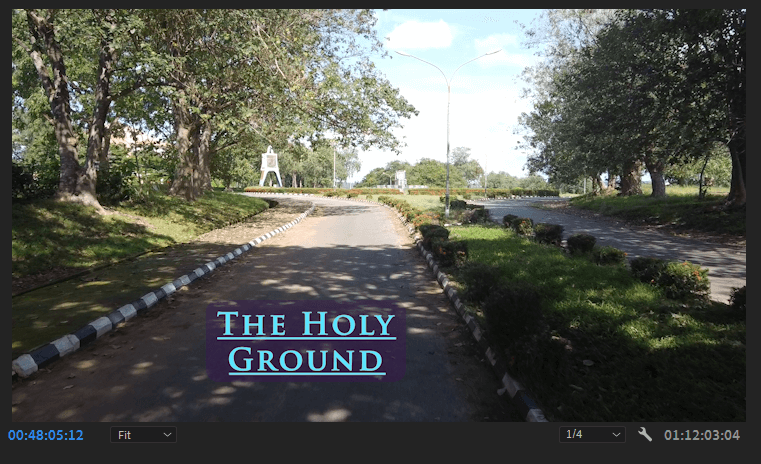
So, you’ve created magic text and would love to use that kind of style in another place in your project. Yes, I read your mind clearly, you don’t have to recreate from scratch, you can just copy that text layer in your timeline and paste it to any place you want.
As simple as that, you’ve successfully duplicated the text layer without affecting the other. Change your text as you want.
What is a MOGRT File
MOGRT stands for Motion Graphics Template. These are existing templates that have been created from After Effects and are to be used in Premiere Pro. Adobe is very dynamic, they make sure their products work together.
You need to have After Effects installed on your PC to be able to use MOGRT files in Premiere Pro. You can buy or get MOGRT files online. There are so many websites out there selling them for just a dime. You can even see some for free.
MOGRT files are so beautiful, animated, and easy to use. It saves time in creating a beautiful look and animating.
Install/Add MOGRT File to Premiere Pro
So fast! You’ve gotten or bought some MOGRT files and you can’t wait to start using them only but you don’t know how. I’m here for you.
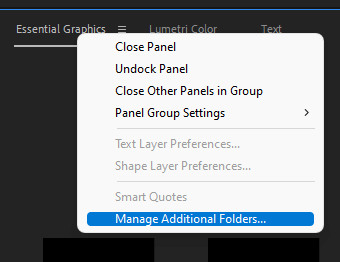
To install or add the MOGRT file to Premiere Pro, open up your Essential Graphic Panel, and make sure you don’t have any layer selected. Right-click on the essential graphics, and you would get some options part of which you are clicking Manage Additional Folders.
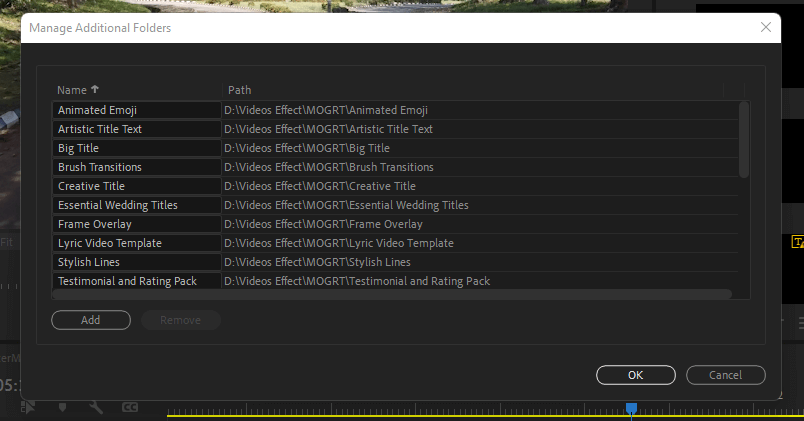
Then click on Add, find the location of your downloaded MOGRT files, and make sure they are in the root folder else it will not show up. Also, make sure you don’t delete or move the location of the folder. Once you’re done, click on OK. It’s time to enjoy your new MOGRT files.
How to Add or Edit MOGRT Files in Your Project
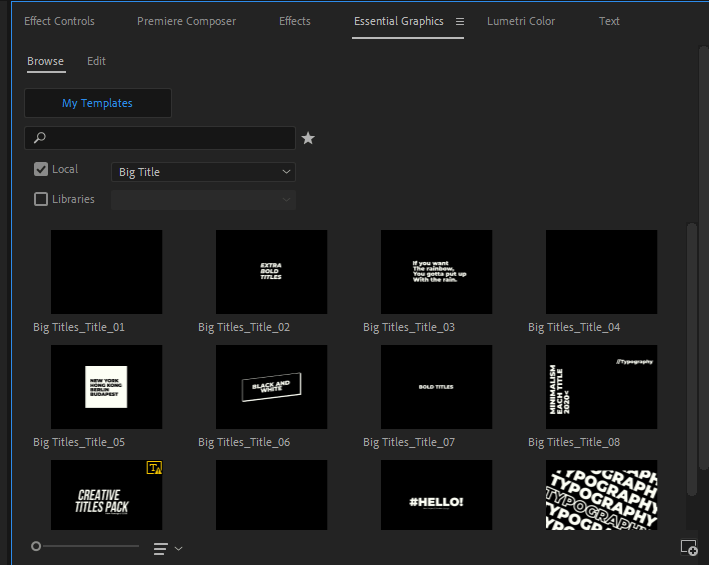
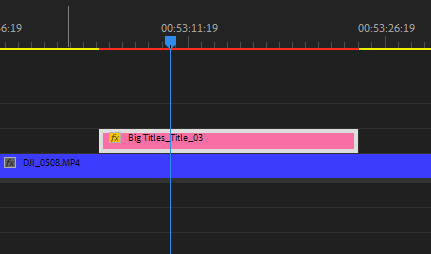
It’s time to flex your motion graphics files. All you need is to pick the chosen one, add it to your preferred place in your timeline and that’s it.
To edit the motion graphics template, click on it and navigate to the edit section of your Essential Graphics Panel.
You would see so many options to play with just as supported by the MOGRT file. Quick, too easy, lovely, and beautiful. Life is simple, work smart and not hard.
Conclusion
Can you see how simple it was to create a lovely text? Just by clicking on the Text tool, go to the Essential Graphics Panel to customize it to our preferred look. Also, working smart, you can choose to work with MOGRT files.
It’s normal to face obstacles, if you have encountered an error or got stuck in a process, let me know in the comment box below, and I will be there to help you out.
I look forward to your amazing projects. Don’t forget to share them with the world because that’s the essence of you working on them in the first place