
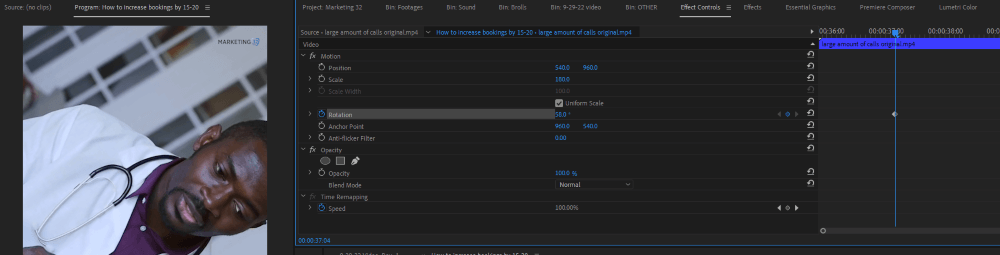
To add keyframes to your Adobe Premiere Pro project, In your timeline, Select a clip or effect that you want to add the keyframes to. Then, go to the Effect Controls Panel. Lookout for the stopwatch icon next to Position, Scale, and other fx. Click on one of these stopwatches to begin adding the keyframes.
A keyframe in Premiere Pro is marking the point in time, where you want an effect, such as shapes or transitions, texts, opacity, or audio volume to begin and end. There are locations on a timeline that indicate the beginning and end of a transition. Each keyframe point holds coordinates that define where a transition should begin or end.
In this article, I will show you how to add keyframes/animation to your clip, add rotation animation, scale animation, explain why you need to use keyframes, cover what is meant by ease in and ease out, and tell you how to remove the keyframes. They are all simple to achieve. Read on.
Table of Contents
How to Add Keyframes to Your Clip
First and foremost, make sure you select the video clip that you would like to add the keyframe animation to. Then go to the Effect Controls Panel or Timeline – This panel is specifically designed to view various attributes of your video clip which include Position, Rotation, Opacity, etc. information.
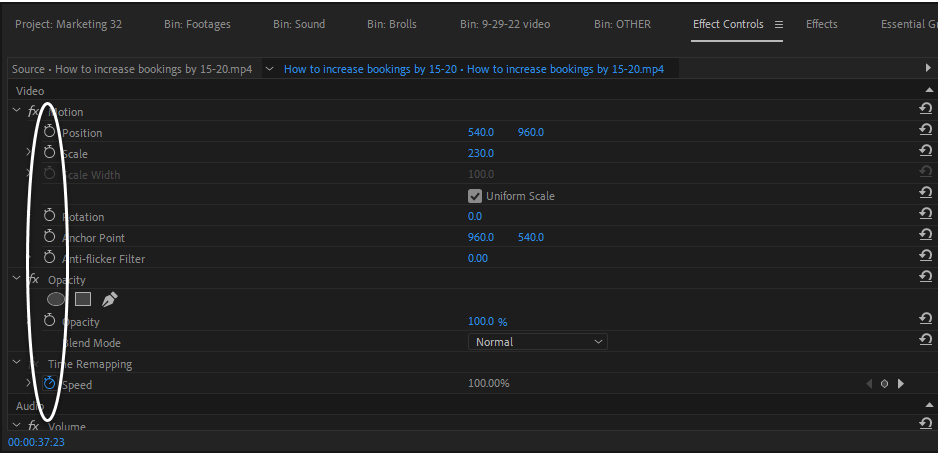
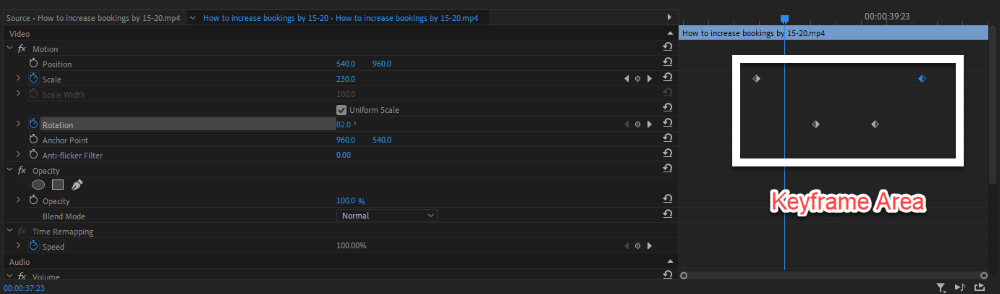
Likewise, you can also see the property of every specific effect you have added to your video clips. Then, at the right-hand side of the properties section is an area where you can see and tweak the keyframes.
To add Keyframe, make sure you are at the point where you want the keyframe to start, and now click on the stopwatch icon, which represents Keyframe Animation.
You can add as much as keyframe you want to add, just as your spirit directs!
How to Add Rotation to Your Clip
It’s simple and straightforward, select the clip, then go to the Effect Panel, and move your play-head bar on the effect timeline to about 5 seconds forward.
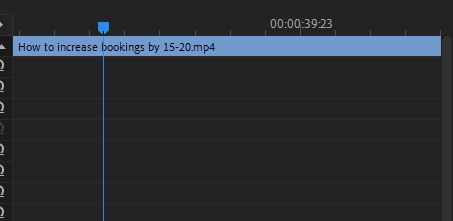
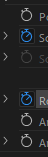
But note that the end of the clip might not show on that timeline, you have to drag the play-head bar forward to reveal the end of that clip. Click on the stopwatch icon beside Rotation Effect to enable Keyframe Animation, then tweak the parameters to how you want the animation to start.
Then move towards the end of the clip to add a keyframe on how you want the animation to end! There you go.

During the course or playing back, if you notice that you will have a black display on the corner, rescale your clip to like 200% or more to avoid this.
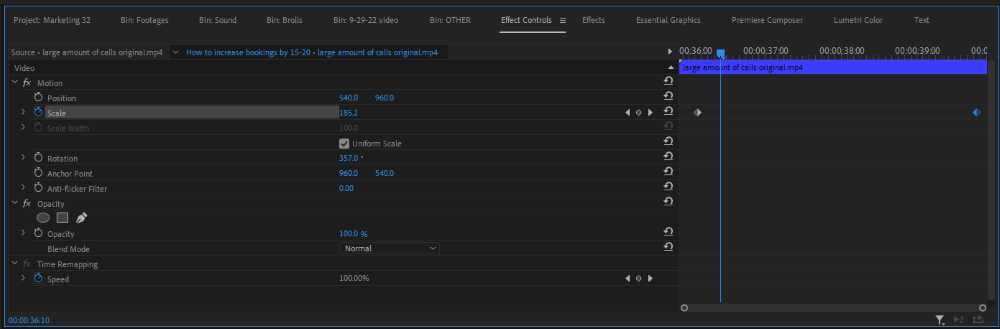
How to Add Scale Animation to a Clip
Scale effect will increase or decrease the size of your footage. Adding a scale effect will slowly zoom in and give it a bit of life and emotion.
To do this, select the footage in the timeline, go to the Effect Panel, under the scale, click on the stopwatch icon beside Scale Effect to enable Keyframe Animation, then tweak the parameters to how you want the animation to start or you can even put in the exact value you want.
When Do I Need to Use Keyframe?
Do you know that you can add keyframes to your texts? Yes, you can. As much as you understand the logic behind keyframing, there are several ways to keyframe.
One way to keyframe is to create dynamic motion graphics for your main title. You can also stimulate camera movement or bring images to life by using position and scale keyframing.
Also, you can add animation to your audio volume and pan it as you want. You can be creative with the keyframe. It will make you stand out and be more professional!
What is Ease In, Ease Out in Keyframe
Understanding the concept of ease in and ease out in animation is very simple. In animating a video clip or an effect, ease in and out are timing functions. Animation with the Ease in timing function starts slow and speeds up towards the end.
The ease-out function, on the other hand, starts fast and with a slow ending. So by implication, the ease-in-out function starts slowly at the beginning, then move fast as normal in the middle and slowly at the end.
Reuse Keyframe Animation in Other Clips
You can save your keyframe effect as a preset to save you stress and hasten your editing time. Let me show you the simplest way to do this.
Go to your Effects Panel, and select each effect used to achieve your desired result by holding the Ctrl key and selecting each effect. With them being selected, Right Click and choose Save Preset. Call it any name you would like to call it!
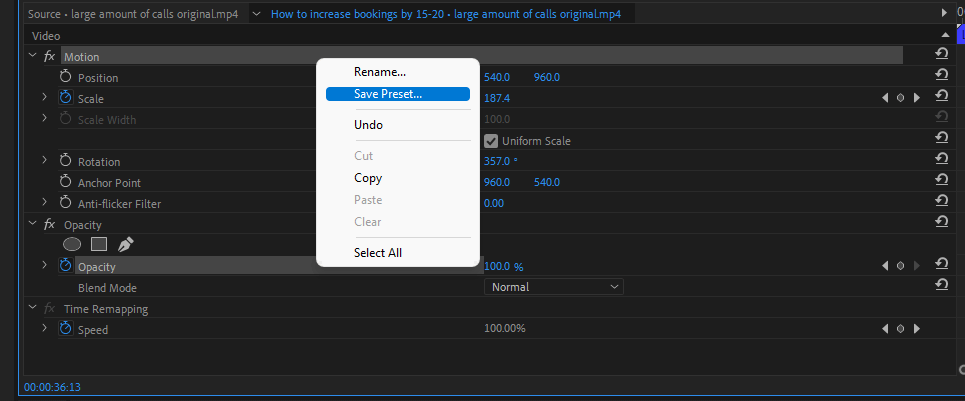
If it’s just one effect, just right-click on the effect and save.
To use the saved preset, go to Effects Panel, Open up the Presets Folder, search for the name of the preset, and double-click to apply, or you can drag it onto the selected clip.
In your Effect Controls panel, you should see those effects and keyframes you originally set up, and you can choose to read just as needed.

How to Remove Keyframes in Premiere Pro
Maybe you were not pleased with the final result you got, or you just decided you would need to delete it. In that case, go to the beginning of the keyframe animation and toggle off the stopwatch icon. There you go.
Conclusion
Adding keyframes in Premiere Pro is a simple process that you can complete in a few steps. First, select the clip you want to animate. Next, click the effect panel, and tweak the keyframe properties to achieve your desired effect.
With a little practice, you’ll be creating stunning animations in no time! Are you finding it tough? Don’t be dejected; just drop a question for me in the comment section, and I will respond to it promptly.