
Rotating text in Pixlr is easy. Pixlr is a convenient tool with some limitations, but it is ideal for simple design tasks like text rotation. You won’t need to download or purchase anything or create an account, you’ll pick it up easily.
Rotating text is a great way to add visual interest and a dynamic feeling to a design. It’s an essential feature for any design software. Pixlr gives you a few options for how to use this tool.
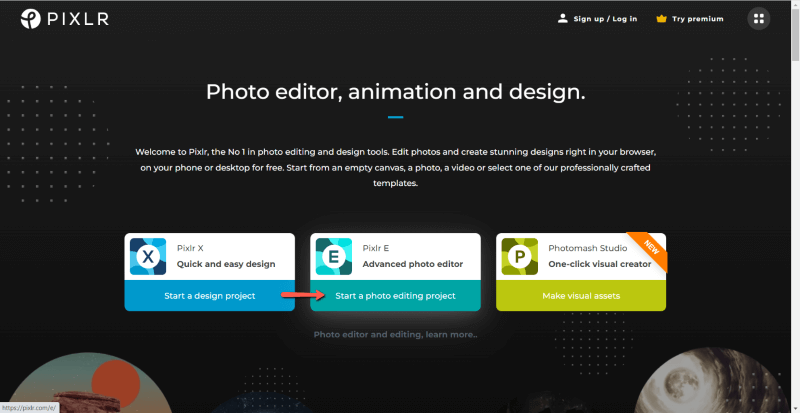
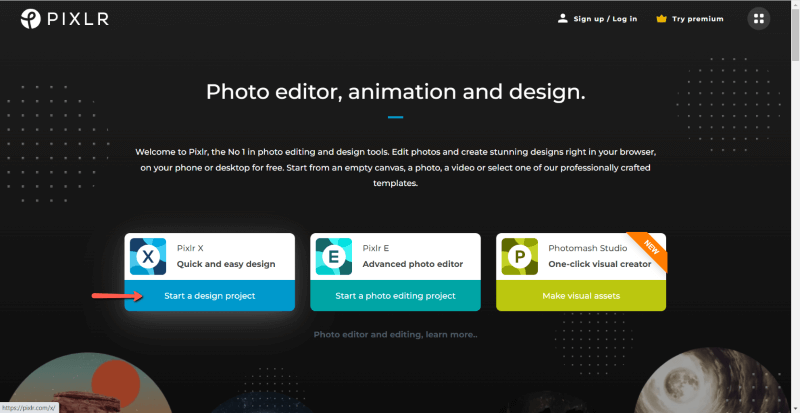
Text can be added and rotated in either Pixlr E or Pixlr X. This tutorial will walk you through both tools. That said, I generally recommend choosing Pixlr X for simplicity or Pixlr E for a more professional interface. In this case, Pixlr X may be the choice that gives you better control – depending on your design goals.
Table of Contents
How to Rotate Text in Pixlr E
Step 1: From the Pixlr homepage pick Pixlr E. Choose either Open Image or Create New.
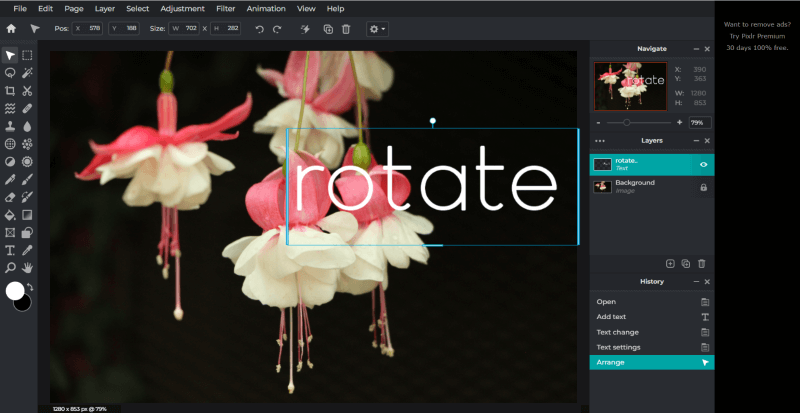
Step 2: Add text by clicking the T icon on the left hand toolbar, or use the keyboard shortcut, also T. Click and drag out a textbox and add your text.
Step 3: Once you have your text, find the Arrange tool at the top of the left hand toolbar. Alternatively, use the shortcut V.
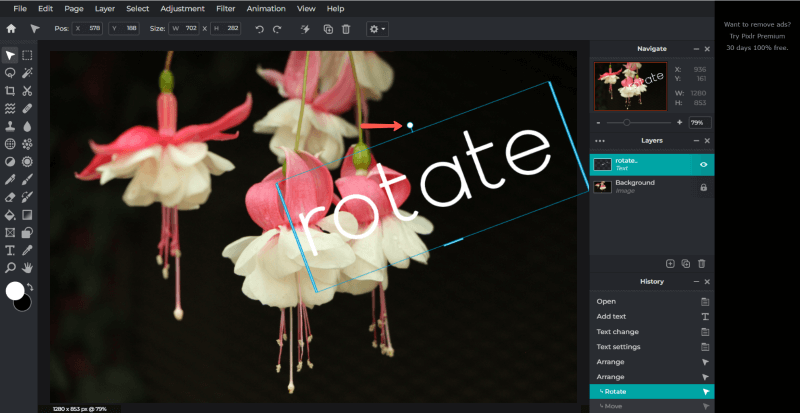
Step 4: If you are rotating your text to a degree besides 90, 180, or 270, hold the circle above the selection box and drag in the direction you wish to rotate your text.
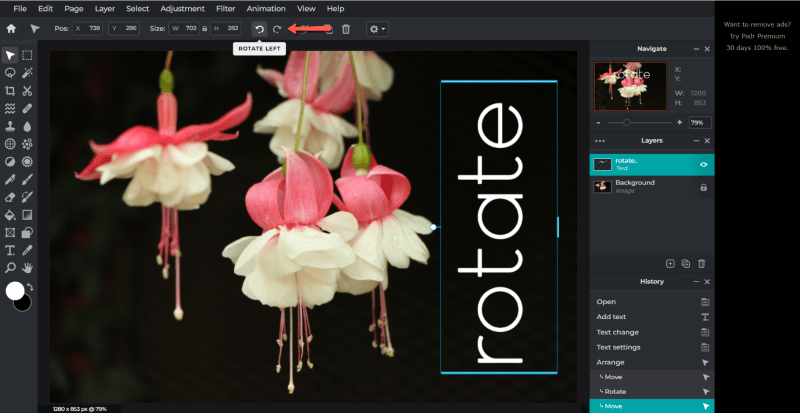
Step 5: To rotate a perfect 90 degrees, click the curved arrows, located on the options menu at the top of the screen. Rotate to the left with the left button, to the right with the right button.
Step 6: Save your work to your computer, find Save as under the File drop down menu, or hold down CTRL and S.
How to Rotate Text in Pixlr X
Rotating text in Pixlr X will give you a little more control over the text design.
Step 1: Open Pixlr X from the Pixlr homepage. Select either Open image or Create new.
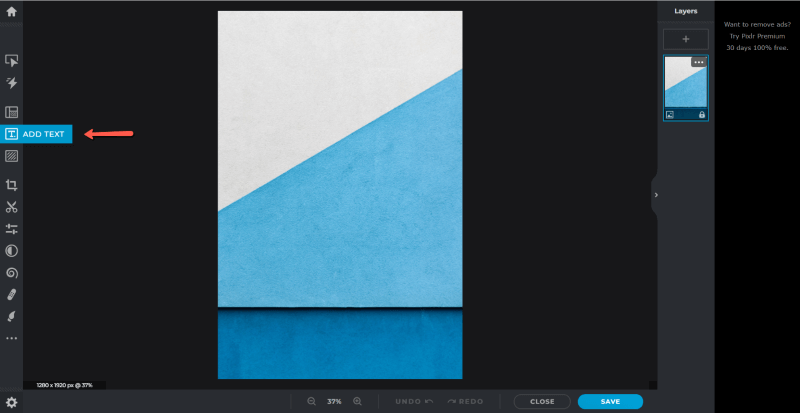
Step 2: Add text by selecting the T symbol on the left hand toolbar, or press the keyboard shortcut T. Enter your text in the text box that appears.
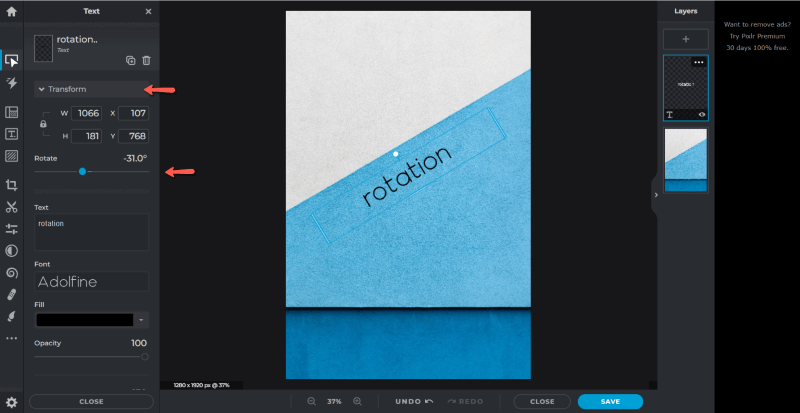
Step 3: Click Transform to bring down a menu of options. From here, you can either use the slider to rotate your text or enter the degrees in the box just above it.
That’s all there is to it!
Step 4: To save, just click the blue button at the bottom right of the screen.
Additional Tips
You may find it interesting to explore the rest of the text options in Pixlr X and E.
The curve text tool offers an interesting way to rotate text. Just scroll down the text menu in Pixlr X to find the Curve menu. Click on it to bring up options to rotate text around an arc, circle, or half-circle.
A very similar tool can be found in Pixlr E while using the text tool. Along the options menu at the top of the screen, find Styles and then select Curve to bring up the same options.
Final Thoughts
Rotated text is an easy-to-accomplish element that can add a lot of interest to your designs. Understanding this tool makes it possible to accomplish professional designs even without investing in expensive or complicated software.
What do you think of Pixlr as a design tool? Share your perspective with other designers in the comments, and ask questions if you need clarification.