
Learning how to flip, rotate, and mirror an image or layer in Photoshop is essential to establishing yourself as an expert Photoshop user. This is one of those fundamental building blocks that you’ll use every day and often.
Whether you’re flipping an image to face inward for printing as a photographer, or a designer formatting editorials for physical media – This is an essential skill to have in your toolbelt.
I’m Skyler, and I’ve been using Photoshop on a personal and professional level for well over a decade. I’ve used these techniques to format images for an anthology I published, and there is not a day that goes by that I don’t continue to use them in my illustrations and designs.
In this tutorial, I’ll be showing you how I used these techniques to create an illustration (Using the Bezold effect) from a fragmented image by flipping, mirroring, and rotating.
Once you’ve established these techniques you’re well on your way to creating your own unique photos and images, alongside learning a skill that you’ll carry with you throughout your creative careers!
Table of Contents
Key Takeaways
- To flip an image in Photoshop you can navigate to Edit > Transform > Flip Horizontal or Image > Image Rotation > Flip Canvas Horizontal.
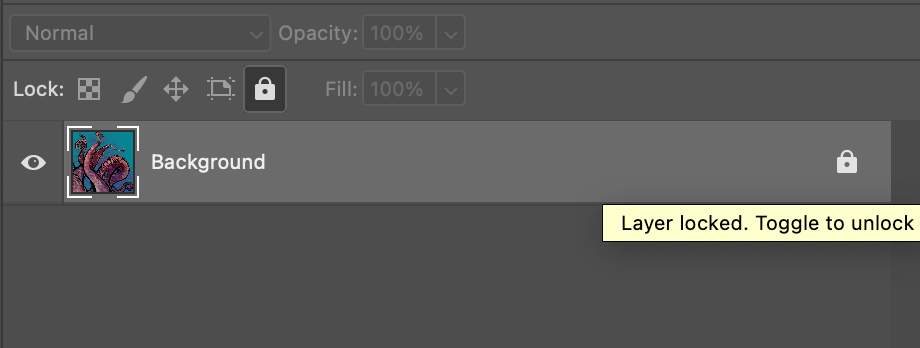
- You’ll need to unlock your background or source file layer in order to use the Transform tool. This can be done by moving to the layers panel and clicking off the locked icon.
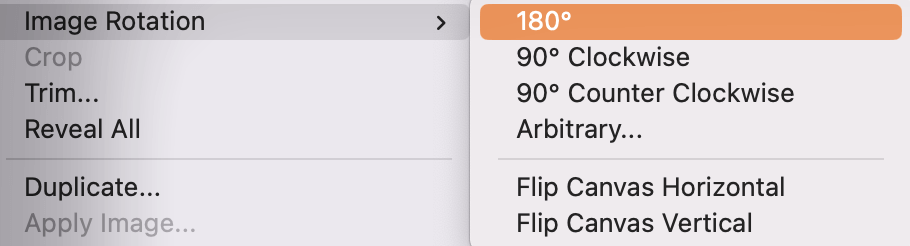
- To rotate your image in Photoshop you can navigate to Image > Image Rotation. There you’ll see the prompts 90 degrees clockwise, or 90 degrees counterclockwise.
- In order to mirror your image, create a duplicate layer. The dropdown for this can be found under Layer > Duplicate Layer.
How to Flip an Image in Photoshop
First things first, let’s open up your source files on Photoshop! Then once you’ve got the file open, we’re going to navigate to the transform menu. This can be found through Edit > Transform > Flip Horizontal.
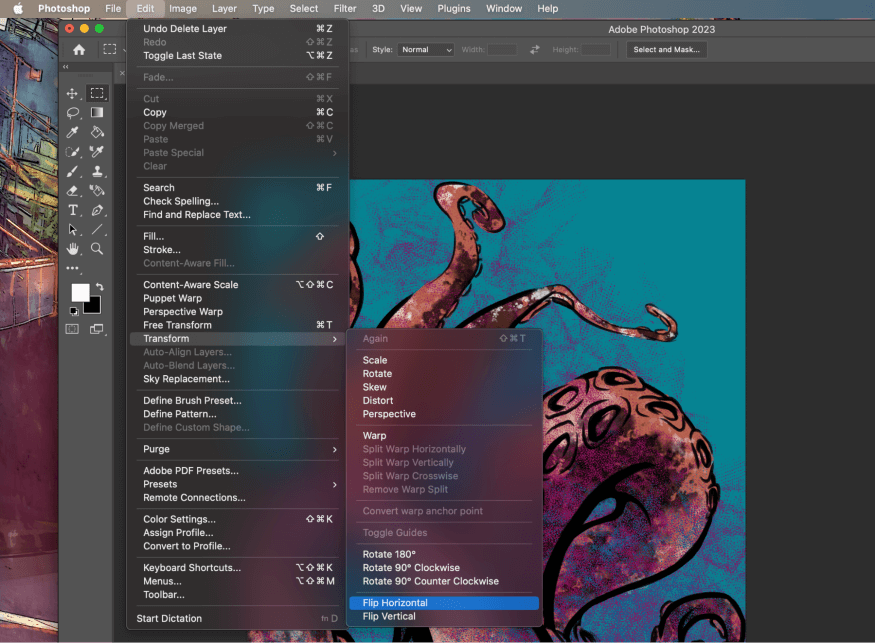
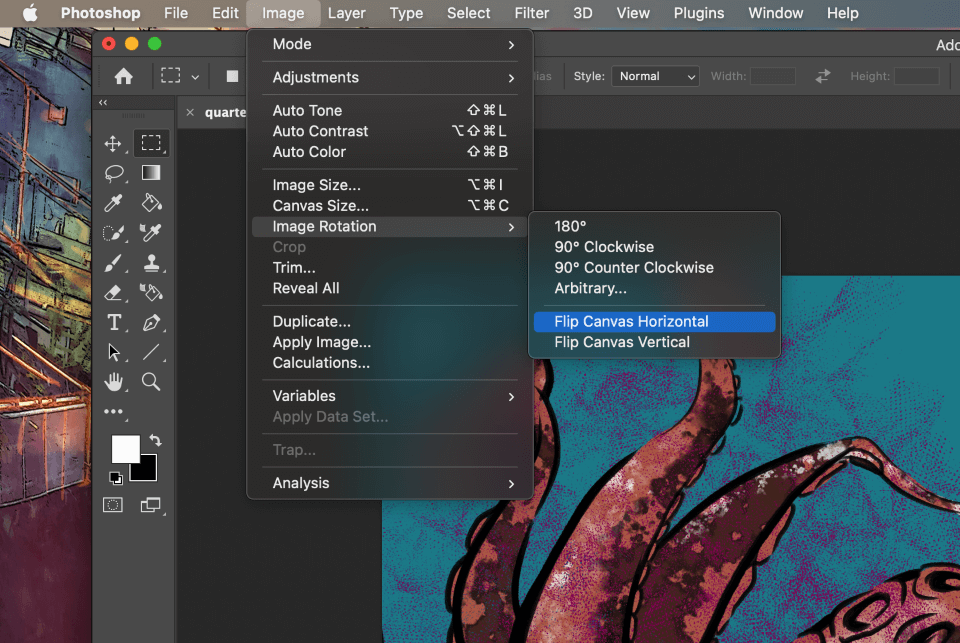
Alternatively, you can accomplish the same transformation by navigating to Image > Image Rotation > Flip Canvas Horizontal. Photoshop always has several ways of accomplishing the same task, usually for different or more complex situations. In this case, we can use either dropdown – it’s merely a preference.
Note: If you’ve loaded up the source file through an image and not by creating a new file and importing, then you may need to unlock your layer prior to flipping, rotating, etc. This can be done by moving to the layers panel and clicking off the locked icon.
How to Rotate an Image in Photoshop
Rotating your image can be done much the same way, but only through the image rotation menu. Again, this can be found by navigating to Image > Image Rotation. There you’ll see some rotate options. Make sure your image or layer is unlocked, and you’ll have rotated your image.
Or you can use the Transform tool (keyboard shortcut Command/Ctrl + T) to freely rotate an image.
How to Mirror an Image in Photoshop
The first thing we need to do is open a new file, size dependent on your project. I’m going to be using a 2000 x 2000 canvas to start, and cropping if need be. Once this is done we can move on to our layers panel.
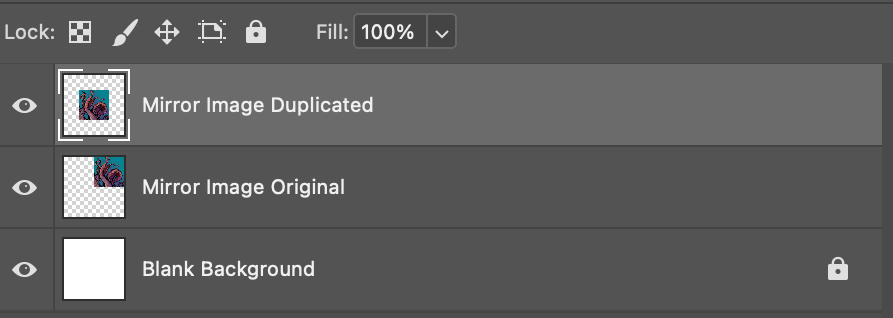
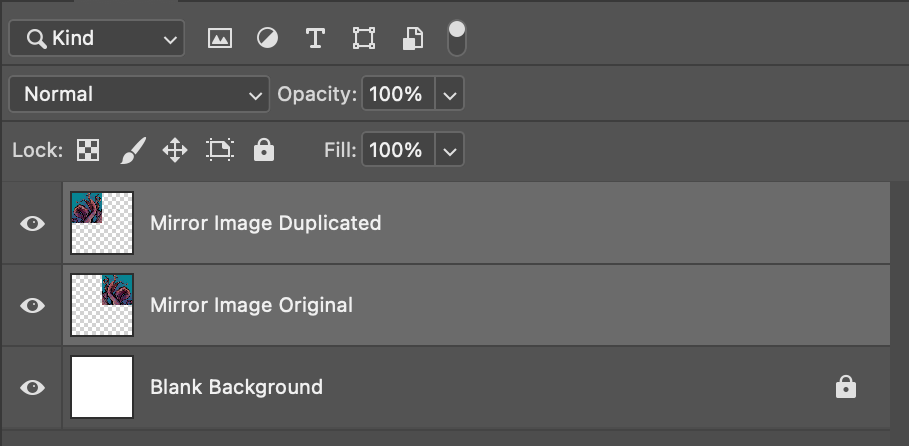
In order to mirror your image it will require us to first duplicate the layer. The dropdown for this can be found under Layer > Duplicate Layer. Name them appropriately and your panels should look something like this.
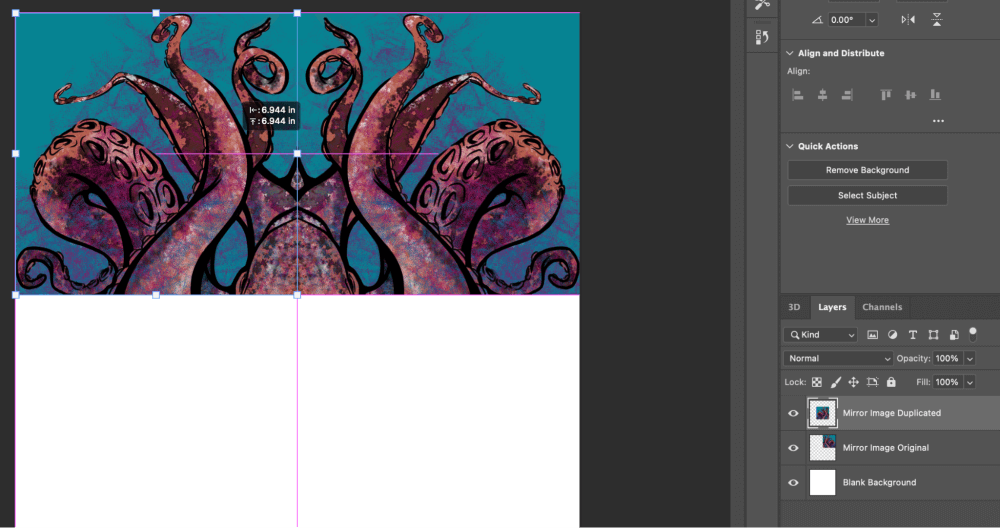
Now we’re going to take the duplicated layer and use the technique we learned earlier. Edit > Transform > Flip Horizontal. After you’ve flipped your image, we use the Command + T shortcut on our duplicated layer to line it up with our original.
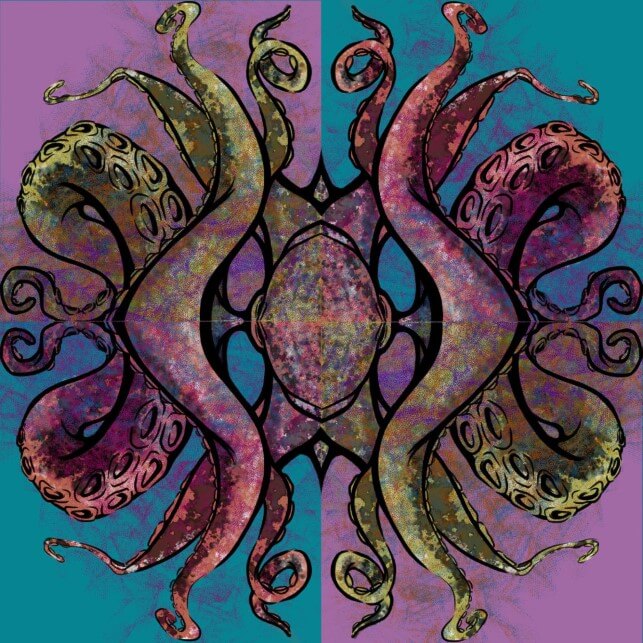
Bonus: Using Flip, Rotate, and Mirroring to Create a New Image
So, we’ve gotten all of the basics out of the way! Now I’m going to continue our example from earlier and use it to show you how you can take an image and turn it into something great with just these simple techniques.
Last we saw, we effectively lined up our mirrored images. The next step is to highlight both of your mirrored layers using the command button. Make sure both your layers are selected, and look like this.
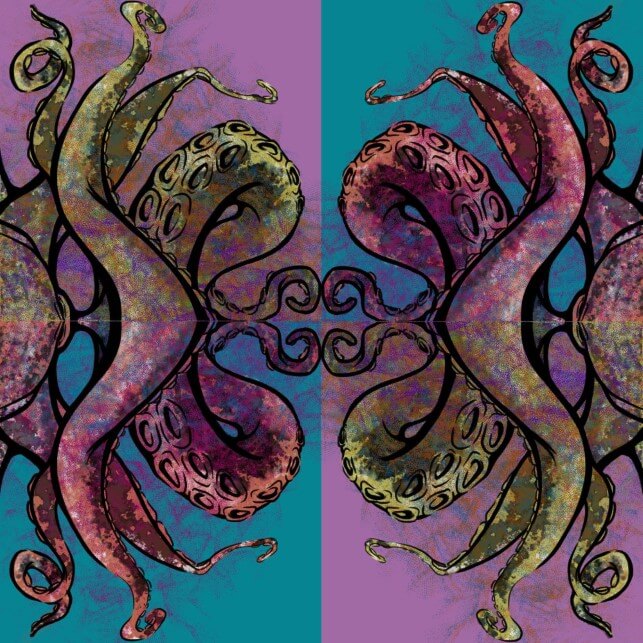
Once selected, we’re going to duplicate these again. Once you’ve duplicated these, wait to deselect them. We’re going back to the transform menu – but choosing Flip Vertical from the dropdown instead. Line them up below your first row on the canvas and you’ll have a fully formed image created using only flipping, rotation, and mirroring!

I also made sure to name my layers appropriately once we’ve gotten them all in place. This way, we can flip, rotate, or mess around with different configurations as much as we please without getting confused.
Here are a few examples of what I created just by messing around and getting creative with the techniques we learned!
Conclusion
Learning the fundamentals sounds like it can be a bore – but these are essential building blocks. It doesn’t have to be annoying or tedious unless you make it! Always try to have fun, be creative, and experiment freely. I know if you continue on that path, then you’ll be a success in all your creative endeavors!