
Working on multiple layers while drawing is great…until you have to move them. Thankfully, moving multiple layers in PaintTool SAI is easy.
My name is Elianna. I have a Bachelor of Fine Arts in Illustration and have been using Paint Tool Sai for over 7 years. In the past I would agonize over my layers, moving them one at a time. Let me save you from that time-consuming fate.
In this article, I’m going to three different methods to move multiple layers in PaintTool SAI, step-by-step. Grab your tablet pen (or mouse) and let’s get into it!
Table of Contents
Key Takeaways
- You can move multiple layers by clicking on your selected layers and holding down the CTRL or SHIFT key.
- Use the Pin tool to pin multiple layers together for automatic edits.
- Create folders to move multiple layers in PaintTool SAI in a group.
- Use the command Ctrl+T (transform) to move and edit your layers with ease.
Method 1: Using the CTRL or SHIFT Key
Using the CTRL or SHIFT key is one of the easiest ways to move multiple layers in PaintTool SAI. There is a slight difference to note with each.
- CTRL will select individual layers
- SHIFT will select layers in a sequence
Chose which method best suits your workflow.
Step 1: Open your file.
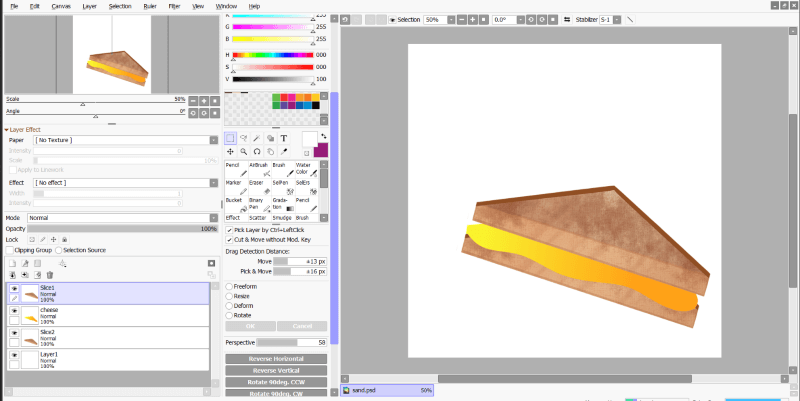
Step 2: Click on the first layer you would like to move in the layer panel.
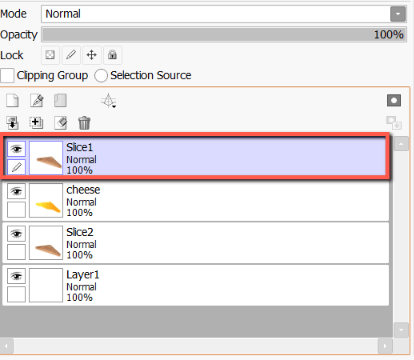
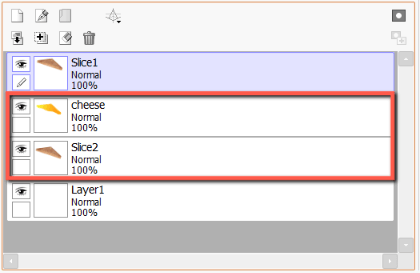
Step 3: While holding down Ctrl on your keyboard, click on the other layer(s) you would like to move.
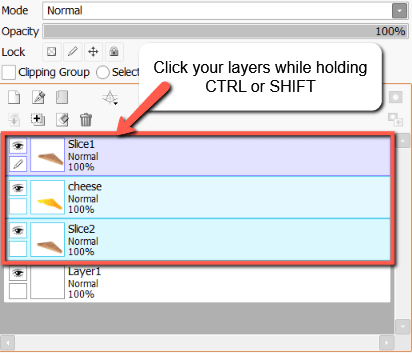
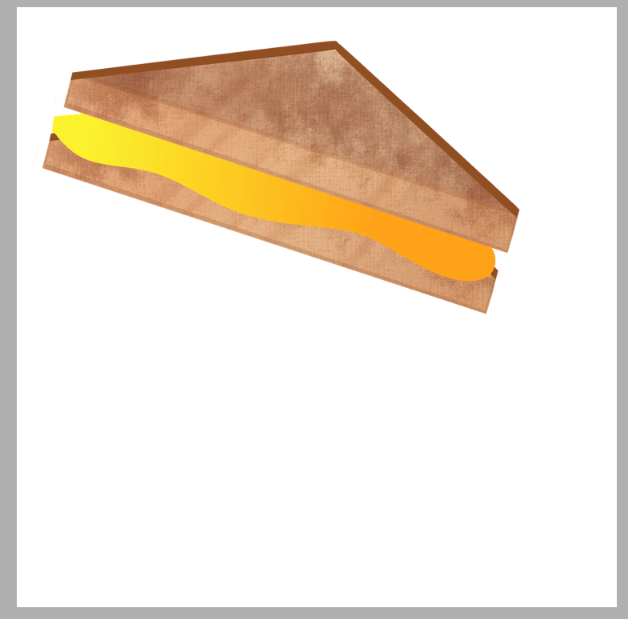
Step 4: Press Ctrl + T on your keyboard. This is the keyboard shortcut for the Transform Tool. You will now be able to move your layer assets as desired.
Step 5: Move your assets and hit Enter on your keyboard when finished.
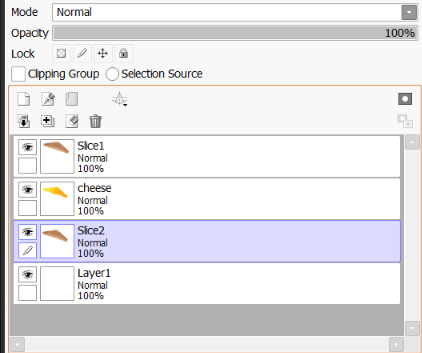
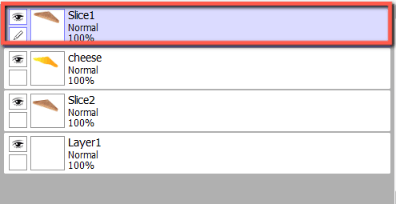
Step 6: After you hit Enter, you will notice that your layers will still be highlighted (selected).
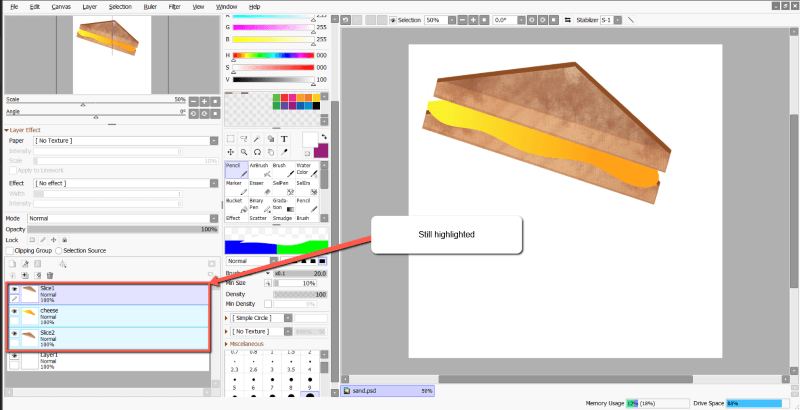
Step 7: Click on any of the layers to deselect them. Enjoy.
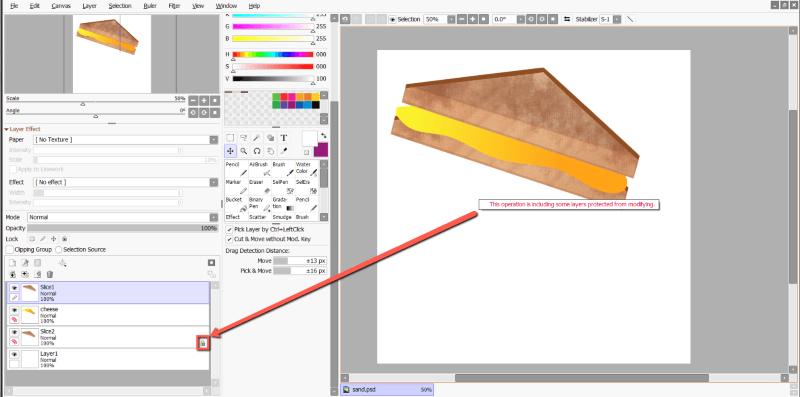
Quick note: Remember to unlock your layers before trying to move them. If you try to move a locked layer you will receive the error “This operation is including some layers protected from modifying.” Make sure to double check that all of your layers are editable, and unlock layers if needed. You will know a layer is locked if it has a lock icon in the layer menu.

Method 2: Using the PIN Tool
Another simple way to move multiple layers in PaintTool SAI is with the Pin tool. Represented by a paperclip icon, this tool allows you to pin multiple layers together.
When you move assets on one layer, assets on any pinned layer will move or resize automatically. This is a great feature for moving assets, or uniformly resizing items on separate layers. Here’s how:
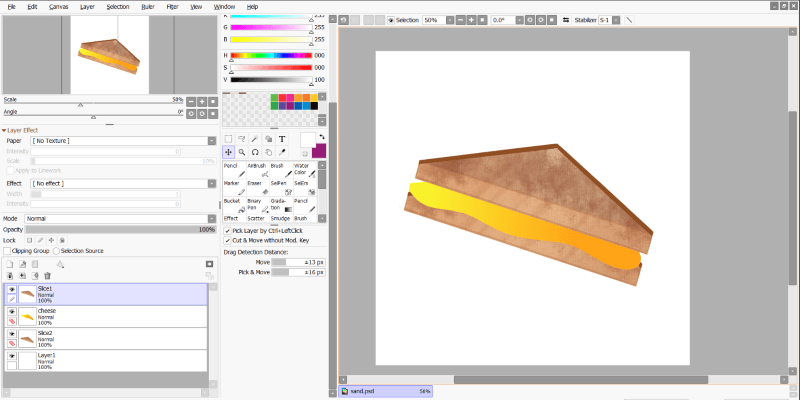
Step 1: Click on your target layer in the layer panel.
Step 2: Locate the layers you would to pin to your target layer.
Step 3: Click the Pin box on any layers you would like to pin to your target layer. Your target and pinned layers will now move together.

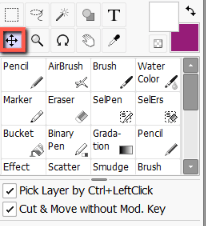
Step 4: Click on the Move tool, or use Ctrl+T to transform your assets.
Step 5: Click and drag your asset as desired.
Done. Enjoy!
Don’t forget to these features of the Pin tool:
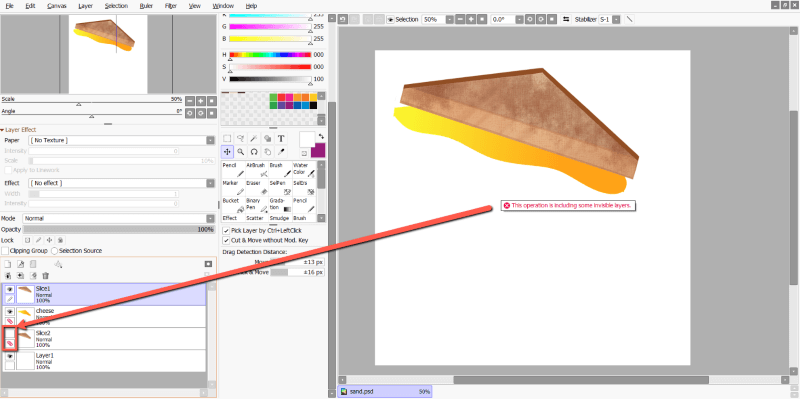
Tip #1: If you hide a pinned layer and try to move or resize your target layer, you will receive the following error: “This operation is including some invisible layers.” Simply unhide the pinned layer or unpin it from your target layer to continue the operation.
Tip #2: If any pinned layers are locked and you try to move or resize them, you will receive the error “This operation is including some layers protected from modifying.” Make sure to double-check that all of your layers are editable, and unlock layers if needed. You will know a layer is locked if it has a lock icon in the layer menu.
Method 3: Using Folders
The last way to move multiple layers in PaintTool SAI is by grouping them into Folders.
This is a great option to organize your layers and edit them with ease, as you can apply blending modes, clipping groups and other editing features to a whole folder without losing the ability to modify specific layers. You can also move a number of layers in a single click with this method. Here is how:
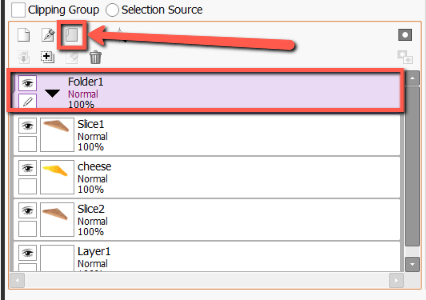
Step 1: Click on the Folder icon in the layer panel. This will create a new folder in the layer menu.
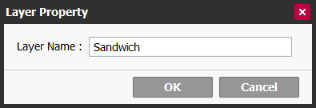
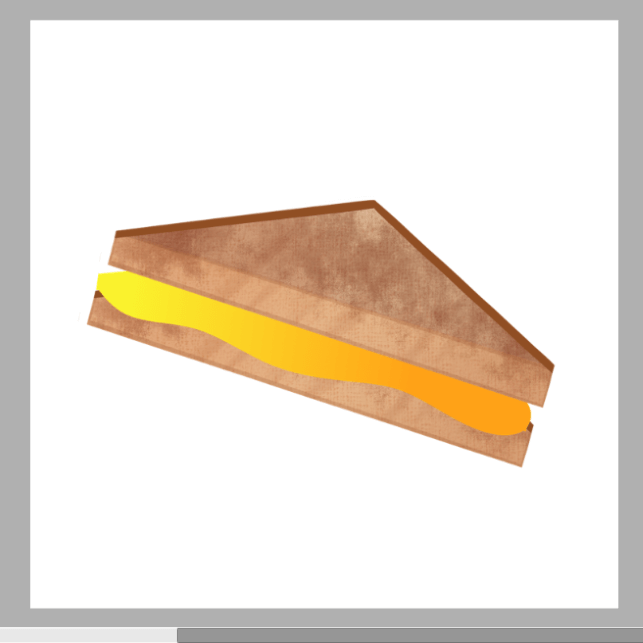
Step 2: Double-Click the folder layer. This will bring up the Layer Property menu where you can rename your folder. For this example, I am naming my folder “Sandwich.”
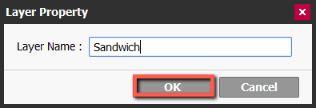
Step 3: After naming your folder, hit Enter on your keyboard or press OK.
Step 4: Select the layers in the layer panel that you would like to move into your folder. You can select them individually or use Ctrl or Shift as mentioned above in the first method.
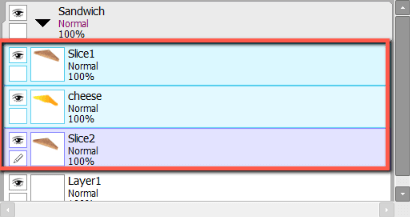
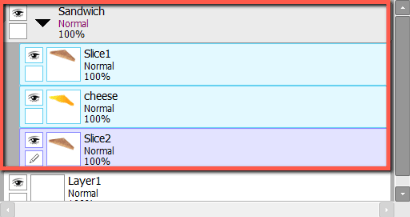
Step 5: Drag your selected layers into the Folder. As you drag them, you will see the folder light up pink. Your layers will now be located under the folder, shown by a slight indent in the layer menu when the folder when opened.
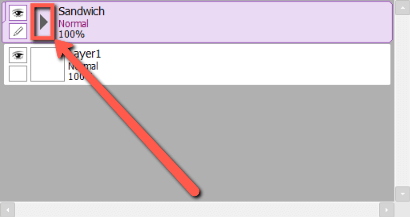
Step 6: To close your folder, click on the folder arrow. You can now move all of your layers in the folder as a group.
Step 7: Click on your folder in the layer menu.
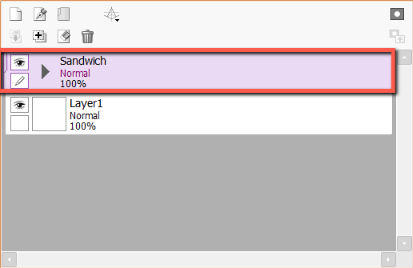
Step 8: Click on the Move tool in the tool menu.
Step 9: Click and drag your asset as desired.
That’s it. Enjoy!
Conclusion
The ability to move multiple layers while drawing is necessary for optimal workflow. This can be achieved in a variety of ways, including using the Ctrl and Shift keys, Pin tool, and Folders.
What method of moving multiple layers did you find most helpful? Do you know any other methods to move multiple layers? Drop a comment below.