
One of the greatest advantages of digital art is the ability to create perfectly symmetrical elements with ease. Even in organic art styles, the ability to effortlessly create a circle is incredibly useful – a basic skill that is best learned early on.
In this article, we are going to show you three different techniques to draw a perfect circle in Procreate. We’ll also explain the advantages and drawbacks of each method depending on the users’ specific needs. Learning all three will set you well on your way to mastering Procreate!
Table of Contents
Method 1: The Freeze Technique
First up is the method we use the most, a technique we often refer to as “the freeze”. With any brush, simply do your best to draw a circle and then stop all movement as soon as you finish the circle (but keep contact with the screen).
After a momentary pause, the shape will automatically correct any waves or shakes and become a perfectly smooth circle.
While this method is a quick option that is ideal for outlines, it does have a few drawbacks. If you are using a brush with tapered ends, the pressure sensitivity of the screen will likely result in a circle where you can see the starting and stopping point even after it is autocorrected.
Due to the difficulty of maintaining the same level of pressure while drawing, this is a common problem with tapered end brushes, as the line thickness changes and results in a circle such as this one:
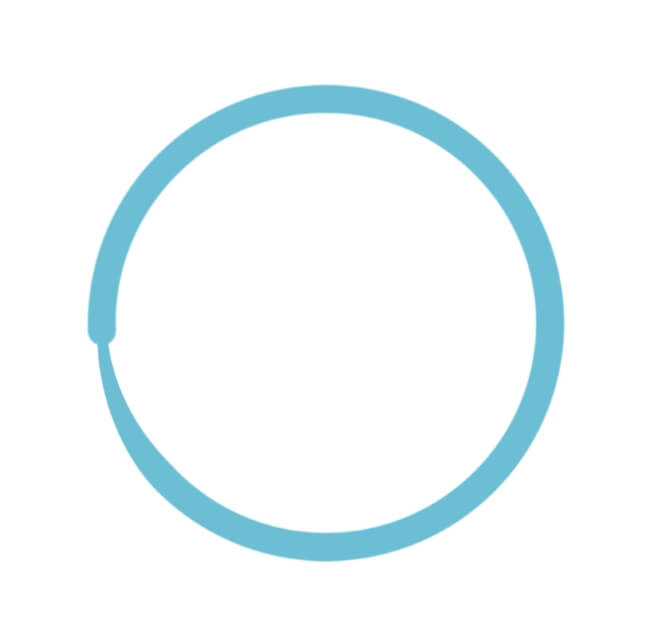
If this is not the desired effect, you can either choose a brush that does not have tapered ends, or you can turn off the tapering effect on the brush you are currently using.
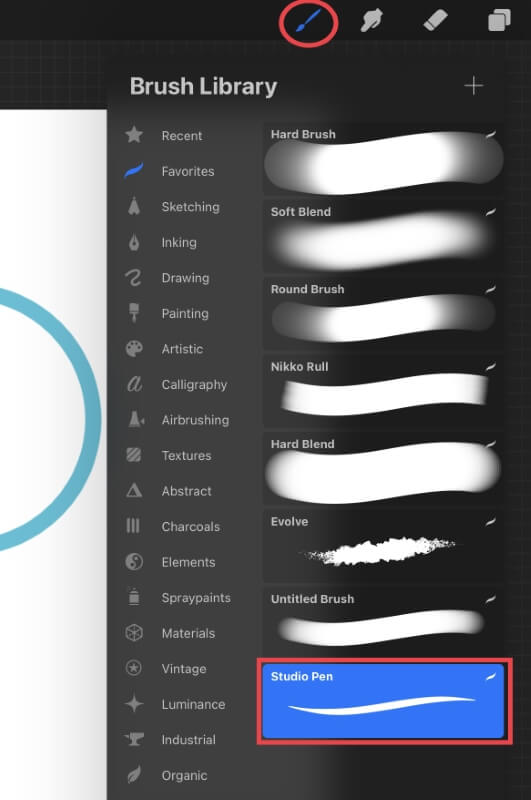
If you would like to select a different brush, head into the Brush library (accessible via the paintbrush icon in the upper right corner) and browse until you see a brush where both ends are the same thickness as the middle.
To switch off the taper on the brush you are currently using, head back into the brush library and click on the brush already highlighted in blue.
This will open the detailed brush settings. Find the Pressure taper and Touch taper slide bars, and toggle both ends all the way to the outer edges.
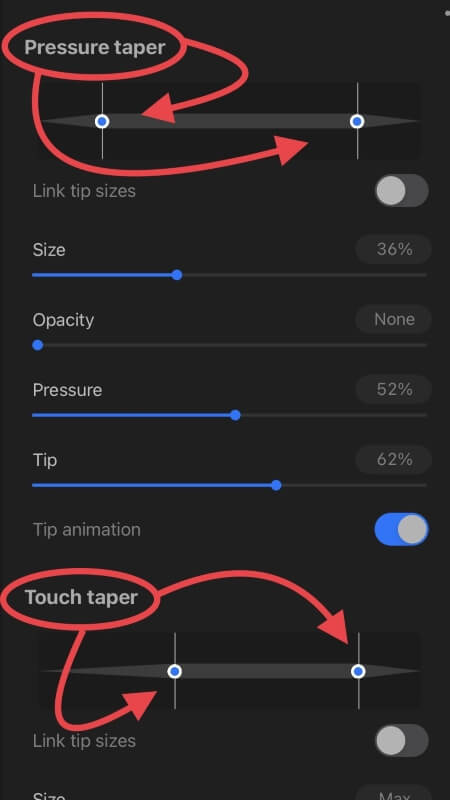
After you slide both, it should look like this:
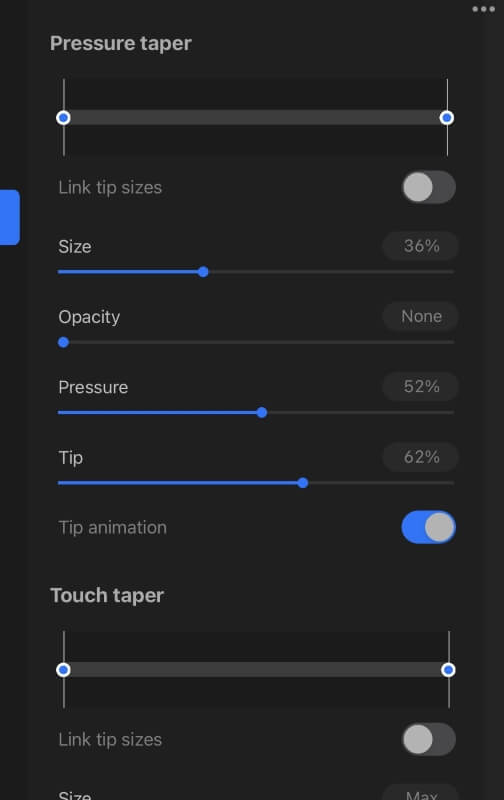
With the taper setting off, you can now draw a circle with an unidentifiable starting and stopping point, creating smooth edges all the way around.
Another issue with this method is the tendency for the feature to correct to an oval – it will try to mimic the shape it thought you were attempting, and usually, that is closer to an oval than a perfect circle.
Luckily, a recent update gave us a quick fix for this. A feature called QuickShape will automatically appear at the top of your screen shortly after utilizing the ‘freeze’ method. Simply click Edit Shape and then ‘circle’ and it will automatically take your oval to a perfectly symmetrical circle.

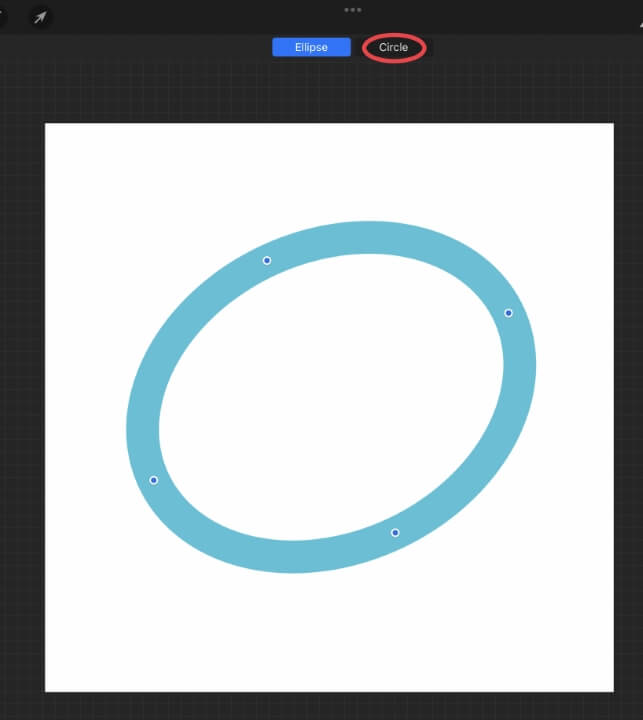
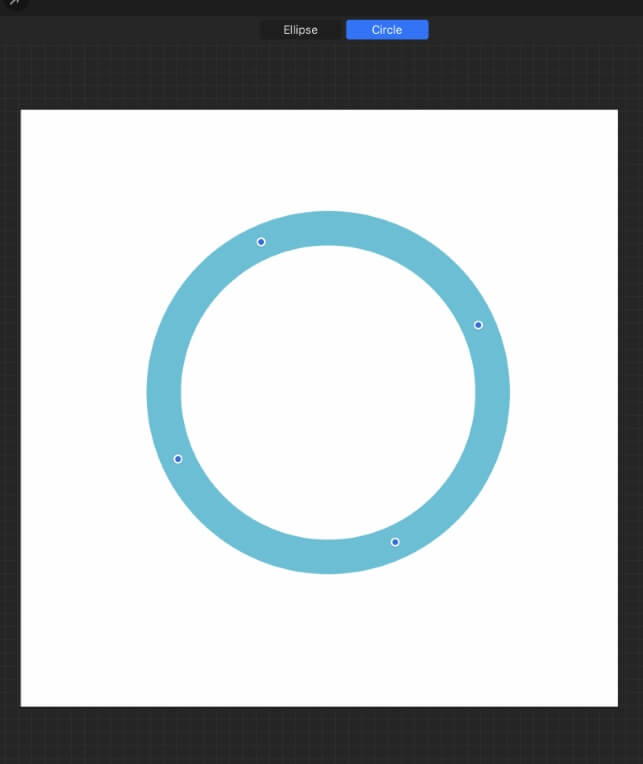
Four nodes will also appear within the circle, giving you the ability to manipulate its shape even further.
If ‘ellipse’ is the only option that appears, it is because the shape was not close enough to a circle for the software to understand that that was what you were trying to make. Tap the screen with two fingers to undo it, then try again.
Method 2: Firm Tap with the Right Brush
If you need smaller circles in higher quantities, a much more efficient method is to increase the size of your brush and simply tap and hold the screen with increasing pressure. This action will create a perfect circle every time.
The correct brush marks or breaks this method, you must select a round brush for this shortcut to work.
The only downside of this method is that if you need to increase the size of the circle, using ‘transform’ and scaling it too large will create blurry edges because it was not drawn with very many pixels.
However, this remains a great option for smaller, more numerous needs and it is definitely the quickest option.
Method 3: Utilizing the Selection Tool
If you are looking to create a large, filled circle with clear edges, your best bet will be to use the selections tab. Simply tap the icon, make sure to select Ellipse and Add, and drag the shape diagonally across the canvas.


This is a great option because it gives you access to a toolbar, allowing you to change the fill color, feather the object, invert it with the background, and more.
While this is the most uniform way to create a circle, because it is a bit more time-consuming than the other options. It also does not have the precise placement that the freeze technique has, so you will most likely have to maneuver it into place once it is drawn.
And there we have it! Three different ways to create a perfect circle in Procreate. Happy drawing everyone!