
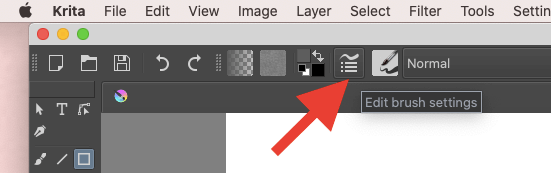
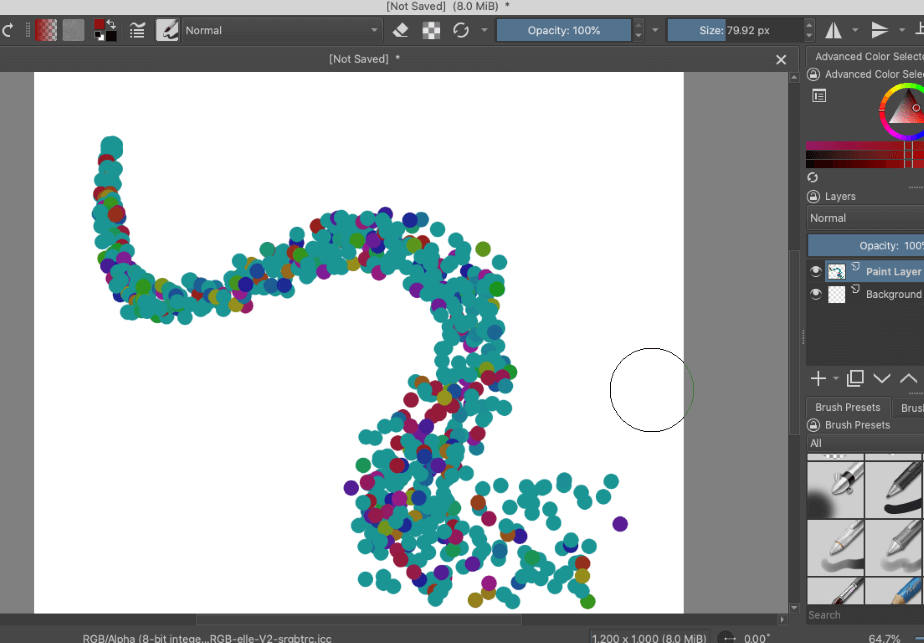
You can make custom brushes in Krita by clicking on the “Edit Brush Settings” button next to the “Background Color Selector” in the top left-hand corner of your workspace.
I’m Carolyn and I’ve been using design apps like Krita to run my digital illustration business for over three years now. This means I know my way around the app, including how to create custom brushes if the pre-loaded brushes aren’t exactly what you’re looking for.
Krita gives its users full control when it comes to customizing and creating new brushes. Because of this, the process of doing so can become quite a challenging and technical ordeal so it’s best to be familiar with the app or similar drawing apps before getting into it.
In this article, I’m going to show you a basic step-by-step on how to create your own custom brushes in Krita and also how to share them once they’re ready.
Table of Contents
Key Takeaways
- You should have a good idea of what you want before starting this process.
- You can download external brushes into the Krita app.
- The brush editing selection is very broad and gives you full control over the outcome of the brush.
- If you can, use a stylus when creating a new brush so you can get an accurate idea of the pressure sensitivity of the new brush.
How to Make a Custom Brush in Krita
Below is a step-by-step on how to make your own brushes in Krita. Open up the Krita app on your device to get started!
Step 1: Choose a simple and editable brush from the preset brush library. For example, I like to use the Basic 5 brush to start with.

Step 2: In the top left-hand corner of your workspace, tap on the Edit brush settings button. It should be next to the Background Settings button.
Your Brush Editor window will appear and you will see all of the settings for adjusting the brush.
For example, you can change the brush tip, size, source, opacity, and many more brush characteristics in this menu.
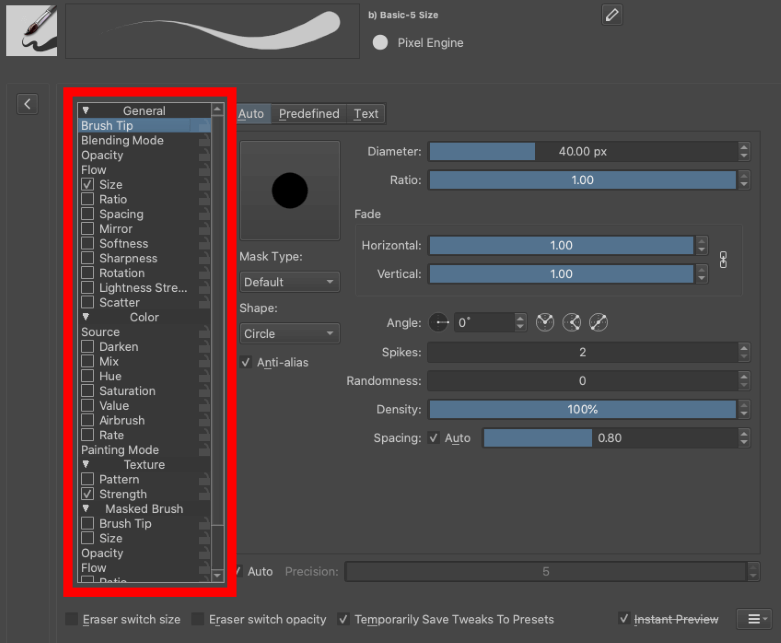
Step 3: Adjust the brush settings. To make a change to a specific characteristic, click on the box to the left of the characteristic title until the box is checked. This will activate the setting and open the edit window to the right of your drop-down menu.
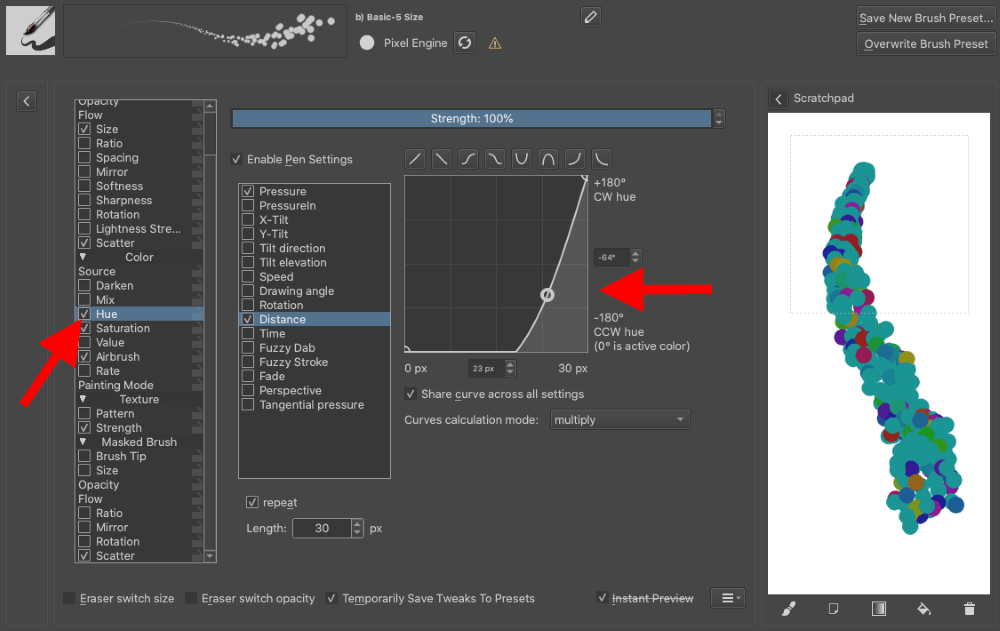
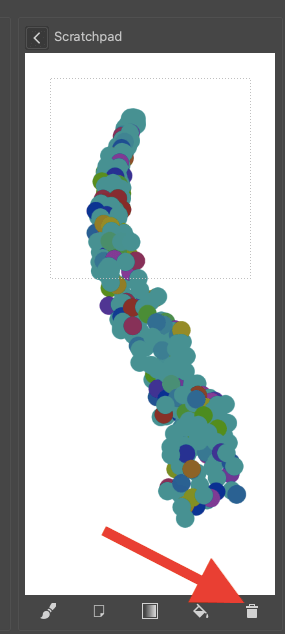
Every time you make a change, you can test the result by drawing a sample stroke of your brush in the Scratchpad to the right of the settings window. To clear the Scratchpad, click on the trash can icon on the bottom right of the window.
Step 4: Once you have made all of your changes and you’re happy with your brush, it’s time to give your brush a name so you can easily find it in your brush library. You can do this by clicking on the pencil icon in the top right-hand side of your edit window.

Type the new brush name in the title box and then click on the Save button to the right of the box.

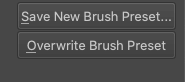
You can either save the brush as a new brush or overwrite the current brush that you are editing. Always select the Save New Brush Preset so you don’t lose the original brush that you started with.
How to Save a Custom Brush in Krita
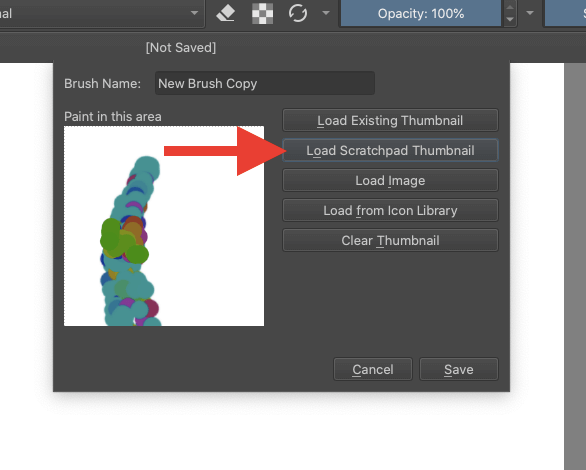
Continuing with the steps above, in the next pop-up window, you can confirm the new name of your brush and choose what thumbnail you want to save it as. Click Save to confirm your choice.
You will have the choice to replicate another existing thumbnail, load an image from your photo gallery and clear the thumbnail together. I recommend selecting the scratchpad thumbnail so you can easily see which brush style you are choosing.
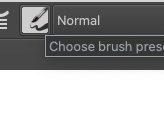
Now your brush is saved in your brush library, you can access it by clicking on the paintbrush icon in the top left of your workspace beside where it says Normal.
You can either scroll through the thumbnails or search for the name of your brush in the bottom search bar. Once you have found it, click on the thumbnail to activate and use the brush.
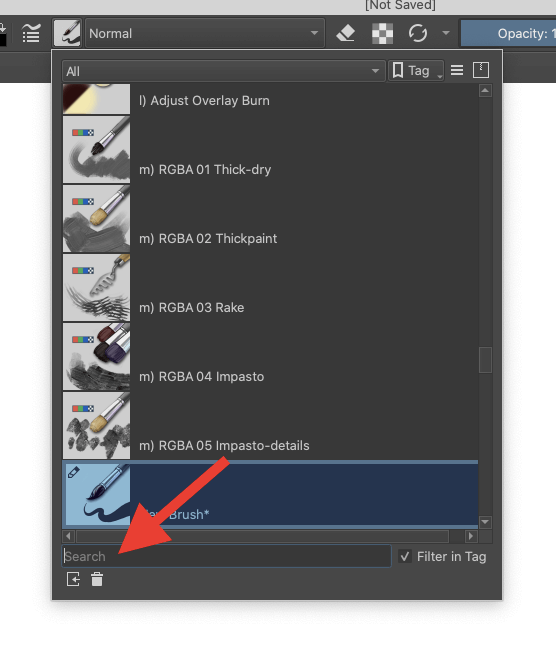
You are now free to use your new brush and it will remain the active brush until you deselect it or change what tool you are using in the workspace.
Pro Tip: It’s best to use a stylus and drawing pad when creating new brushes so you can accurately test the pressure sensitivity. Otherwise, just using a mouse will be slightly more restricting.
How to Import Brushes in Krita
You also have the option to download the brush of your choice online and import it into Krita if you don’t want to make your own. Once you have found and downloaded the new brush onto your device, follow the steps below:
Note: You will need to unzip the files before importing them into Krita.
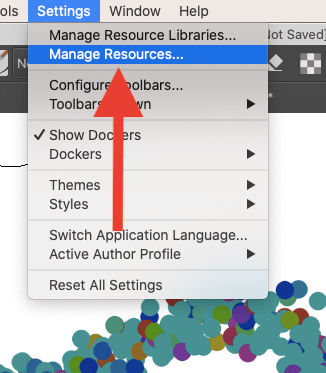
Step 1: In your Krita workspace, click on your Settings tab at the top of your screen. Scroll down to select the Manage Resources menu.
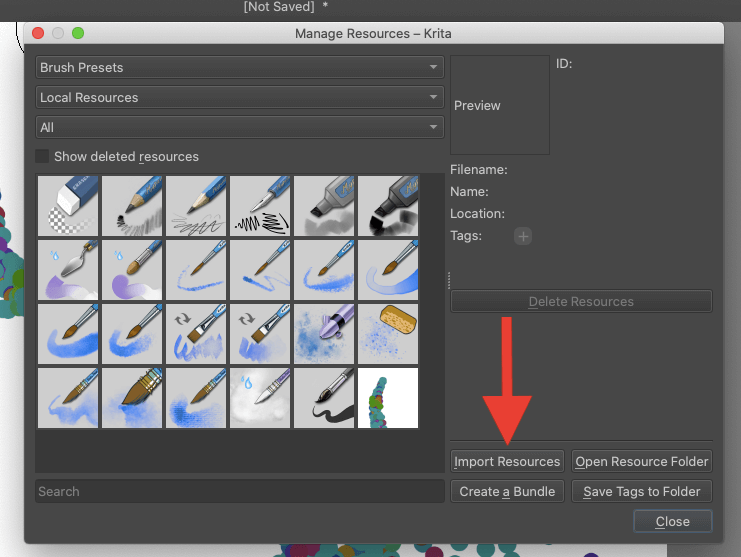
Step 2: A window will appear. You can click on the Import Resources option in the bottom right-hand corner. Once you have selected the file from your device, double-click on the file to import it. Your new brush will now appear in the brush library.
You can repeat this step as many times as you like.
Best Krita Brushes
There are a variety of free and premium brushes that digital artists have created in Krita that are available online. Below is a small selection of some of my favorite Krita brushes and how to download them:
Krita Watercolor Set
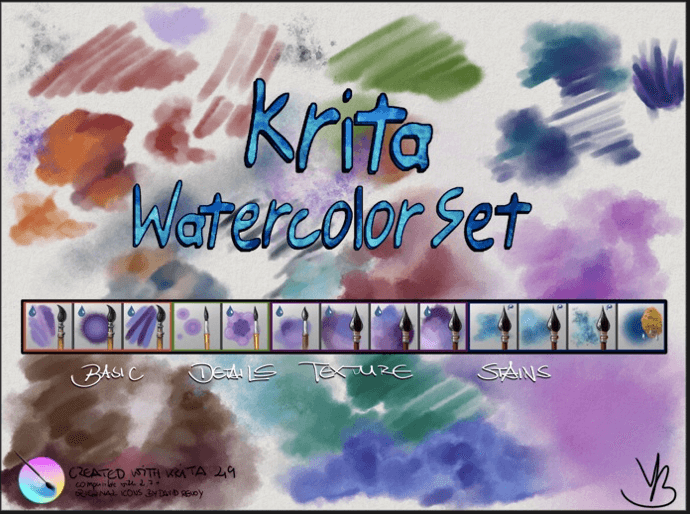
This brush set by Alexander Vasco offers a wide range of watercolor brushes designed for Krita. You can download the zip file here.
Minimalist Painting Pack
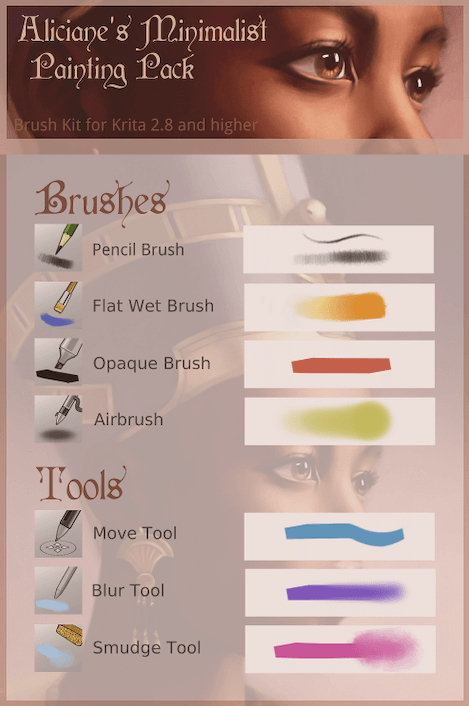
This awesome painting pack by Aliciane is the perfect addition for someone who uses Krita to create painted images and can be downloaded here.
Charcoal Pencils
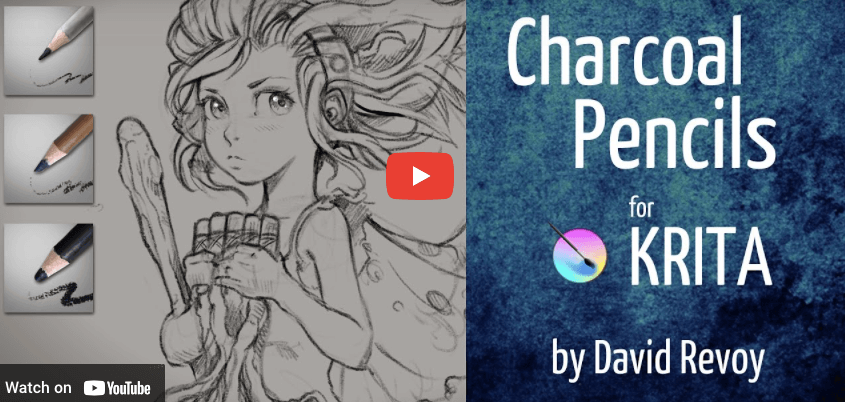
If you have Krita 4.0 or higher, these charcoal brushes by David Revoy are already available within the app. If not, you can download them here.
FAQs
Below is a selection of your frequently asked questions about making your own brushes in Krita. I have briefly answered them for you here:
What to do when Krita import brushes is not working?
You may need to delete and reinstall the Krita app on your device. During updates and app changes, it can create some issues or bugs within the app but they tend to go away upon reinstalling the app.
Where can I download Krita brushes for free?
There are many free resources available online. Once you find the brush you want, download it to your device and import it into your app using the method shown above.
How to increase brush size in Krita?
You can open the Edit brush settings in the workspace of Krita and select the brush. The Size setting will be at the top of the dropdown menu and you can drag the percentage tab until you get your desired size.
Conclusion
Krita comes with some awesome preset brushes in the brush library but sometimes, it’s just not quite what you’re looking for. That’s when this method comes in handy so you can just go ahead and create your own custom brushes to suit your particular project.
Once you are familiar enough with the Krita app and are confident in how the brush library works, I recommend spending some time familiarizing yourself with the brush editor and make your own unique brushes.
Have you created your own brushes in Krita? Share them in the comments section below.