
Sometimes it can be useful to put a lock on your files and keep potentially prying eyes from accessing your stuff. But how can you lock or password protect a file on Mac?
As an Apple computer technician, I have been asked this question quite a few times. So I decided to look into it. Today we’re going to discuss a few ways you can protect your files and folders on macOS in a few easy steps.
Let’s get into it!
Table of Contents
Key Takeaways
- Locking a file helps prevent accidental edits or movements of important documents, but it also comes with some enticing security benefits.
- Password-protecting a document keeps sensitive information from being viewed by unauthorized eyes.
- Encrypting a file folder offers comprehensive protection from editing errors, prying eyes, and external entities.
- Using a third-party application like BetterZip allows for compressing and protecting your files for added security.
Locking, Password Protecting, or Encrypting a File on Mac
Important information on your mac can be additionally protected by either locking, password protecting, or encrypting the file. These terms can all mean different things on the Mac.
We will provide more information so you can choose which protection method is best for you and provide step-by-step instructions on how to complete these protection methods for your files and documents.
Locking a file folder or document on a Mac protects the file from being edited or changed by any user, including yourself, but allows access to view the files without a password.
Password-protecting a document on a Mac disallows access to the file without a password. Once a password is entered, the file can be edited and saved as needed. It is not possible to password-protect a file folder without using encryption.
Encrypting a file folder on a Mac, in terms of your direct action with it, combines both the locking features and password protection features.
Method 1: Locking a File or Document on Mac
Locking a file on a Mac is like putting a padlock on your precious documents. It’s a simple way to ensure that your files stay safe and secure from accidental edits, deletions, or even folder mishaps. Think of it as your own personal security guard, keeping your files safe from any unwanted changes.
Imagine you’ve got a folder filled with important documents that you don’t want to risk losing. With a simple lock, you can rest easy knowing that your files won’t be accidentally moved to a mysterious location, deleted, or even moved instead of copied when transferring them.
In short, locking a file on a Mac is a smart move for anyone looking to protect their digital assets.
To Lock your file on a Mac:
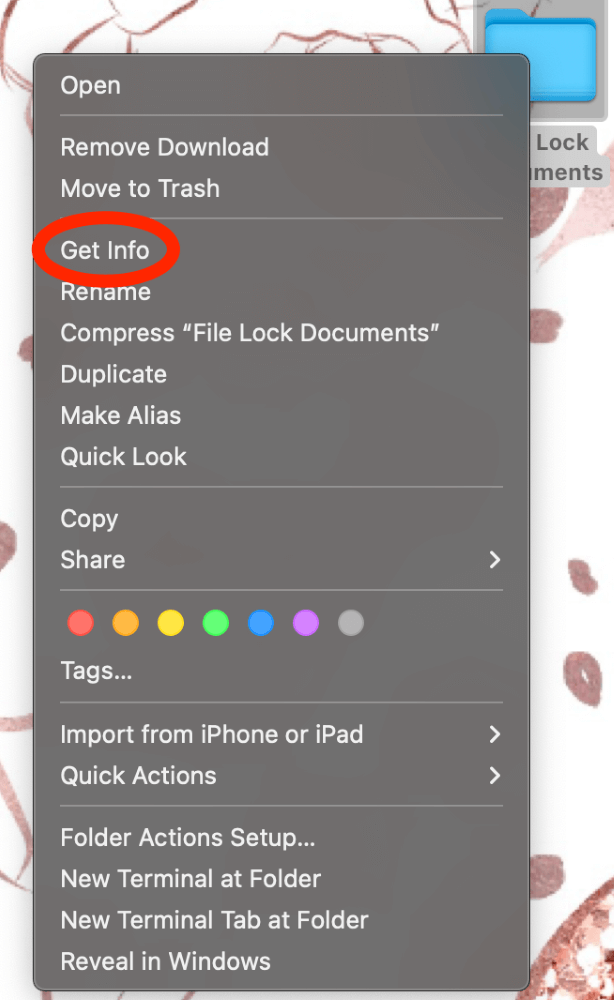
Locate and Right Click on the file you would like to lock. Click Get Info.
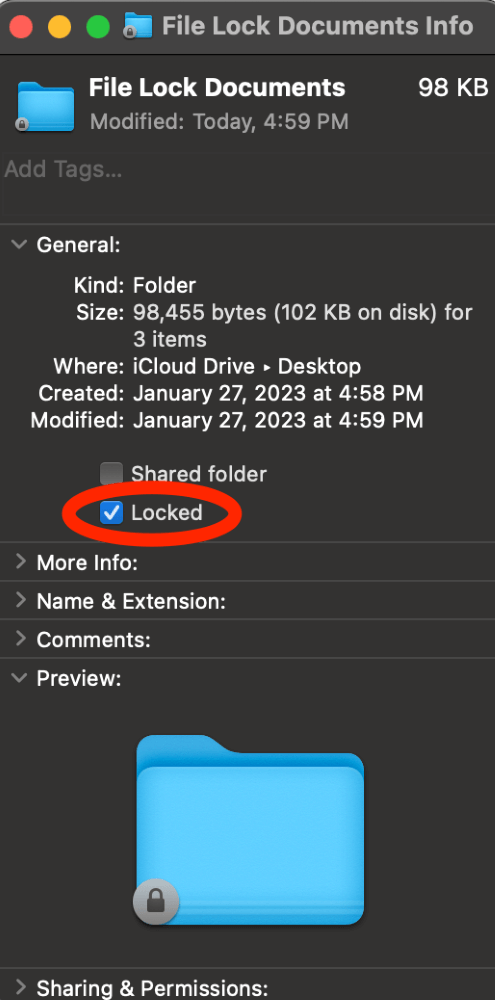
Click the Checkbox next to locked. The check mark indicates the file is locked.
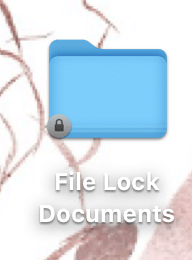
The file will now show a small lock on the bottom left corner of the file to indicate that it is locked.
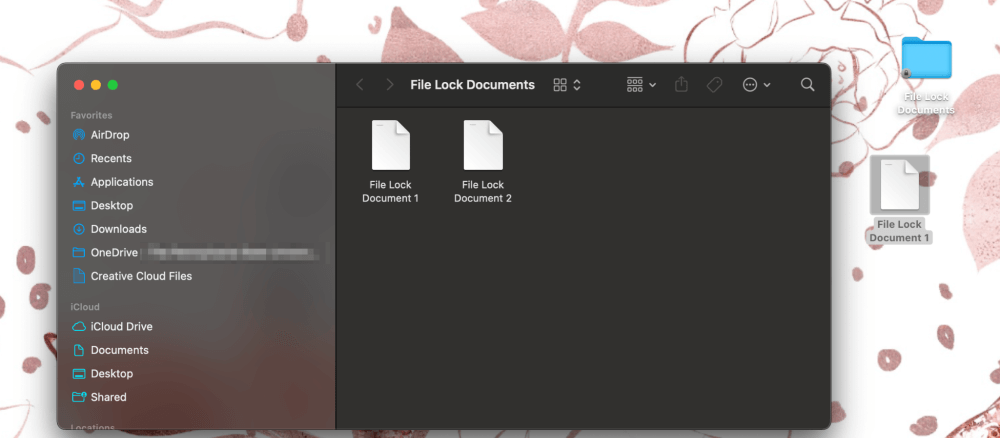
Note: Notice in the image below, when I open the file, I am still able to view both of the files I have inside. I can also copy a document to my desktop (or anywhere) by simply dragging and dropping. If the file was NOT locked, dragging and dropping the document would move the document and only keep one copy.
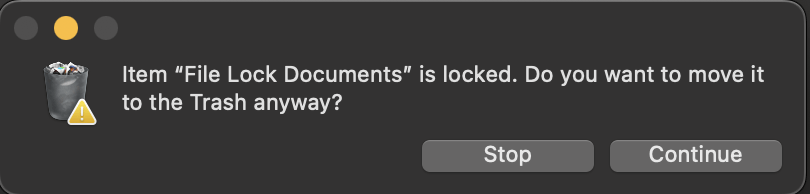
If I try to delete a locked file, I receive a confirmation dialog before moving to trash.
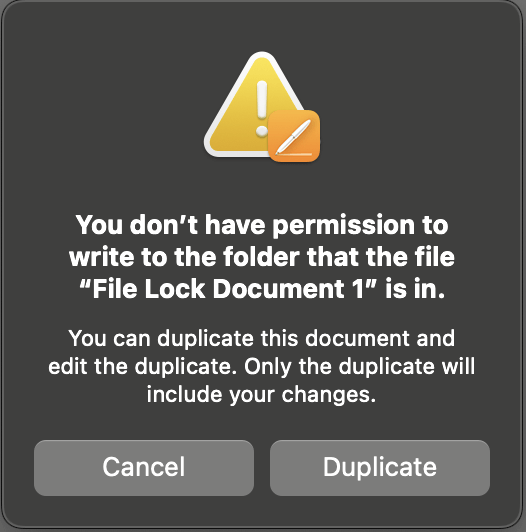
If I try to edit a locked file, I am forced to save it as a copy prior to editing.
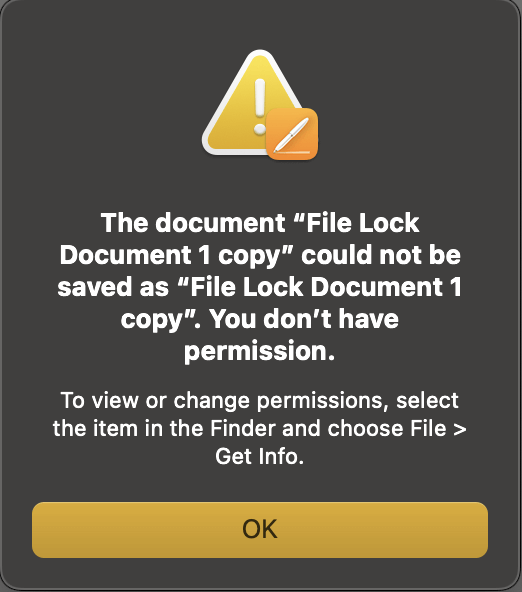
I am also not allowed to save to a locked file folder.
Note: This process also works on single documents.
To Unlock the file, simply right-click on it, click “Get Info”, and uncheck the box that says locked.
Method 2: Password Protecting a Document on Mac
On the other hand, password-protecting a document prevents the document from being viewed or edited without first entering a password. This means that if someone does not have the correct password in order to view the document, then they will not be able to view the contents. As stated previously, this option is not available for folders.
You may find yourself wanting to take this route if you use a shared computer and are trying to surprise someone so you don’t want them to see the document, if you are using a shared computer and protecting sensitive information in a single document, or if you are trying to send someone information, but want to make sure it goes to the proper place (you would need to give that person the password separately).
To Password Protect a Pages Document:
Save the file! This does not have to be completed prior to setting the password, but I highly recommend it in order to avoid losing your information. Password-protecting the file will not prevent you from losing unsaved data.
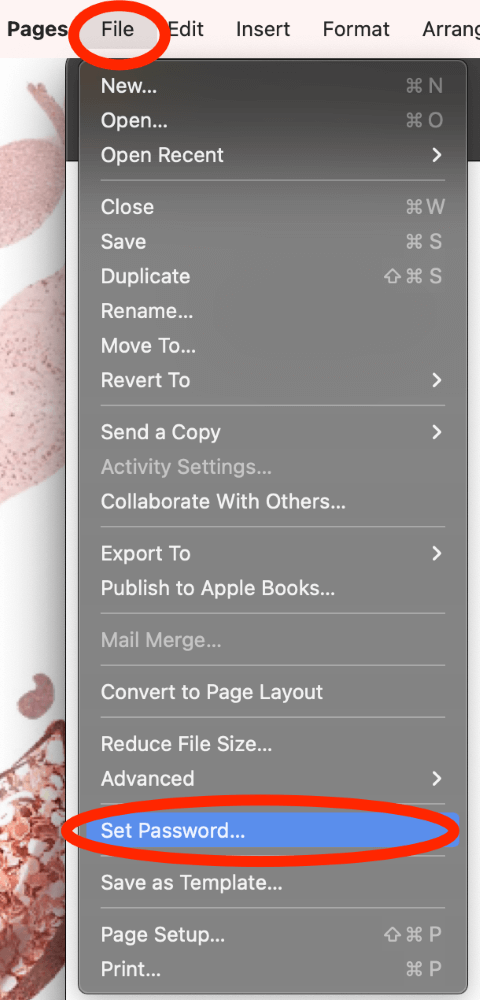
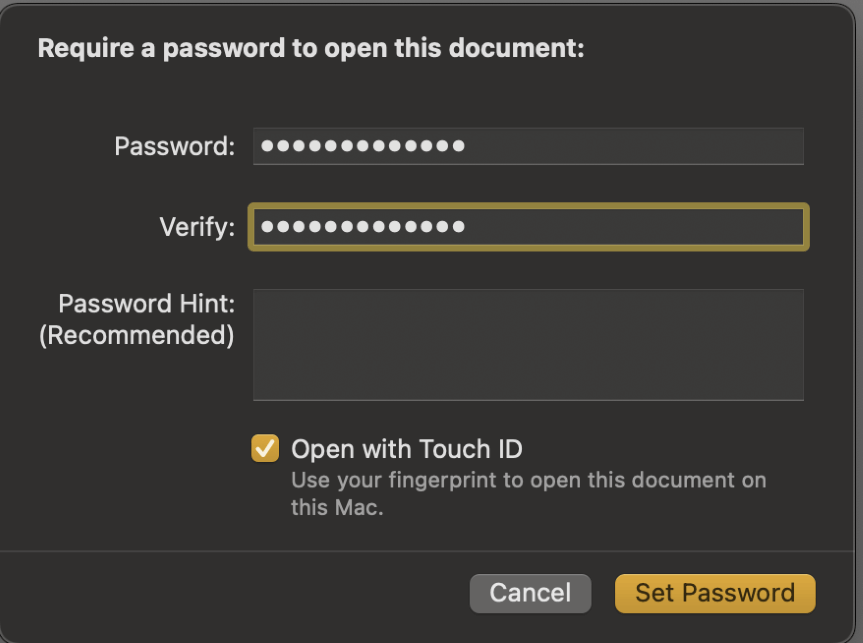
Click File, then Click Set Password.
Enter a password that you would like to use. If your Mac is equipped with Touch ID, this is an option for unlocking the document as well.
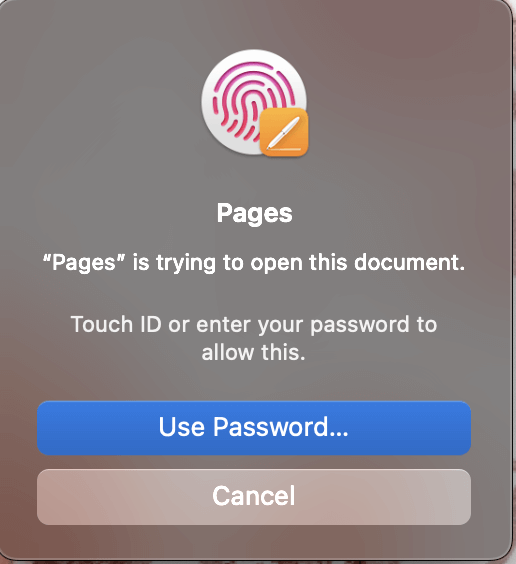
Now, any time you try to open the document, you will be prompted to Use Touch ID (if your Mac is equipped with it) or Enter Password.
You are also able to Share this document via email, Airdrop, etc. Whoever receives the document will need the password to access it. This is a good way to send sensitive information to ensure that only the correct people see and can edit it.
Method 3: Encrypting a File Folder on Mac
Encrypting a file folder is a way to add both password protection to the file while also adding the protection of locking a document. This is only recommended for very sensitive information or a smaller file folder (i.e. a folder of tax documents, anything with a social security number, etc).
As this can take up a lot of space on the drive, it could ultimately slow down the read-and-write timing for your computer. However, if you have information that needs this level of protection, do not let this deter you from protecting it!
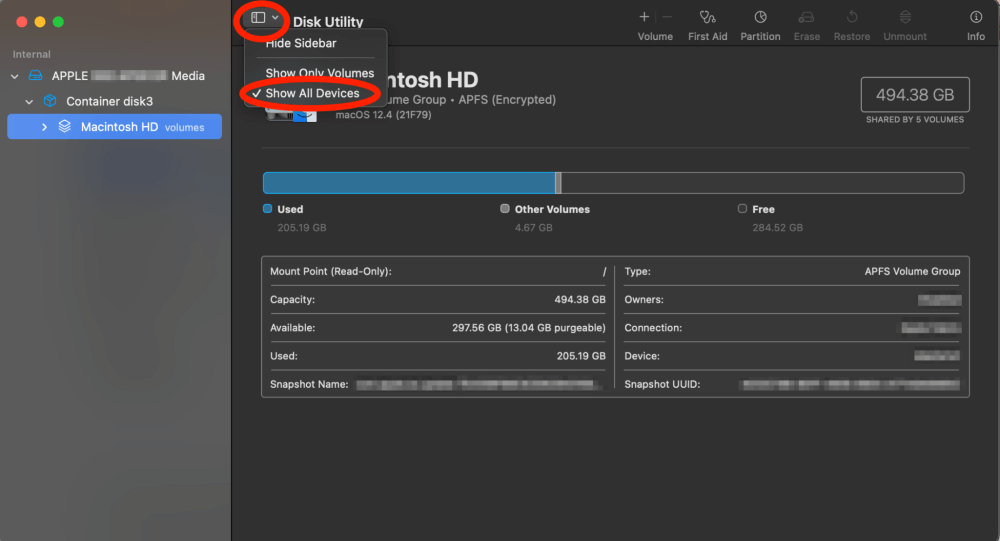
Open Disk Utility either from your dock or Launchpad

Select Show All Devices in the menu to the left of the Disk Utility title.
Click File > New Image > Image From Folder.
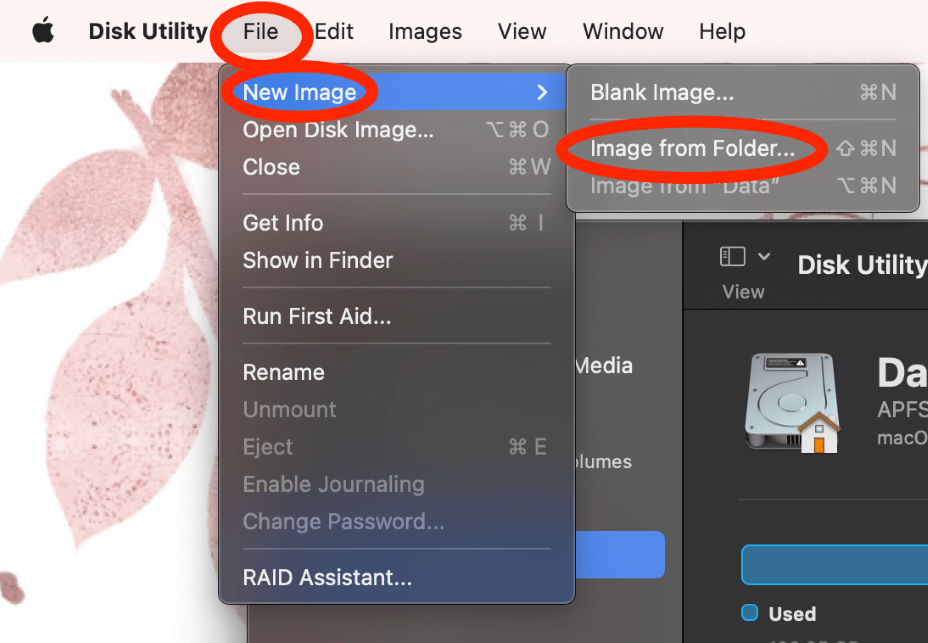
Navigate to and select the folder you would like to encrypt and click Choose.

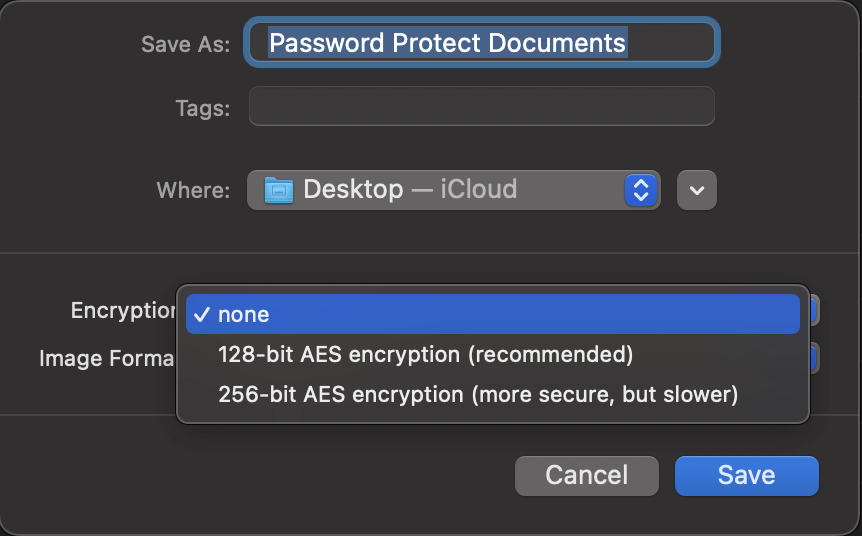
Choose your type of encryption from the drop-down menu.
For this example, I used 128 because it is faster. However, if you are looking for your file to be more secure over speed, choose 256.
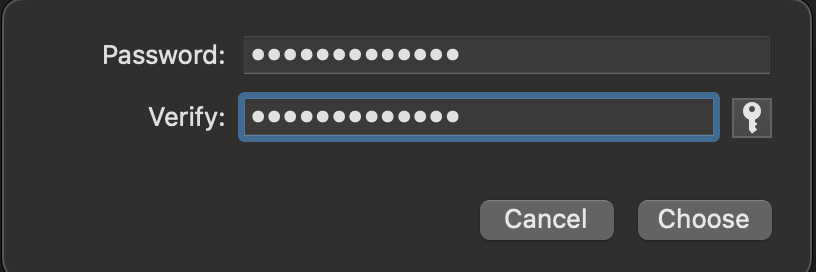
Choose your password
Note: For encryption, Touch ID is Not an option.
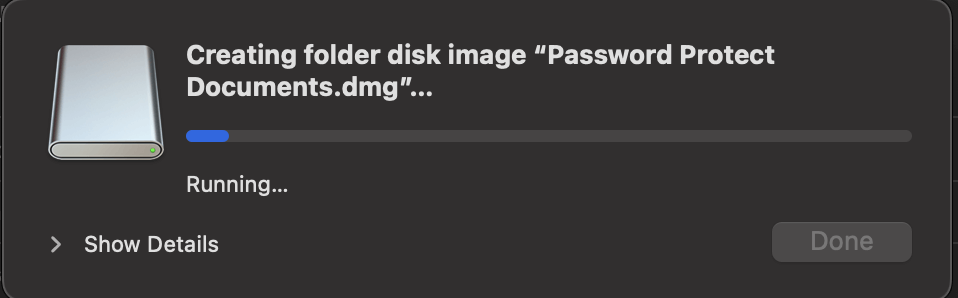
A Disk Image will then be created.
In the location where your file was saved, you will see a disk image.
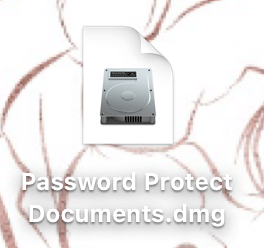
When you open this, you will be prompted to enter a password.
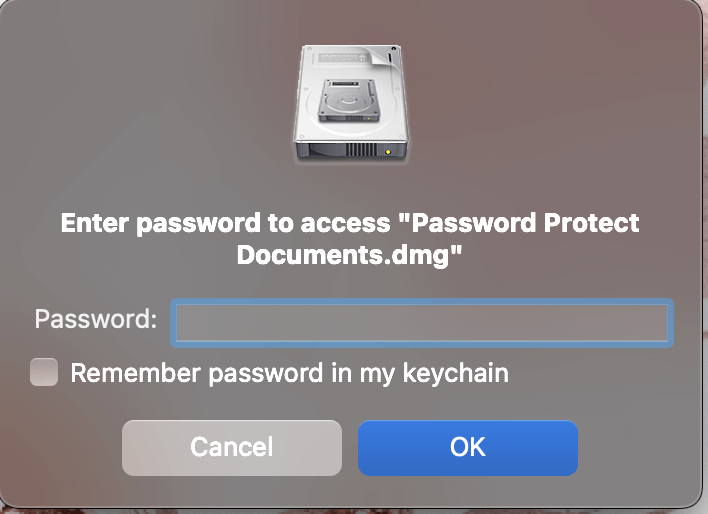
After entering the password, the interactions with the documents inside will be very similar or the same as interactions with a locked file.
When you are done with your file, be sure to locate and eject the opened disk image. This will be sure you require a password at the next opening.
Method 4: Compress and Password Protect Your Files with a 3rd-Party Application
Another alternative to locking and password-protecting all of your files and folders manually is to use a 3rd party application.
While there are plenty of apps out there to help you secure your files, BetterZip is one of the most trusted solutions. By enlisting the help of a program like BetterZip, you can compress and protect your files quickly in a few steps.
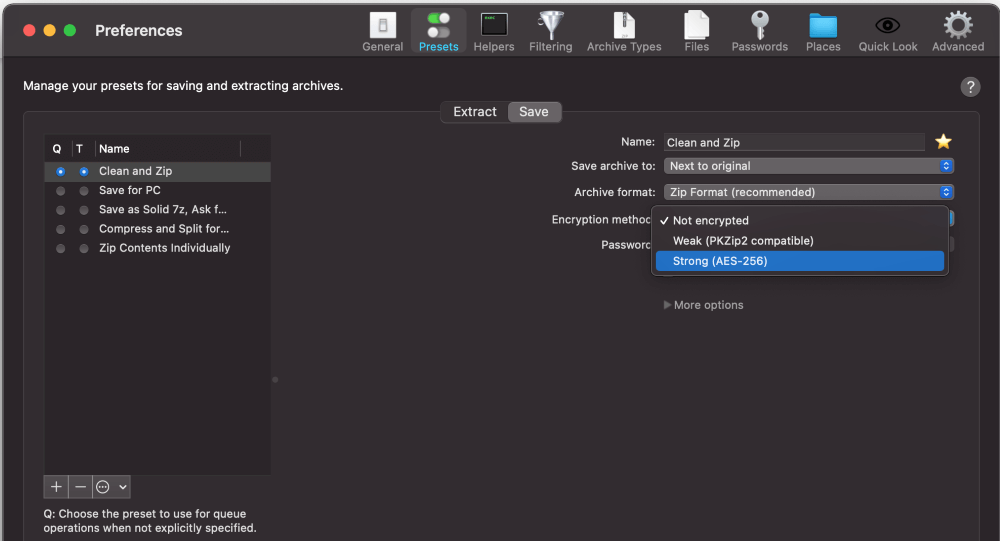
With the help of built-in AES-256 encryption, you can protect your files from hackers, security threats, or even just prying eyes. Additionally, compressing your files helps you free up disk space too.
Just download and install the app, and open the BetterZip preferences. In the Save tab, you can customize options for different levels of encryption.
Final Thoughts
As more and more information becomes digital, it is extremely important to understand how to properly protect that information. This article provided a few different ways to ensure your information is safe on your Mac.
Locking a file is great for simply ensuring you don’t mistakenly edit or move any documents that you need to keep track of. Password-protecting a document is a great way to ensure that “wandering eyes” do not fall on the information you do not want openly seen.
Additionally, encrypting a file folder is a great way to protect your information from editing errors, prying eyes, and even external entities. Finally, you can always employ the help of a reliable third-party application like BetterZip to compress and protect your files.
We hope this article helped you to understand the different ways that you can keep your information safe. What methods did you use? Let us know in the comments!