
Do you know those endless iOS updates that seem to change generally nothing much except take up more space in your iPhone? Well, one of the subtle changes they did make is the way photo files are stored on your phone.
After updating your iPhone to iOS 11 or later, the majority of us will find that photos taken on the iPhone are saved in the HEIC format instead of the standard JPG format.

Table of Contents
What is a HEIC File?
HEIC stands for High Efficiency Image Coding, which is Apple’s version of the HEIF image format. The reason why Apple started to use this new file format is that it has a high-compression rate while retaining the original quality of the images.
Basically, when a JPEG image takes 4 MB of your phone’s memory, a HEIC image will only take about half of that. That will save a load of memory space on your Apple devices.
Another feature of HEIC is that it also supports 16-bit deep color images, which is a game-changer for iPhone photographers.
It means that any sunset photos taken now will retain their original vividness, unlike the old JPEG format which reduces the quality of the image due to the 8-bit capacity.
However, a downside of this new photo format is that many programs, along with any Windows operating system, does not support this file format yet.
What is a JPG File?
JPG (or JPEG) is one of the original standardized image formats. It’s commonly used as a method for image compression, especially for digital photography. Because this file format is compatible with almost every device, converting your images to JPG would mean that you can use your photographs with any software as you typically do.
The degree of compression can be adjusted, allowing a selectable tradeoff between storage size and image quality. However, sometimes your image quality and file size might be compromised, making it a hassle for graphic designers and artists.
How to Convert HEIC to JPG on Mac
Method 1: Export via Preview App
- Pros: no need to download or use any third-party apps/tools.
- Cons: you can only convert one image at a time.
Don’t forget Preview, another amazing app that you can use to convert pretty much any image format to JPG, including HEIC. Here’s how to do it:
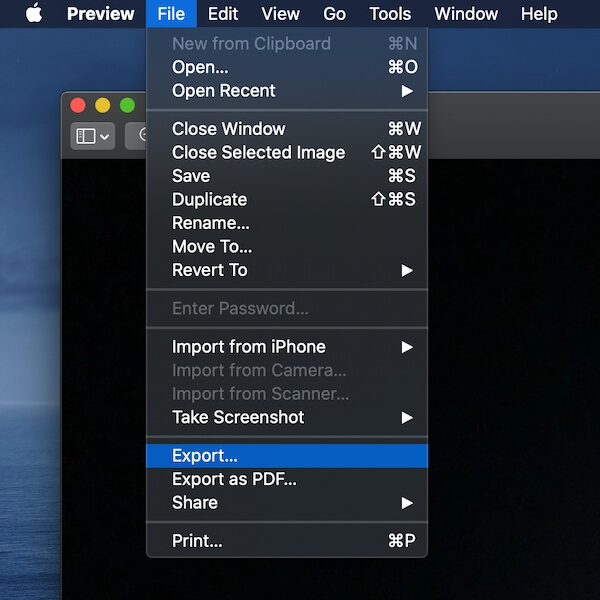
Step 1: Open the HEIC file with Preview app, on the top left corner, click on the menu File > Export.
Step 2: In the new window, choose a destination folder to save your file, then change the output Format to be “JPEG” (by default, it’s HEIC). Hit the Save button to continue.
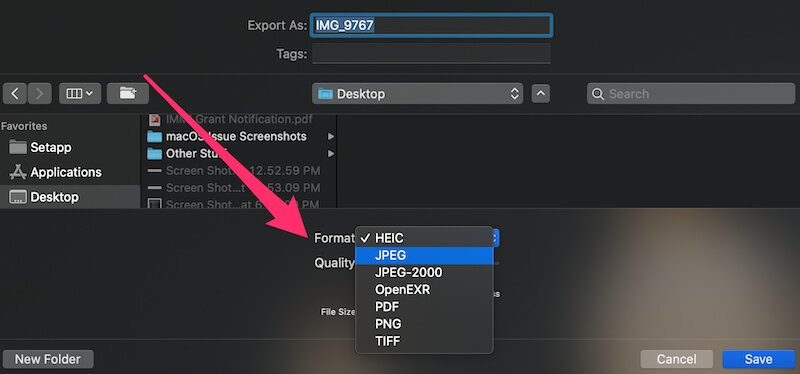
That’s it. You may define the output Quality as well as preview the file size in the same window.
Method 2: Use an Online Conversion Tool
- Pros: No need to download or open any apps, just upload your image files and you’re good to go. And it supports converting up to 50 photos at one time.
- Cons: mainly privacy concerns. Also, it requires a good internet connection for uploading and downloading images.
Much like online image conversion tools that allow you to convert PNG to JPEG, there are also such tools available for changing HEIC to JPG as well.
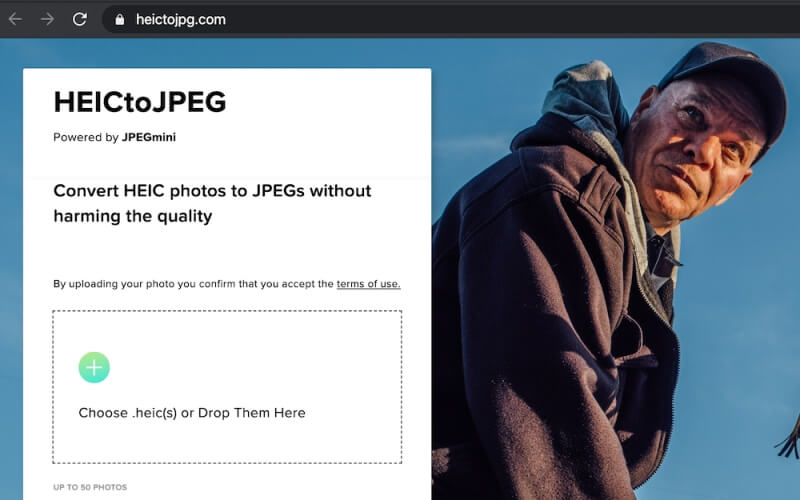
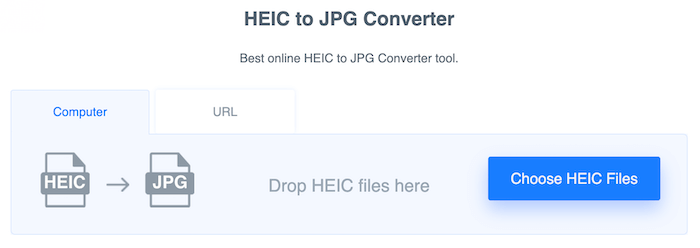
HEICtoJPEG is as straightforward as the site name sounds. When you enter the website on your Mac, simply drag the HEIC files that you want to be converted to the box. It will then process your HEIC photos and convert them into JPEG images.
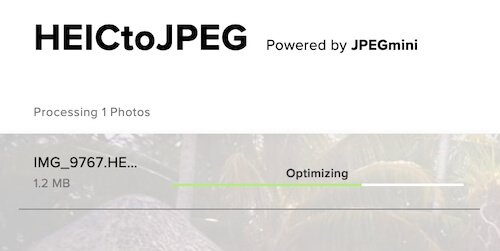
You will be able to view and save your photos as you normally do after converting them to JPG on your Mac again.
This web tool allows uploading up to 50 photos at one time.
FreeConvert’s HEIC to JPG is another simple tool that can easily convert HEIC images to JPG at high quality. Simply drag and drop your HEIC files and click “Convert to JPG”.
You can either download JPG files separately or click on the “Download All” button to get all of them in a ZIP folder. This tool also comes with several optional advanced settings that allow you to resize or compress your output JPG images.
Method 3: iMazing HEIC Converter
- Pros: convert a batch of files at one time, good JPG quality.
- Cons: need to download and install it on your Mac, the output process can be a bit time-consuming.
iMazing (review) is the first yet free desktop app for Mac that allows you to convert photos from HEIC to JPG or PNG.
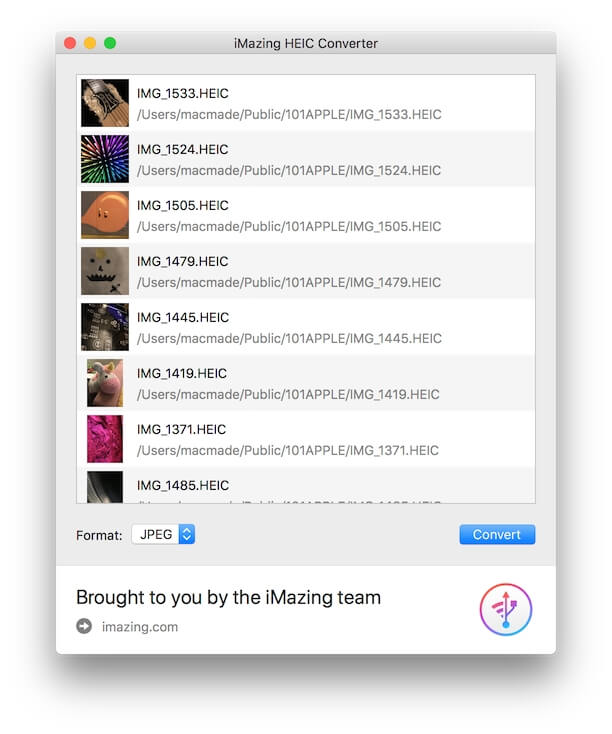
Step 1: Download the app on your Mac, you will be directed to this page when you launch it.

Step 2: Drag any HEIC files (or folders containing HEIC photos) that you want to convert into this page. Then select the output format at the bottom left.
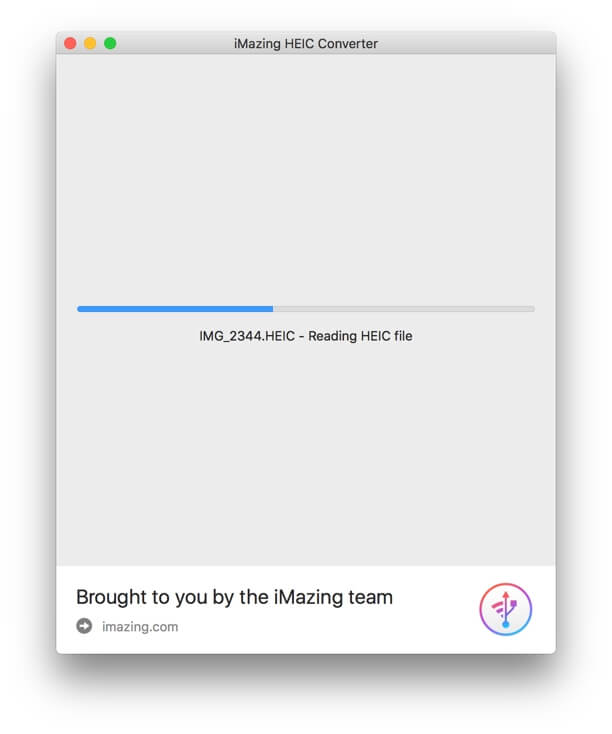
Step 3: Select Convert and choose a location where you want to save the new JPEG files. It might take a while if you are converting a lot of files at one time.
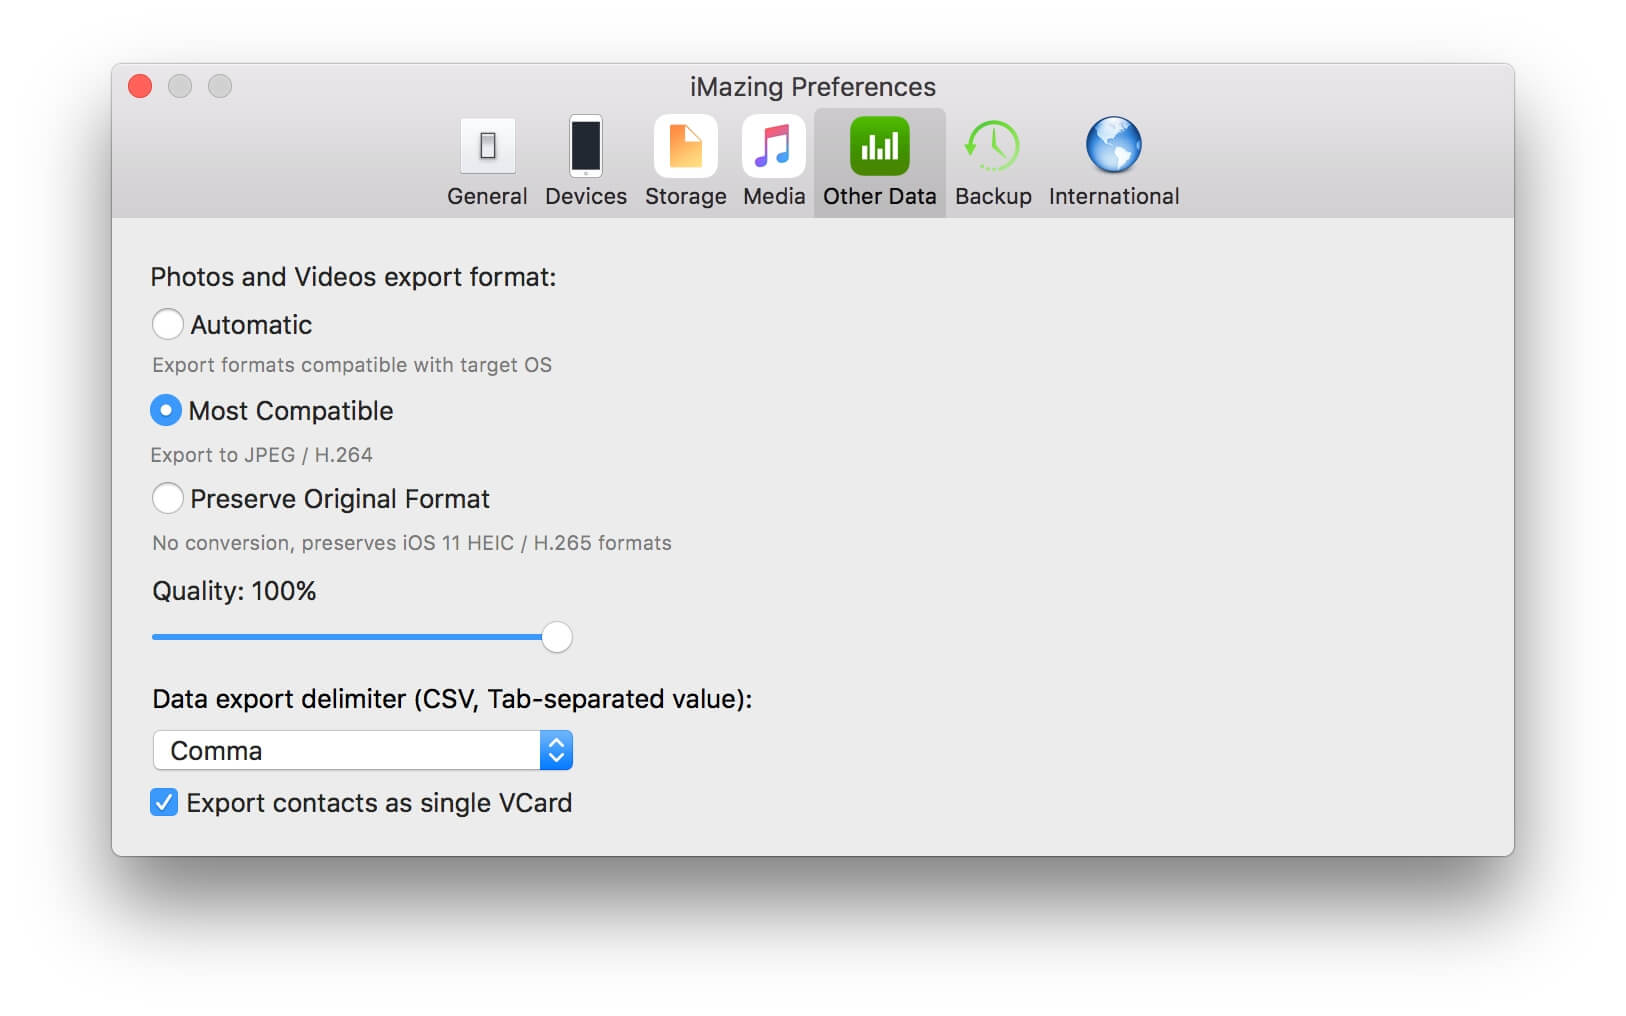
Step 4: Once the process is completed, you will receive your files in the compatible JPEG format. In the meanwhile, you can also adjust Preferences within the iMazing app to define output file quality.
Bottom line: if you are looking to convert many HEIC files into JPEG, iMazing is the best solution.
Final Words
While it’s kind of surprising for us to get to know this new image format — HEIC after Apple “quietly” changed the default image format in the iOS 12 update, users don’t have many choices over the image types we want to save as. A HEIC file has its pros but its cons are also a bit annoying, especially if you have the need to deal with iPhone photos on a Mac machine.
Luckily, there are several ways to convert HEIC to JPG depending on how many photos you want to convert at one time. Preview is a built-in app that allows you to convert several images in seconds, online conversion tools are handy to use, and iMazing is also a nice choice if you want to convert a batch of files.
So which method worked out the best for you? Do you happen to find another efficient method for HEIC to JPEG conversion? Leave a comment and let us know.
find some good tools here but there is any tool or site which can convert heic files to pdf?