
Taking photos has become part of the standard for any hangout. If you’re like me, you probably have thousands of photos in your phone gallery or on your computer. Maybe I’m lazy or sentimental, but I don’t delete them, so they take up a lot of space.
In order to store the photos on my Mac, I would have to compress them in order to free up some precious disk storage.

Compressing Photos: What You Should Know
There are several important things you should know about compressing photos.
Firstly, there are two types of compression: lossless and lossy compression. Lossless compression means that the image quality is retained, while lossy compression means you lose some of the photo data.
Changing the file type can affect the image quality and compression, so make sure you know which file type to use. JPEGs are lossy and good for photos and realistic images. PNGs are lossless and it is good for line-art and images with more text and fewer colors.
More often than not, the quality of the image is compromised when reducing the file size because you lose some photo data. Therefore, if you intend to enlarge a photo or print it at a later stage, do not compress it.
Some people turn to online image optimizer websites to reduce the size of an image, but you can never be sure that the website is safe and that they will handle your image responsibly.
So, how do you safely compress your photos without losing image quality? Let’s find out.
5 Ways to Compress Photos on Mac
Method 1: Using Preview to Compress One Photo
Preview is an application that is built into every Mac. Through Preview, you can reduce the file size of almost any photo.
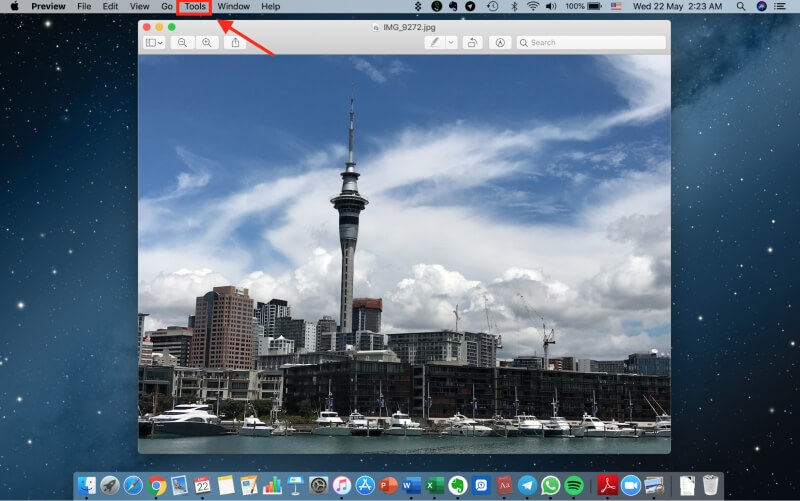
Step 1: Open the file you want to change via Preview app.
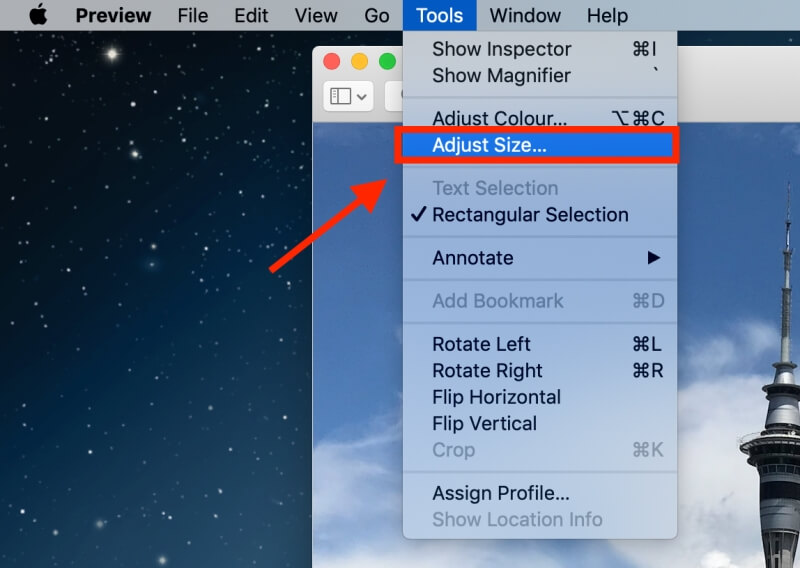
Step 2: Go to Tools section which is located in the menu bar on the top of your screen.
Step 3: Click Adjust Size.
Step 4: Check the Resample Image option.
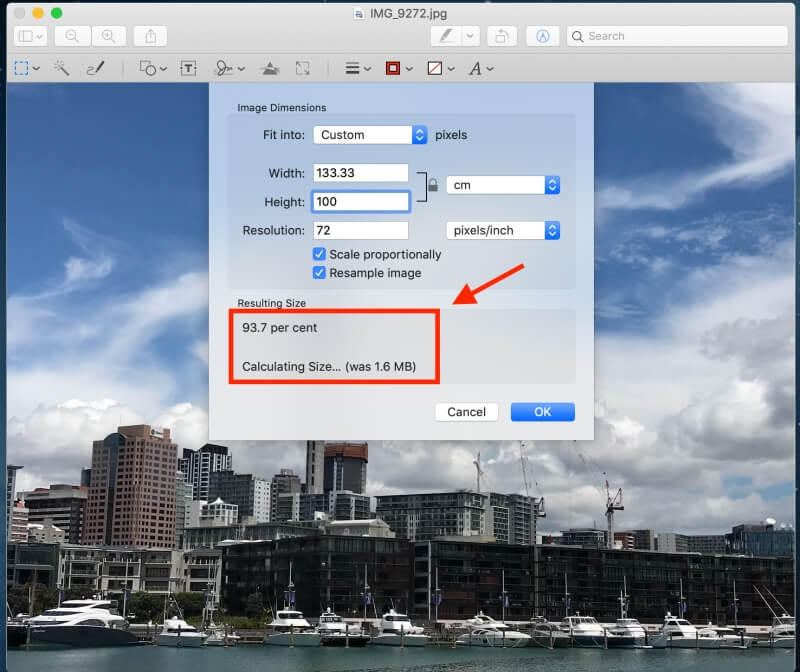
Note: input a smaller value first and then below the input, you will be able to see how much the image has been reduced as well as the final file size.
Step 5: hit OK to save the image.
Method 2: Compress a Folder of Photos into a ZIP File
You probably categorize your folders in some order so that you can easily locate certain photos. Great job, because you have saved yourself a lot of unnecessary work.
If you have not been regularly organizing your photos, you’re going to have to start now. You’ll need to consolidate the photos that you want to compress in a single folder.
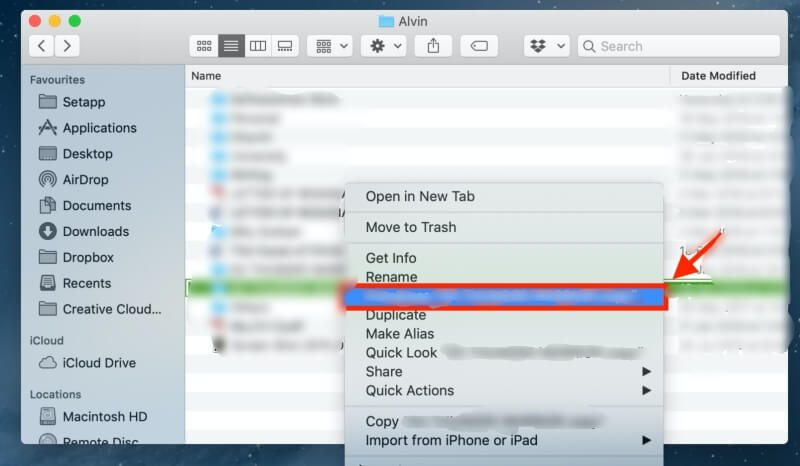
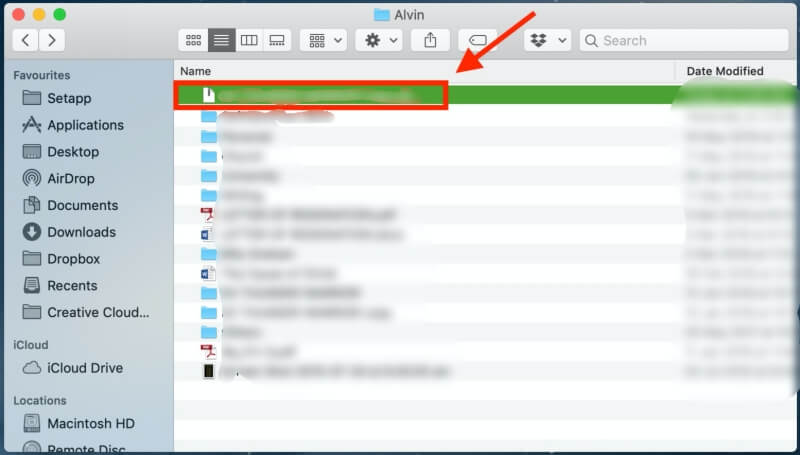
Step 1: Right-click on the folder of images you want to compress.
Step 2: Click on Compress “Folder Name”.
Step 3: After compressing, a new folder will be created with the same file name except that it ends with ‘.zip’. This is your compressed file.
When you want to use the photos again, you simply have to double-click that ‘.zip’ folder to unzip it.
Method 3: Using iPhoto/Photos to Compress an Album
iPhoto is also an awesome Mac app that allows you to compress images. Newer Macs may notice it is now called Photos. Here’s how to compress using iPhoto/Photos.
Note: Before going through the steps to adjust the file size, there are some steps to take note of if you want to adjust the file size of an album. First, you have to organize your photos into an album in iPhoto.
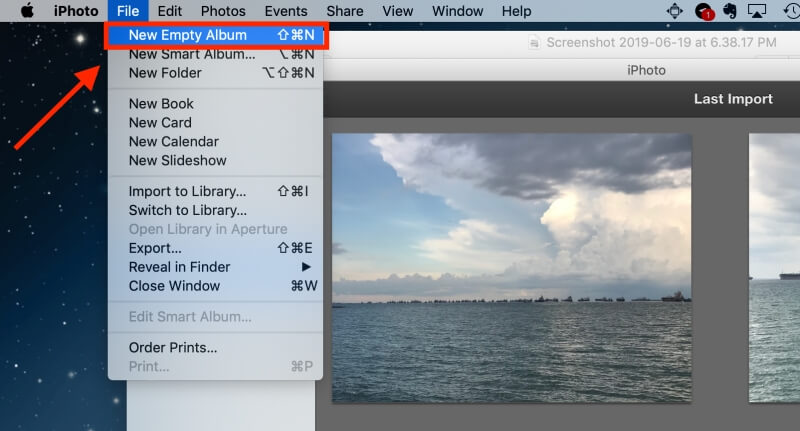
Step 1: Click File, then New Empty Album to create a new album.
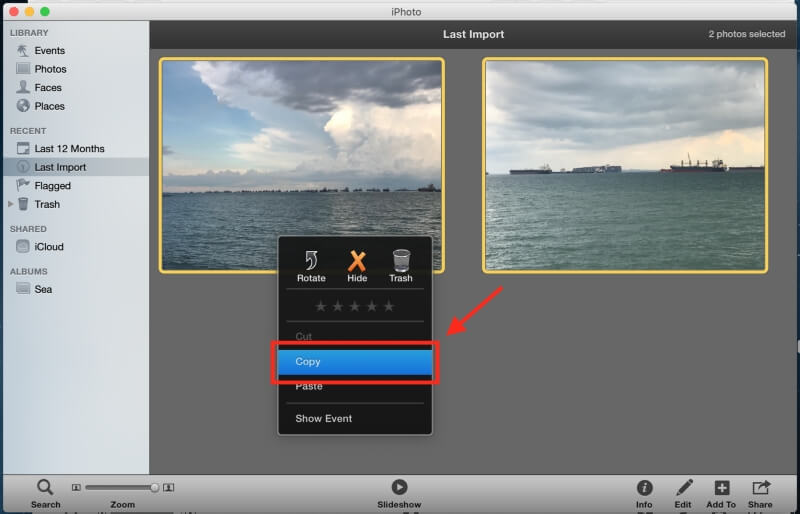
Step 2: Highlight the photos that you want to include into the new album and click Copy.
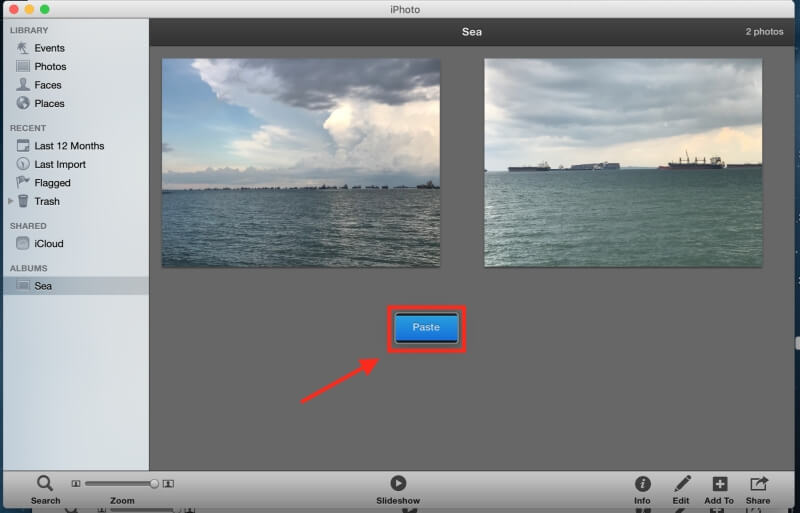
Step 3: Go to the new album. Right-click your mousepad and Paste the copied photos into the new album.
The remaining steps are the same for both compressing a photo and an album.
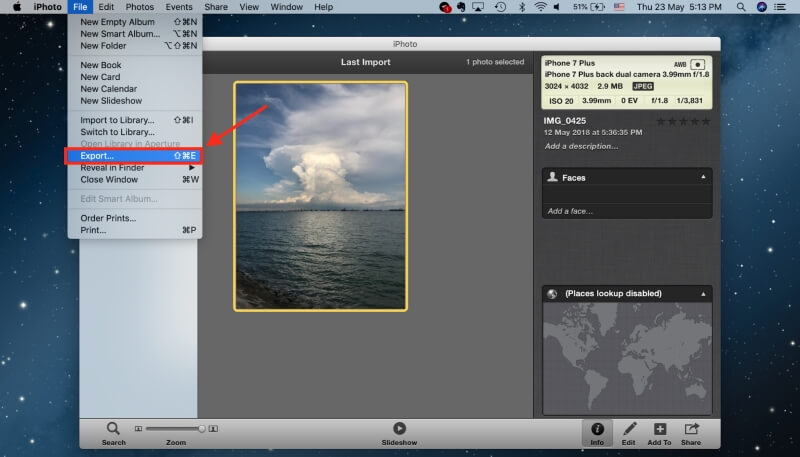
Step 4: Click on File.
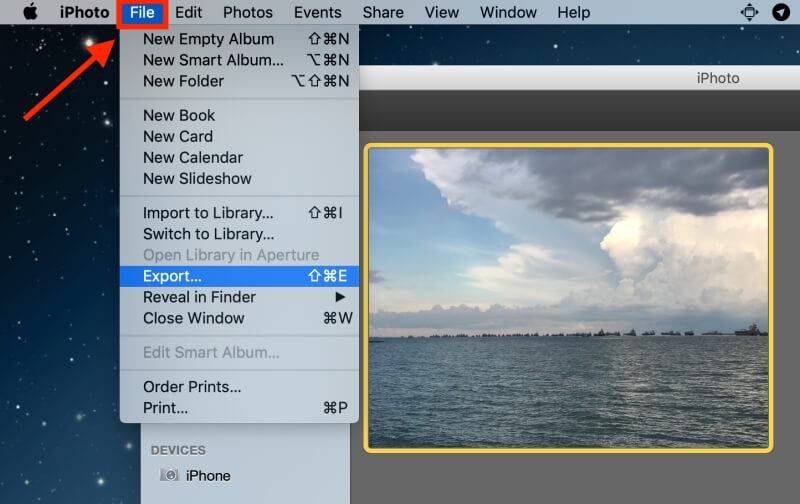
Step 5: Then select Export.
Step 6: Click File Export.
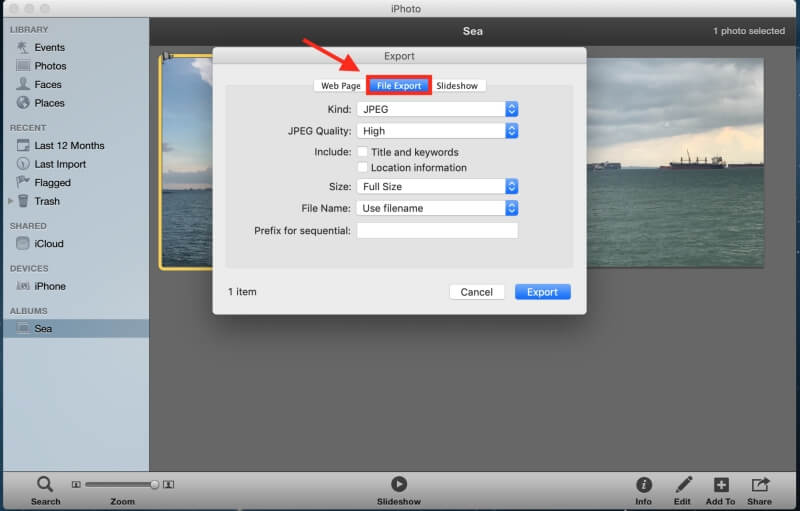
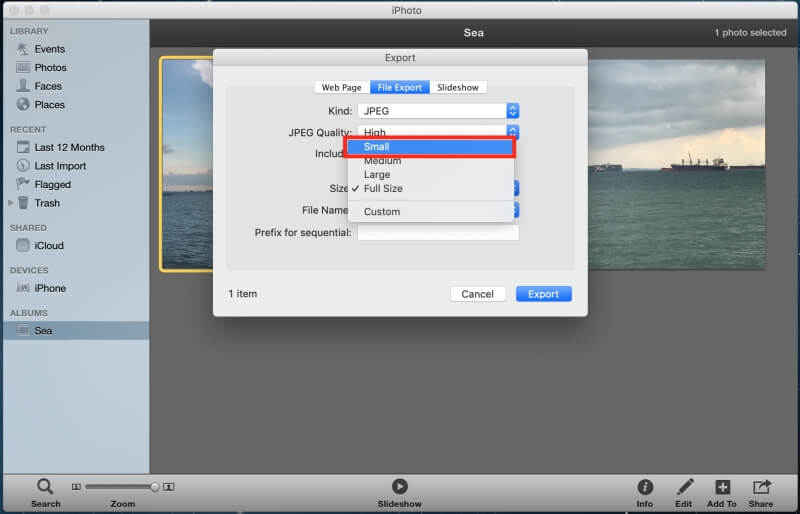
You will be directed to the interface shown in the image.
Step 7: Adjust the file size. What you need to change is the size of the photo, as shown in the image below.
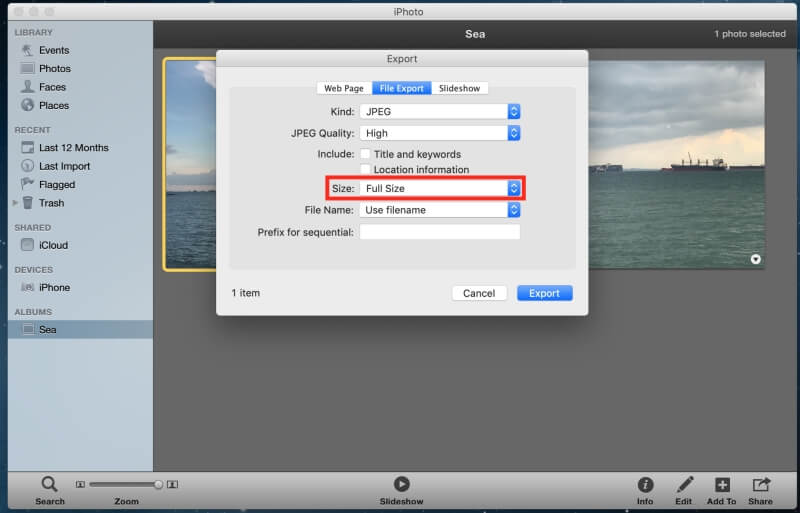
You can choose your desired size. For the minimum file size, select Small.
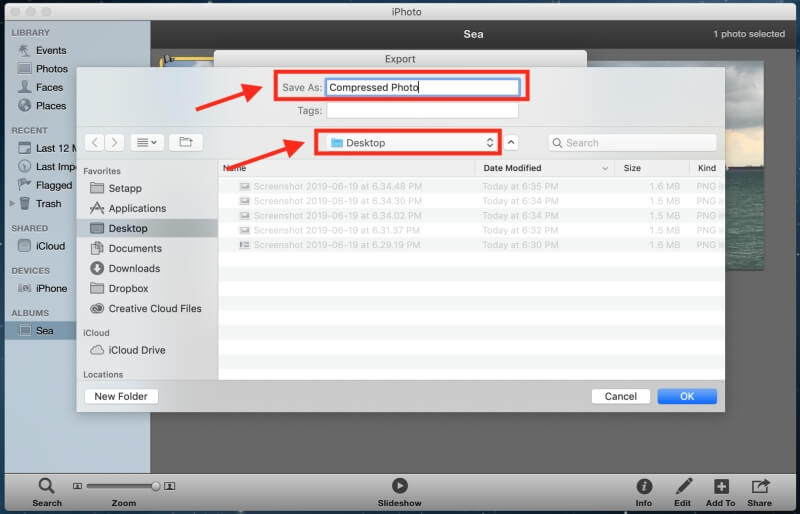
You can choose your desired file name as well as where you want the file to be saved.
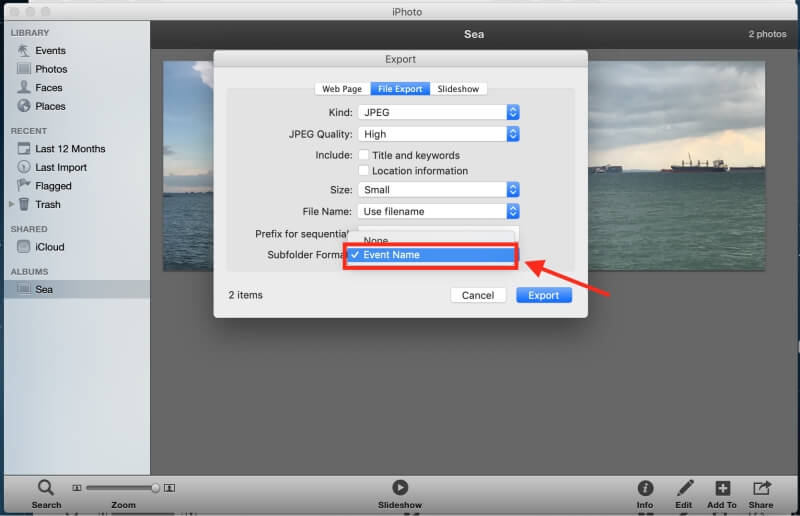
At this point, if you are compressing an album instead of a single photo, you need to select Event Name under Subfolder Format before you click Export.
Method 4: Compress Photos in a Word Document
You can also compress your photos by using a Word document if you own a copy of Microsoft Office.
Step 1: Open an empty document.
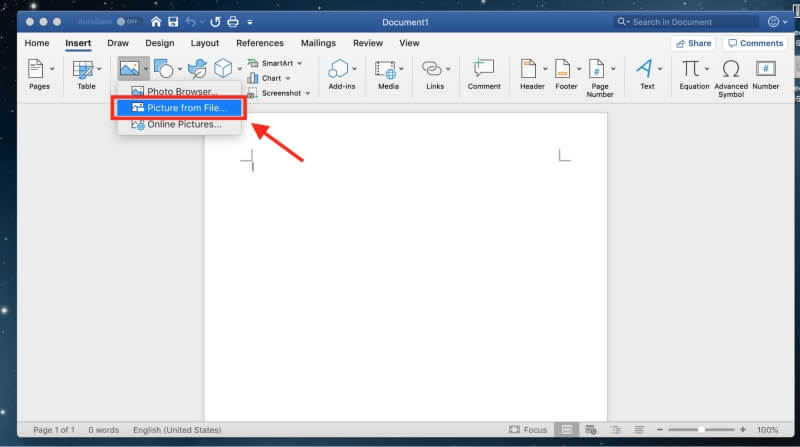
Step 2: Upload the photos you want to a document. Click on Insert, then Pictures and then Picture from File.
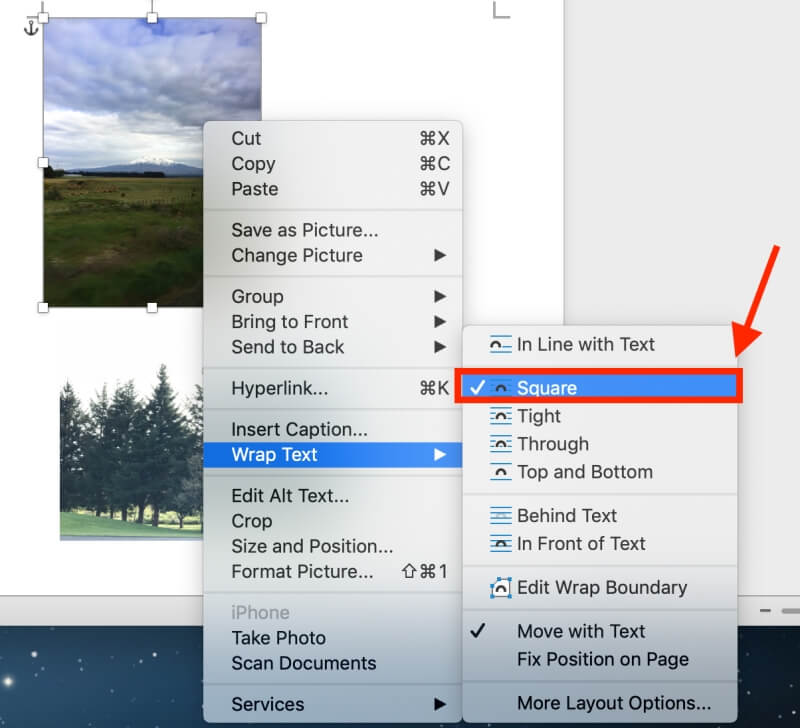
Step 3: Before compressing the photos, make sure it is squared. If you miss this step, you won’t be able to select multiple photos and compress them together at once. You can do this by selecting the photo and right-clicking it. Then, click Wrap Text and Square.
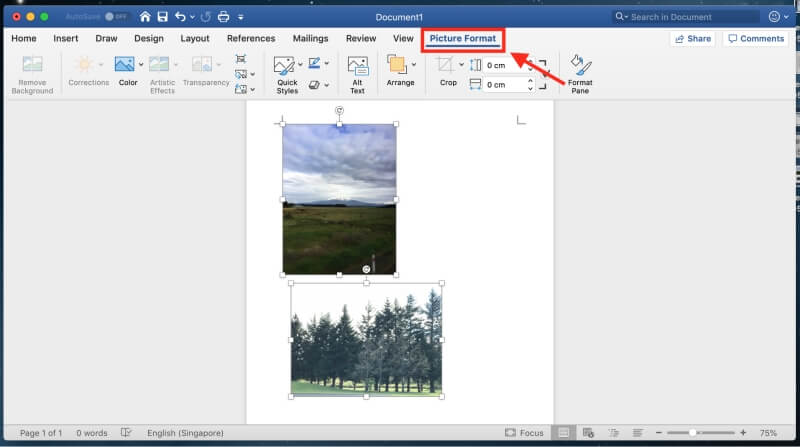
Step 4: Hold down Command as you select the photos.
Step 5: After selecting the photos, a tab Picture Format would appear at the top beside View. Click on it.
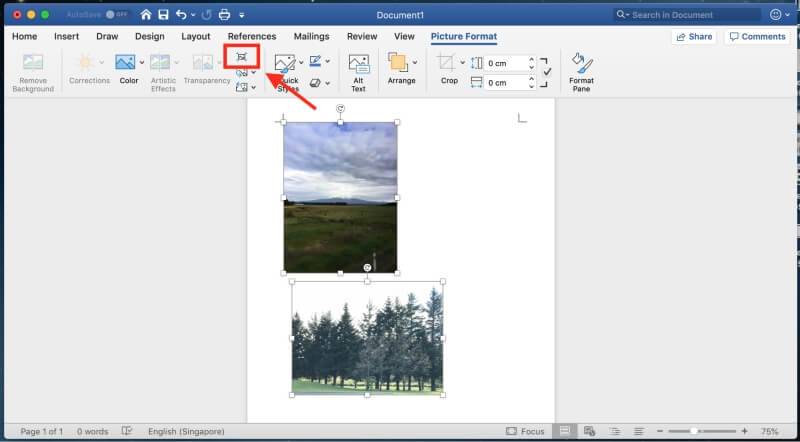
Step 6: Click on the icon shown in the photo below to compress your photos. It is located beside the Transparency function.
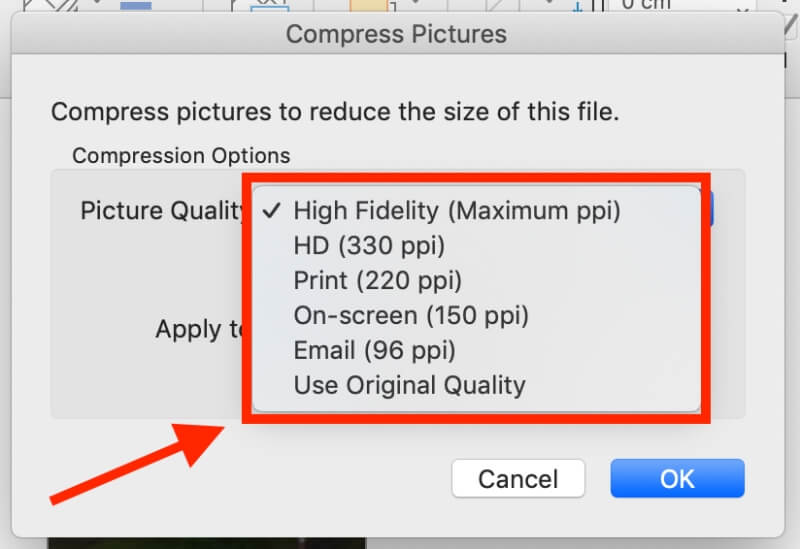
You will be directed to an interface where you can decide if you want to compress all the photos in the document or selected photos.
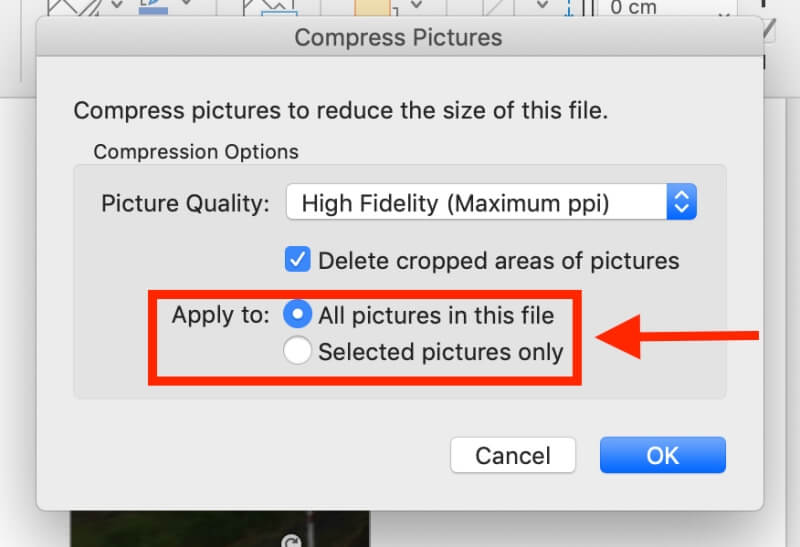
You can also choose a suitable picture quality according to your needs.
Method 5: Use a Third-party Image Optimization App
If you find the above methods a hassle, you can always use a third-party app to compress your photos.
ImageOptim is an image compressor that can be downloaded as an app or used on the web. The app allows you to reduce file size and remove invisible junk.
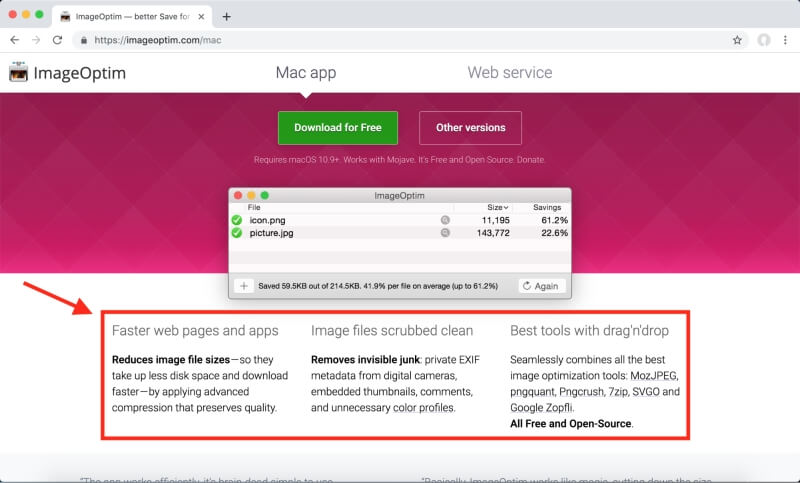
If you want to save the trouble of downloading the app, you can always just use it online to compress your photos.
Thank you 🙂
Roll on when I can downgrade back to Catalina. Image file size compression is a joke with ‘Big Sur’. A complete waste of time and confusion.