
You can change the font in Krita by double-clicking on your text to reactivate the Text Tool. Once the Text Tool window opens, highlight your text and then tap on the Font drop-down menu and select which font you would like to change it to.
I’m Carolyn and I’ve been using design apps like Krita to run my digital illustration business for over three years. Because so many of my client’s projects are graphic design projects, I frequently need to add text and lettering to my artwork by using the Text Tool in Krita.
The Text Tool in Krita is relatively easy to use compared to some of the other features of the app and it allows users a variety of different fonts and styles for adding lettering to their artwork. You also experiment with the options available during the process.
In this article, I’m going to show you how to add text and change the font style in Krita.
Table of Contents
Key Takeaways
- You can add text and change fonts in Krita by using the Text Tool.
- Krita offers the same font types as the operating system you are using.
- If you want to add a new font, you will need to download the new font onto your device and then restart the Krita program.
- You can easily undo your added text by clicking on the Discard button in the Text Tool window.
How to Add Text in Krita
Adding text in Krita is pretty straightforward using the Text Tool. Follow the steps below to add text using the Text Tool in Krita.
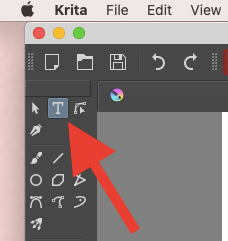
Step 1: In the top left-hand corner of your workspace, click on the T icon to choose the Text Tool.
Step 2: Create a text box on your canvas by dragging and releasing your mouse when a shape forms with a dotted line.
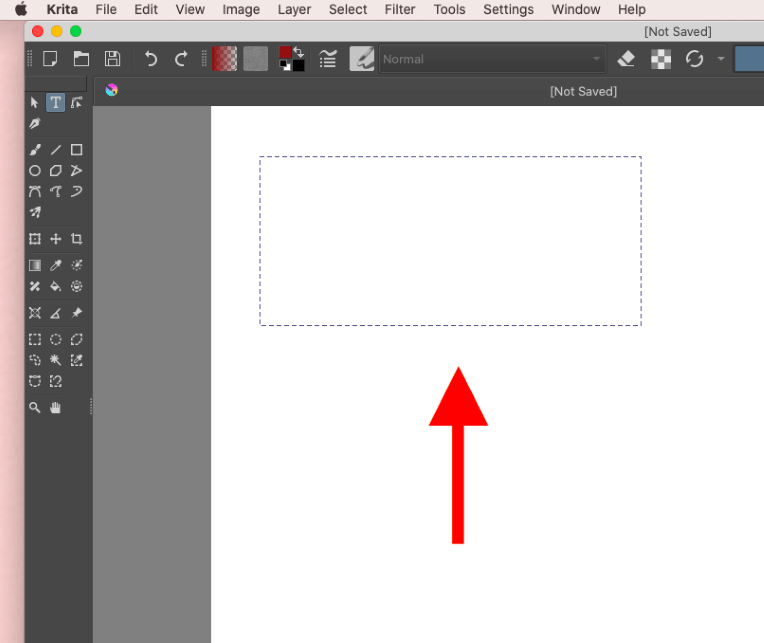
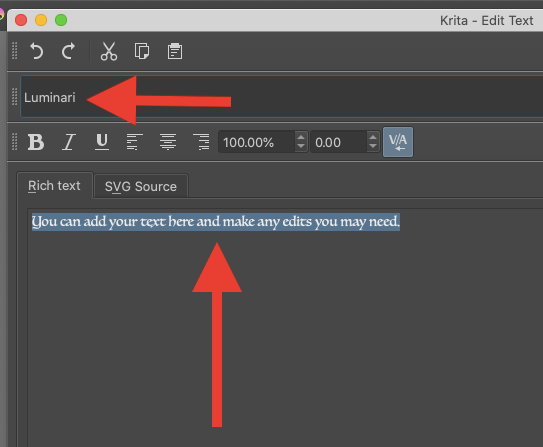
Once you release the hold, the Text Tool window will appear. You can add your text by typing it into the main content box.
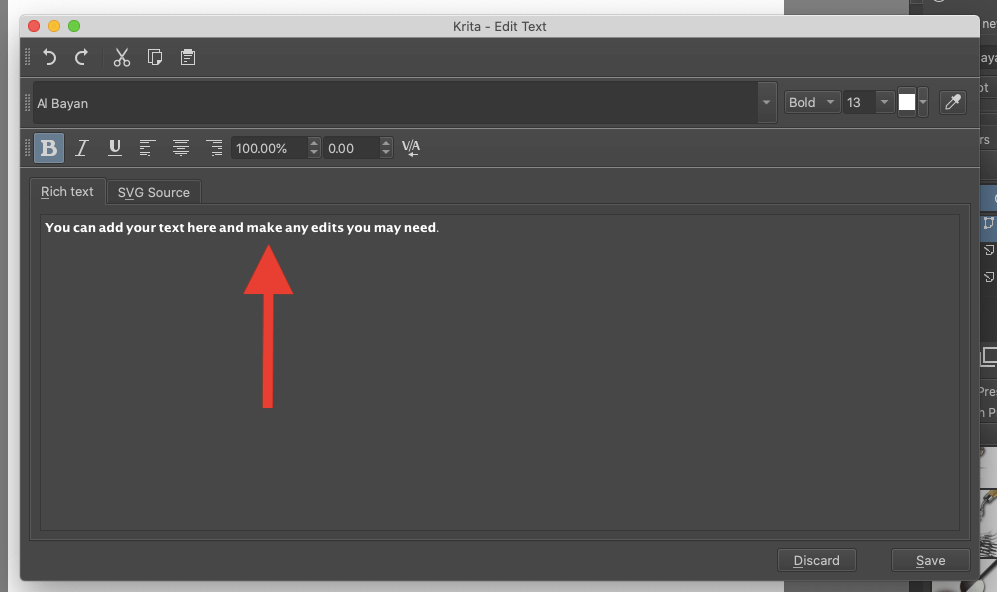
Step 3: Once you have added the text you wish to add, click on the Save button in the bottom right-hand corner of the window. After you have saved it, click on the Close button to close the window and return to your canvas.

Pro Tip: To delete what you have started in the Text Tool, you can click on the Discard button or use the red close button in the top left-hand corner of the window too.
How to Change/Edit Font in Krita
Once you have added your text to your canvas, you can always go back and change the font and style of it at any time. Here are the steps to change your font in Krita:
Step 1: Double-click on your text box. This will allow you to move it around your project and it will also activate the Text Tool window again.
Step 2: In the Text Tool window that appears, highlight the text that you would like to change. Then click on the Font tab at the top of the text window.
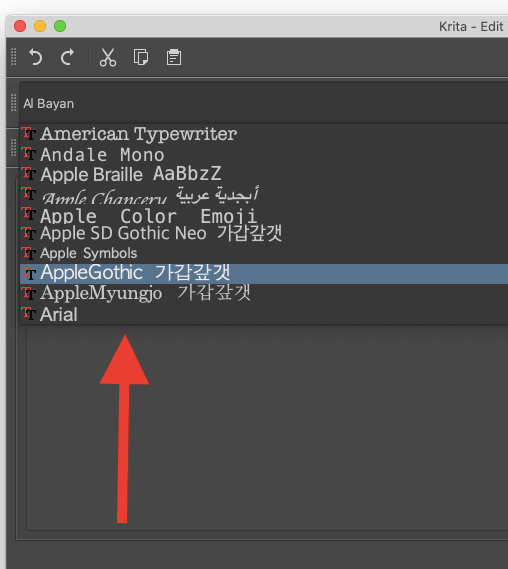
Step 3: In the drop-down list, you will see all of the fonts that you have access to. You will be able to use any fonts that are already available on your operating system and device.
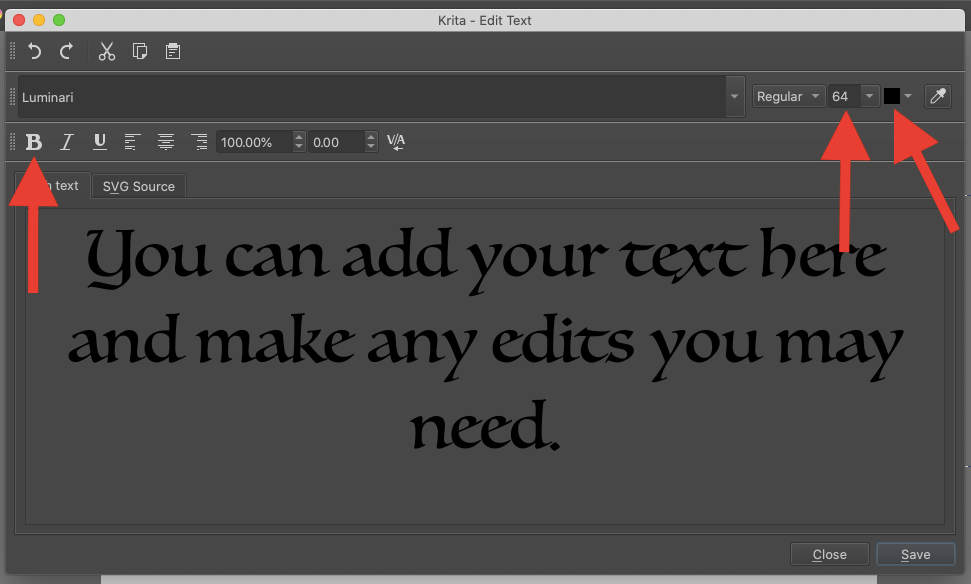
Once you have changed your font, you can also change other settings of the text such as the style, the size, and the color.
Step 4: Once you have made your changes and are happy with the text, click on the Save button in the bottom right-hand corner of the window. After you have saved it, click on the Close button to close the window and return to your canvas.
Pro Tip: You can activate the Text Tool in the right-hand side tab of your workspace under Tool Options. This is a way to preselect your text options before adding future text and lettering to your project.
Krita Font Options
The font options available to you will differ depending on your operating system. The app will automatically pick up whatever fonts are included already on your device and will be displayed in the font drop-down menu of the Text Tool.
So unlike other apps, if you want to add a new font to Krita, you need to download it to your device first instead of importing it into your app. You can access free and paid fonts on many different websites like DaFont, Google Fonts, and FreeFonts.
How to Install Fonts on Windows
For Windows devices, you will need to purchase and download your chosen font onto your device. Then you need to unzip the file by using the Extract action tool. Then right-click on your font and choose the Install option. Confirm by clicking yes on the following prompts. Learn more here.
How to Install Fonts on Mac
Once you have downloaded the font onto your Mac device, search for your font file in the Finder function and double-click on it. In the window that appears, select the Install option. Learn more here.
Once you have downloaded the font on your operating system, you will need to restart the Krita app to ensure that it updates with the new font options you have added.
FAQs
Here are a couple more questions about working with fonts in Krita.
How to move text in Krita?
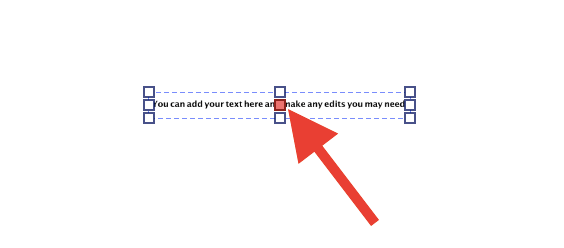
To move your text in Krita, double-click on your text until a box appears around it. Hold down on the red box in the center of the text box and move it around your project to your new desired location.
How to change the font size in Krita?
To change the size of your font in Krita, double-click on your text box until the Text Tool appears. In the upper right corner, click on the icon that is displaying a number. In the drop-down list, select your new font size.
Conclusion
The Text Tool in Krita is quite easy to use and navigates your way around quickly. You can learn how to use and experiment with this awesome feature and in turn, it will open up your options when it comes to adding lettering and text to your projects in the Krita workspace.
This feature can be extremely useful for graphic design projects, posters, book covers, and even cartoon animations.
Have you changed or added fonts to Krita? Leave your answers in the feedback section below.