
When starting a painting in Procreate, the concept of blending colors isn’t immediately apparent when starting a painting. However, there are various methods in blending that can be really simple to more advanced which will result in helping your artwork achieve the goal of visual depth.
In this tutorial, you will learn three techniques to blend colors together. We’ll show you how to create unique color transitions and smooth transitional values by blending colors together.
Before we learn about the benefits of color blending, we’ll quickly introduce the concept of lost versus found edges because it’s important to learn about it. A very experienced artist will use these principles to create the illusion of depth.
A realistic painting usually has a combination of blurred and sharp edges, which helps give the painting a lot more visual variety. This can be greatly beneficial if we were to create transitional values, especially if you want to define soft-form shadows vs. hard-cast shadows.
Overall, understanding blending and when to use it can be a greatly beneficial tool in picking the right areas to highlight.
Now let’s jump into the steps.
Table of Contents
Method 1: Smudge Tool
The easiest way to blend colors/values together is listed as a preset in the Painting Applications tab.
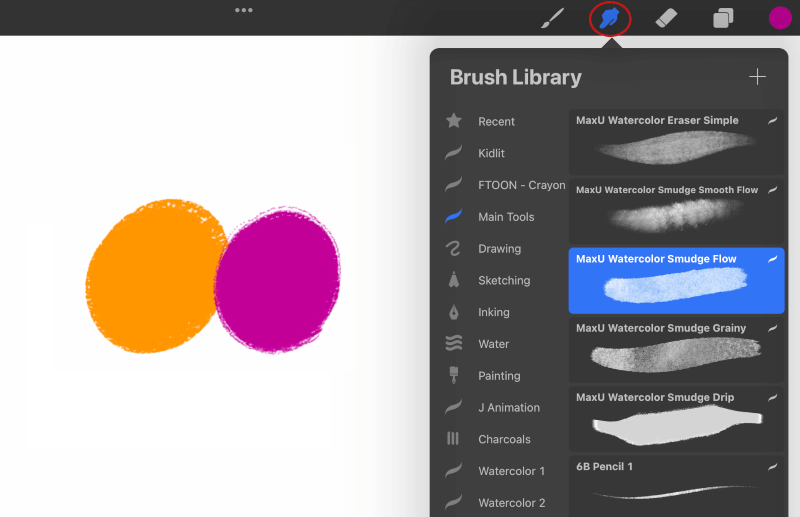
Step 1: Select two different colors, and paint them directly next to each other.
Step 2: In your Painting Applications tab, select the Smudge icon to activate the tool.
Pick a brush that you would like the tool to adapt to. Both the Smudge tool and Erase tool have access to your Brush Library, so you will have endless variations on how you would like the tool to behave.
Tip: Try picking a brush that has a bit of a tapered edge so that the blending transitions will be smoother.
Step 3: Start blending the two colors together until you achieve a nice color transition.
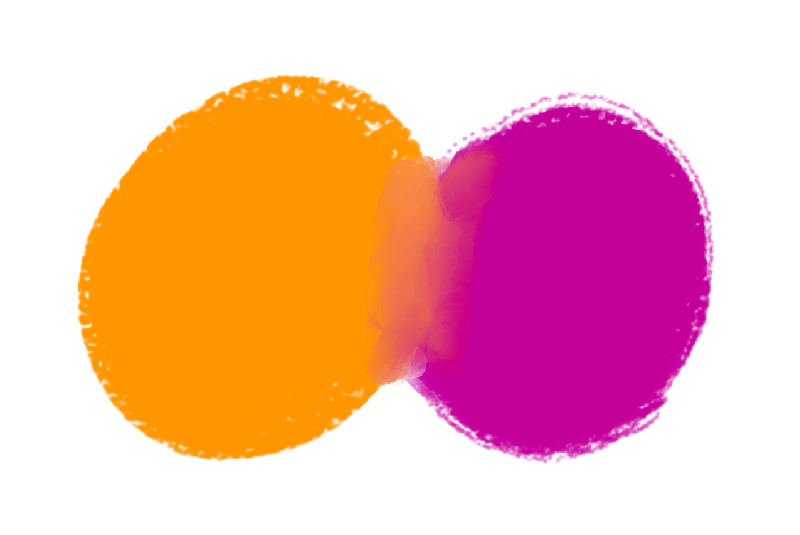
Conversely, the smudge tool can also be used to soften the edges of the paint to blend in with the background more.
With the smudge tool still selected, start to paint on the other edges and pull the tool towards the background to achieve a nice blended effect.
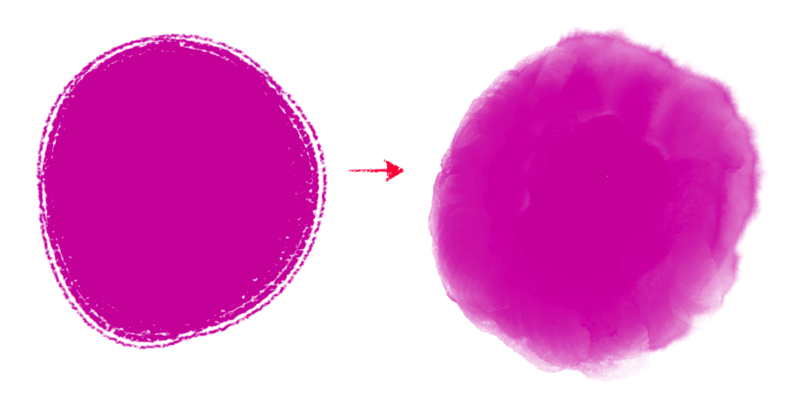
This is a really great way to help your paintings have areas that lose focus, and allow other areas to stand out more.
Method 2: Painting with Values
This method is best if you prefer direct painting in which you would like to create more deliberate brush strokes. This is a better method if you prefer not to make transitions too soft/airbrushed looking.
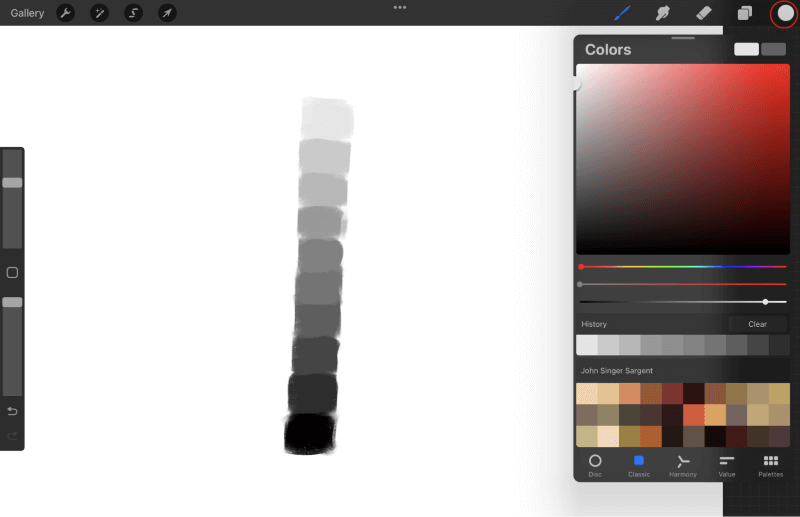
Step 1: Create a new Layer and prepare a 10-value chart.
Step 2: Within the Color Slider, we will be painting 10 color swatches with one value transitioning to the next.
Try to keep the swatches relatively simple and monochrome, as our goal is to create a gradient effect.
Step 3: Once you have painted your swatches, use the Color Picker tool to select a transition value between the two values that we have selected.
If you have not assigned a shortcut to the Color Picker, please go to the Gestures tab, and assign a Gesture.
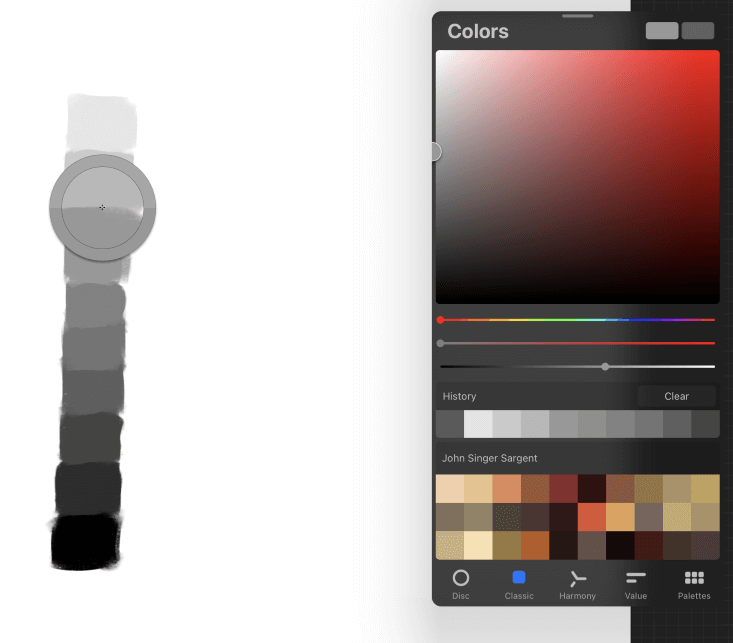
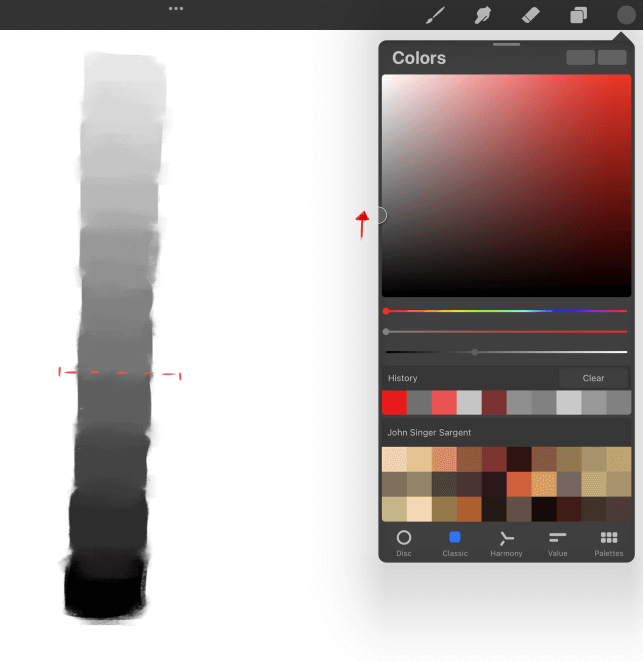
Step 4: After finding a tone between the two values, carefully start to paint in between those two values to create a seamless transition.
Start to paint in between the other values until you start to create a gradient.
This method can be especially useful if you prefer thinking of this along the lines of dry media. When using traditional media such as Pastel, Charcoal, or Pencil, we determine the strength of the values, in how much pressure we are applying to the tool.
Method 3: Opacity Slider
This method is best practiced if you are used to prepping your brush before application. Similar in practice, if you had a paint bottle and were controlling how much or how little paint was being applied on canvas.
Step 1: Start by creating a new Layer.
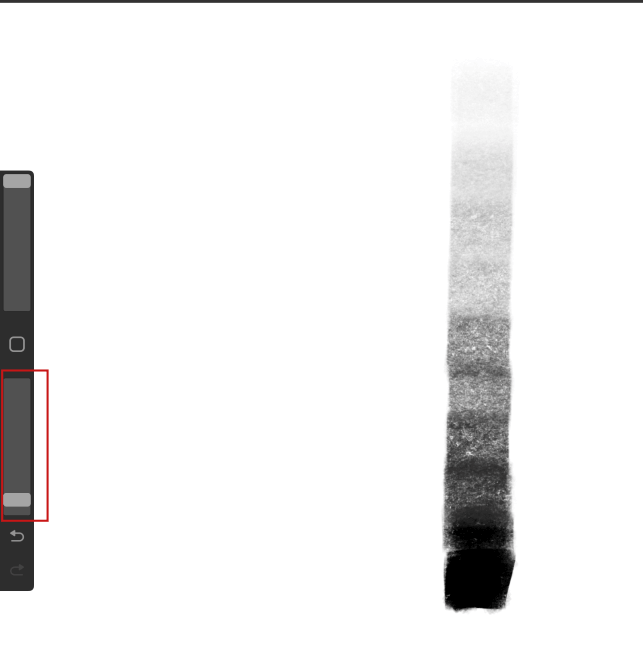
Step 2: Focus your attention on the side panels, and on the bottom slider. This will be used to control Opacity in your brush.
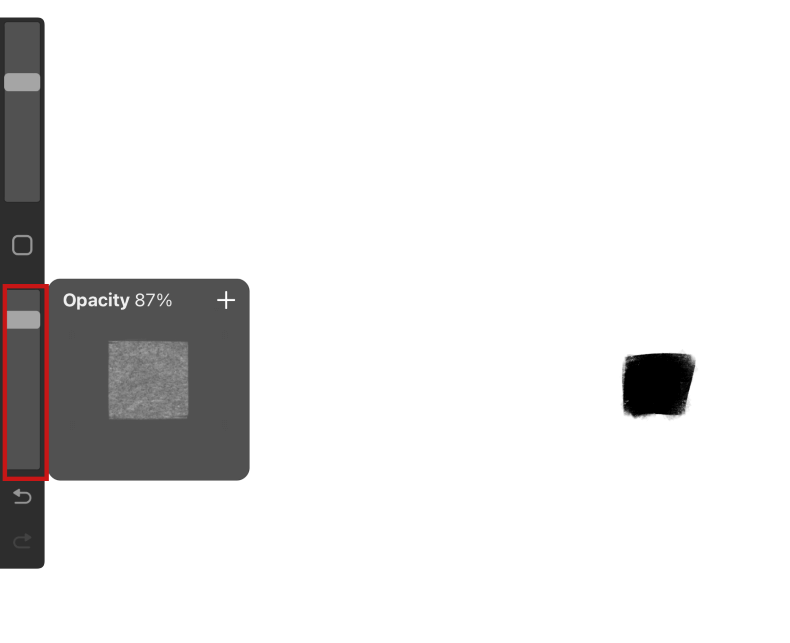
Step 3: Start painting your swatches and begin with the darkest value.
Instead of painting all at once, you will instead slowly build up the transitions, by moving your Opacity slider for buildup. Keep lowering the Opacity of the slider until you get to the lightest value while still applying the same amount of pressure.
Once you finish you should get a nice gradient effect, but with a different-looking aesthetic.
Final Thoughts
Blending colors in Procreate is a very useful method in giving your painting more depth. All the methods described can provide different effects, so experiment with each of them to achieve varying results.
The methods are curated with many years of studying traditional media and learning how each media reacts differently when applying color blending principles. We encourage you to test out some of the fantastic Procreate brushes and focus on their individual categories.
For example, testing Charcoal brushes with the Value method and Watercolor brushes with the Opacity method. We hope you can integrate blending into your paintings, and find which method works best for you.