
At some point in your photography journey, blur becomes your friend. That nemesis you combatted while learning to get tack-sharp images becomes a tool you can use to make your photos more impactful.
Hello! I’m Cara and as a photographer, I deeply understand this struggle. I also love some beautiful background blur that makes the subject leap out of the photo at the viewer.
Most of the time, we work to create this effect in-camera by choosing the correct aperture value. However, you can heighten or imitate the blur quite easily in Lightroom and there are a couple of ways to make it happen.
In this article, you will learn different ways to blur background in Lightroom. Let’s go ahead and jump into the first method.
Table of Contents
Method 1: Select Subject Masking
Lightroom has a pretty powerful feature that will automatically select and mask the subject. We can use this when we want to blur everything except the subject. Learn more about the masking tools in Lightroom here.
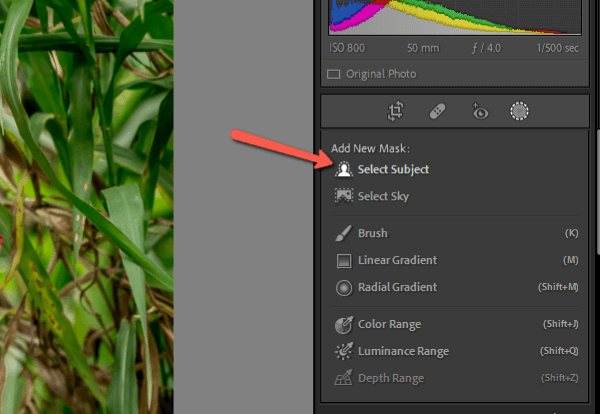
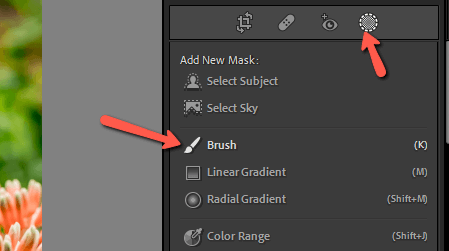
Step 1: Click the circular icon on the right side of the toolbar just about the Basic panel. Then choose Select Subject from the masking panel that opens.
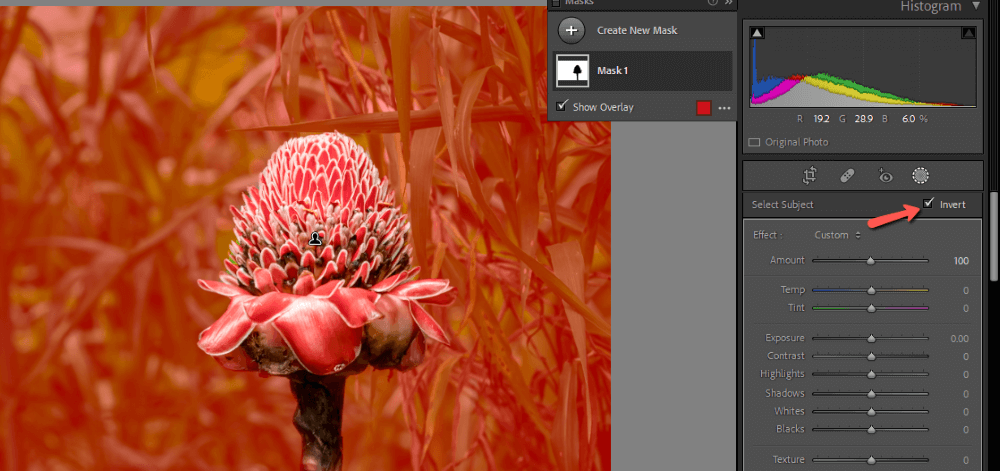
Lightroom will analyze the photo and select what it believes to be the subject. In this case, we want to affect everything except the subject, so let’s invert the mask.
Step 2: Check the Invert box on the far right.
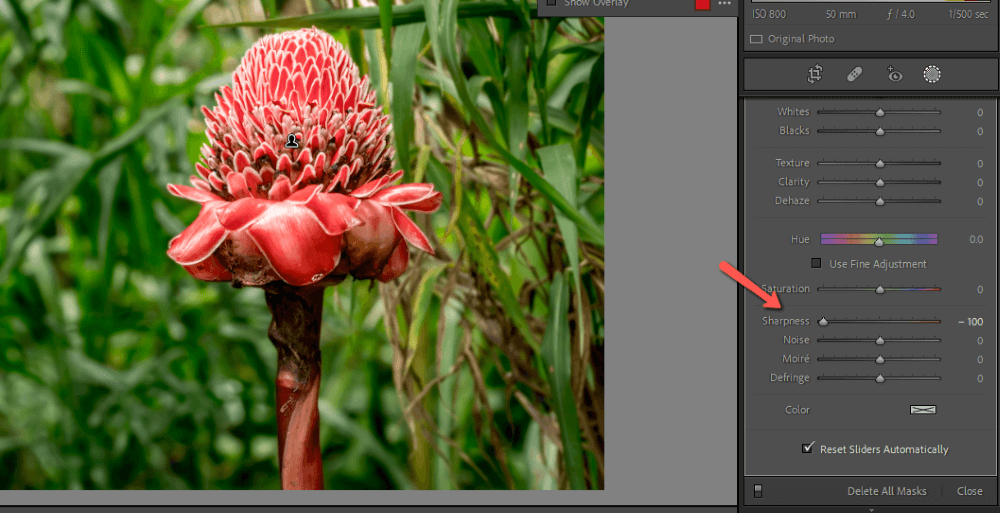
Now we can apply blur by bringing down the Sharpness slider. You’ll probably have to scroll down as it’s near the bottom of the mask adjustment panel.
If the effect isn’t strong enough, duplicate the mask.
Step 3: Right-click on the mask in the masks panel and choose Duplicate Mask from the menu.

You can also play with bringing the Clarity slider down to see how that works. This tends to brighten images a touch so you might also bring down the exposure slightly. Just play with the sliders to see what works for your image.
Method 2: Linear Gradient
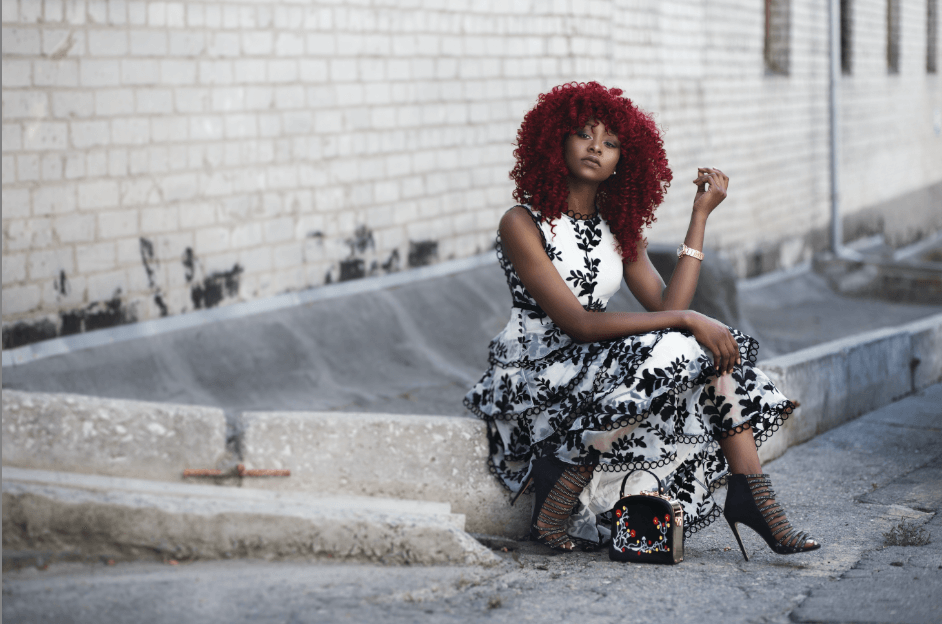
Sometimes you’ll have a slanted background behind your subject such as in this image. Even blur won’t make sense in this image. Blur gets stronger as you get farther away.
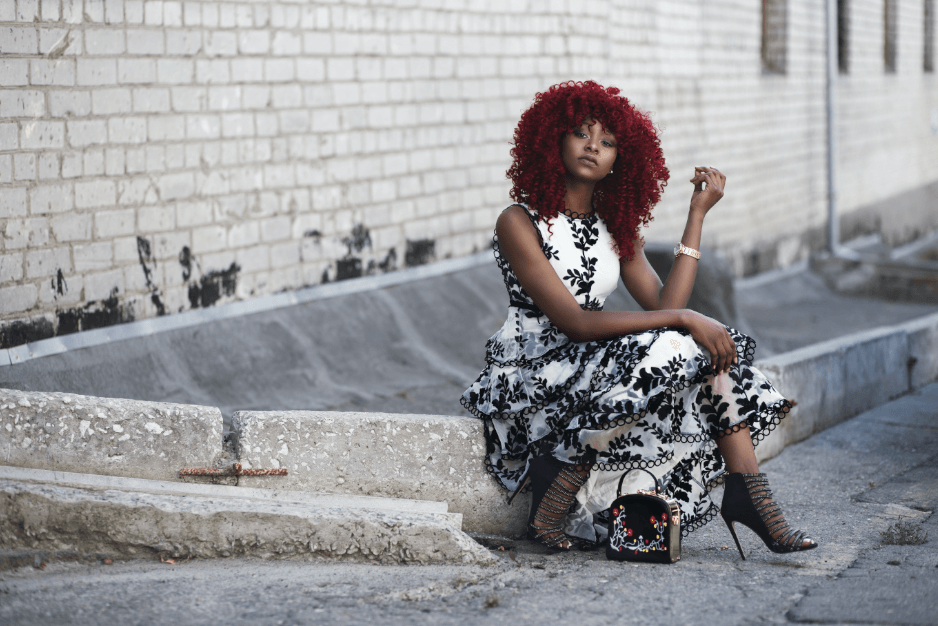
Step 1: Choose a Linear Gradient from the masking panel to apply a slanted blur.

Step 2: Click and drag into the image in the direction you want to apply the blur.
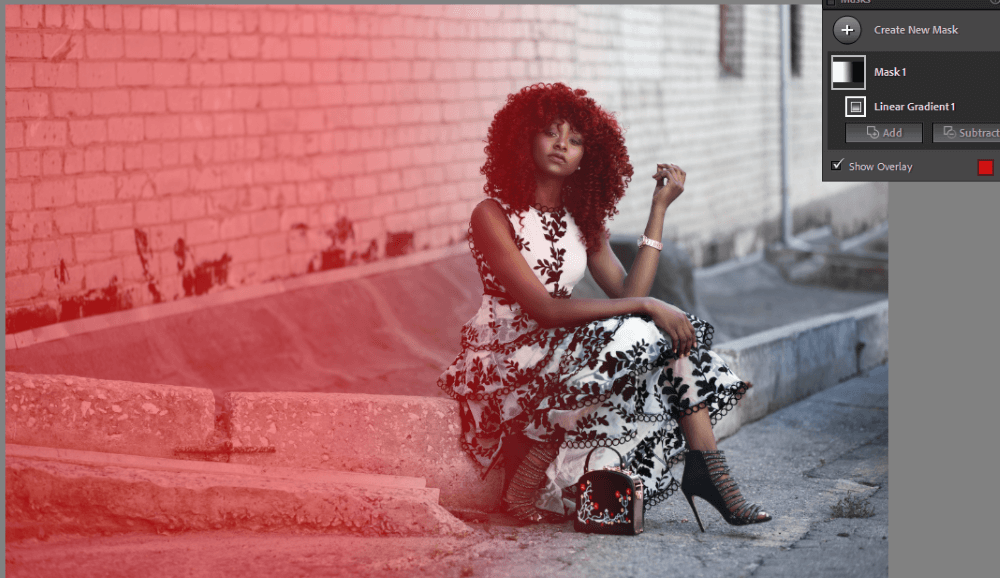
Step 3: Bring down the sharpness and clarity as needed.
Method 3: Brush Adjustment Tool
What if you want to apply blur to specific areas of your image? The Linear Gradient tool is too sweeping and you want to keep more than just the subject in focus. In that case, you can use the brush adjustment tool.
Step 1: Choose the Brush tool from the masking panel or press K on the keyboard to jump to the tool.
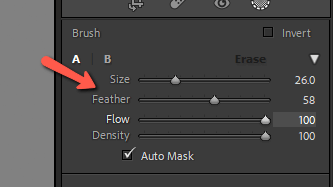
Step 2: Adjust the size and feather of your brush in the brush adjustment panel. As with the other methods, bring down the Sharpness and Clarity sliders.
Step 3: Now you can paint on the image anywhere you want to apply the blur effect. This method gives you precise control over where to add the blur.
That’s all there is to it!
Simply analyze the image you want to add blur to and decide which mask will help you add it so that it looks natural.
Wondering what else you can do in Lightroom? Learn all about the crop tool here!