
If you use Microsoft Word for work, the ability to insert a PDF file into a document can be critical. As a tech writer and software engineer, I find myself using this feature often.
When I have a report created in PDF format from another application, and I need to insert it into a Word document, using this feature can be a time saver. I don’t want to have to re-type all that info in Word.
Thankfully I don’t have to, and neither will you. With a few simple steps, you can easily insert the PDF into your document. Learn how below.

Table of Contents
Quick Notes
There are multiple methods you can use to insert a PDF into a Word document.
One quick and simple way is to open the PDF document, select all of the text, copy it, and then paste it into Word.
This method works for some text, but if the PDF has any formatting, you will most likely lose it; it won’t look correct after you paste it into Word. In addition, you can lose data. For these reasons, we don’t recommend this solution.
The other methods are to insert the PDF file or to drag and drop it into your Word doc. I prefer inserting it as an object; I feel like I have more control over where it’s going and how it’s added. We cover both methods below.
To Link or Not To Link
When you use one of the methods below to insert your PDF, you will need to decide whether you want it to be linked to the Word document or not. What does that mean?
Linked
Linking the PDF can be great if the information in it will change or be updated. Using a link is kind of like having a shortcut: when you click on the icon within the Word document, you open the actual PDF file in its external location.
Any changes you make to the PDF will show up in your Word doc; there will be no need to update it every time the PDF changes. Sounds great, right?
The downside? The PDF is not embedded in the actual Word document. Because of this, you will always need to keep a copy of the PDF in the same location where you linked it. If the Word doc cannot find the PDF file, it cannot open and display it.
Unlinked
If you choose not to link, Word will embed the PDF into the Word document. The PDF will be part of the doc; no matter where you send it, copy it or open it, the Word doc will still have the PDF file inside it.
The positive: you don’t have to worry about sending the PDF and the Word document when sharing.
The negative: if you need to make updates to the PDF file, they will not automatically show up in Word. You will need to delete the PDF from the Word document and then re-insert it.
Method 1: Inserting as an Object
Method 1 is the preferred method. It offers a great deal of control and precision.
Note: The screenshots below are from an older version of MS Word. However, the steps remain the same in newer versions of Word.
Step 1: Click the location in the Word document where you would like to insert the PDF.
Step 2: In Microsoft Word, click on the “Insert” menu tab.
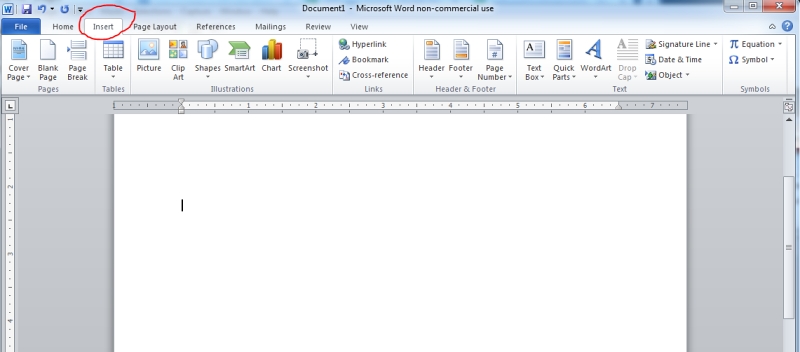
Step 3: Select “Object” to insert an object.

This option is usually located on the upper-right side of the toolbar. In newer versions of Word, it may only display an icon with a small window in the section called “Text.” Hover your cursor over the icons to identify the one marked “Object.”
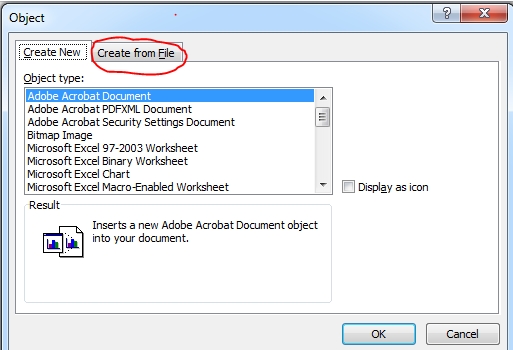
Step 4: Select the “Create From File” Tab.
Once the object window comes up, you will see two tabs. Select the one labeled “Create From File.”
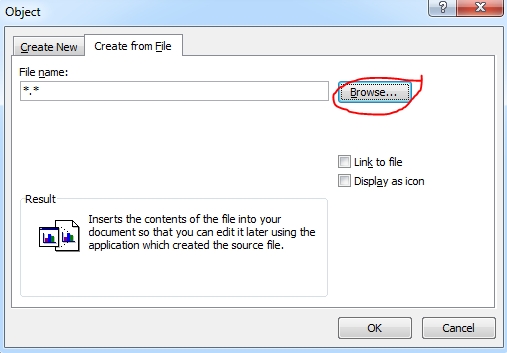
Step 5: Select your PDF file.
Click on the “Browse” button, navigate to the folder where your PDF file is stored, and select the file.
Step 6: Select your options.
If you wish to insert the PDF as a link (as discussed above), check the “Link to File” checkbox.
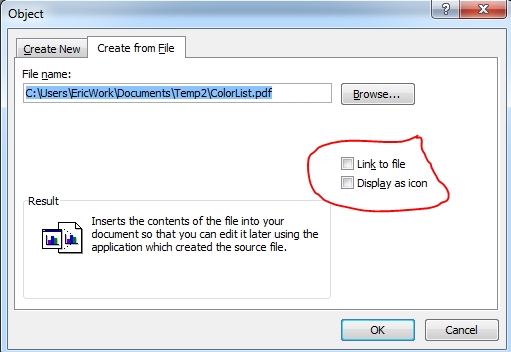
If you want the file to be displayed only as an icon, check the “Display as icon” checkbox. It’ll display an icon representing the PDF file; if you double-click it, the PDF will open. If you do not check this box, it will insert the entire document into your Word doc.
Once you’ve finished your selections, click the “OK” button. The PDF will be inserted into your document. See the examples below. The image on the left displays the PDF, while the image on the right shows only an icon.

Method 2: Drag-and-Drop
The drag-and-drop method is simple, but there’s a downside: you don’t have a lot of control over how the PDF is inserted.
The PDF will be unlinked; depending on the version of Word you’re using, it will drop in as an icon or as the document itself. I have an old 2010 version of Word which puts in the entire PDF. When I tried it in Word 365, however, it showed only an icon.
The following are the steps for the drag-and-drop method. I am using an older version of Word on a Windows 7 machine, so yours may look different. However, the steps are performed in the same manner in newer versions of Word.
Step 1: Scroll to the location in the Word document where you want to insert the PDF.
Step 2: Open Windows File Explorer and navigate to the PDF you wish to insert.
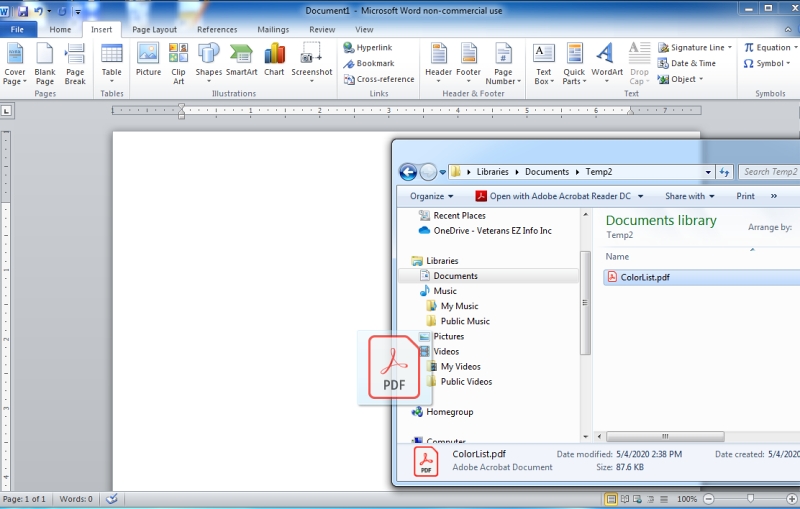
Step 3: Select the PDF and Drag it into the Word Document.
To select and drag the file, click on the PDF with the left mouse button and hold it down, then carefully drag the file so that it is over the top of the Word document.
Once it is in the place you desire, release the left mouse button, and the PDF will get placed in that spot.
If you run into any issues with how the PDF is presented, you can always delete it from the doc and re-insert it.
That wraps up this tutorial article. I hope you find it helpful. As always, let me know if you have any issues trying to insert a PDF into a Word document.