
Choosing which Selection Tool you want to use and this choice will depend on which type of shape you need to move. Once you have made your choice, draw around the shape you want to move, select the Move Tool, and move your selection.
I’m Carolyn and I’ve been using design apps like Krita to run my digital illustration business for over three years. As a huge part of my work is creating graphic designs for my clients, the selection and move tools in Krita are something I use on a daily basis in my projects.
Krita offers quite an elaborate variety of selection tools on top of the usual freehand option like other similar programs. This can save you time when selecting and moving shapes or objects around your project. This tool is especially useful if you’re not using a stylus when drawing.
In this article, I’m going to show you where to find the Selection Tools in Krita and how to use them.
Table of Contents
Key Takeaways
- You will need to combine the Selection Tool and the Move Tool in order to move a selection within your project.
- If you don’t activate the Selection Tool before moving your object, the Move Tool will automatically move your entire layer.
- There are 8 different Selection Tools to choose from.
- There are two ways to deselect your selection in Krita.
How to Make a Selection in Krita
Before moving a shape in your project, you must manually select the area you want to move by activating one of the Selection tools.
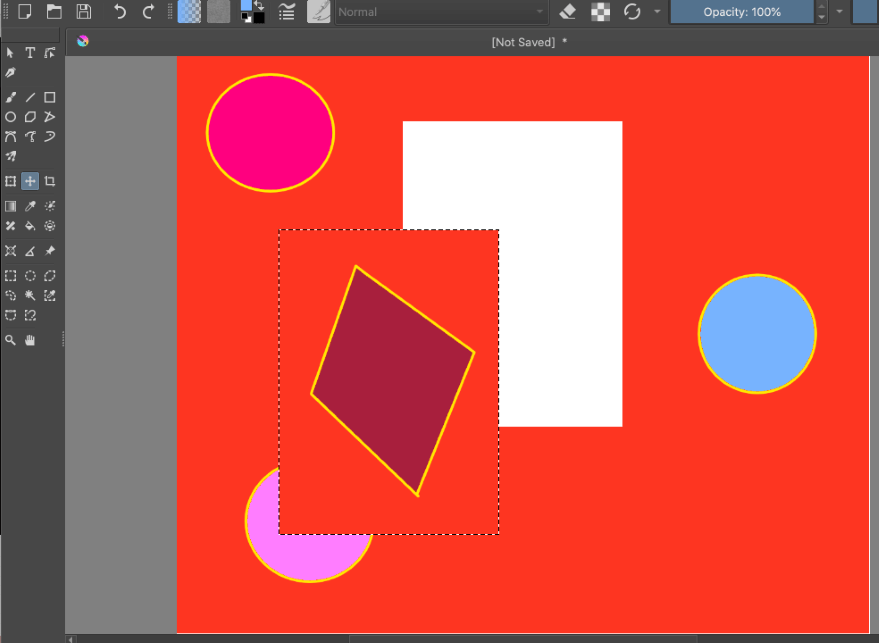
The Selection Tools are available on the left-hand side of your workspace and there are eight different options to choose from. Choose the option that best suits the object you want to move.

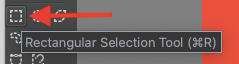
Rectangular Selection Tool
Use the Rectangular Selection Tool for all symmetrical square and rectangular shapes. Simply tap and drag your mouse or stylus over the shape you want to select.
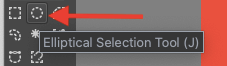
Elliptical Selection Tool
The Elliptical Selection Tool is ideal for all circular and oval-shaped objects that you wish to select. Simply tap and drag your mouse or stylus over the shape you want to select.
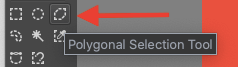
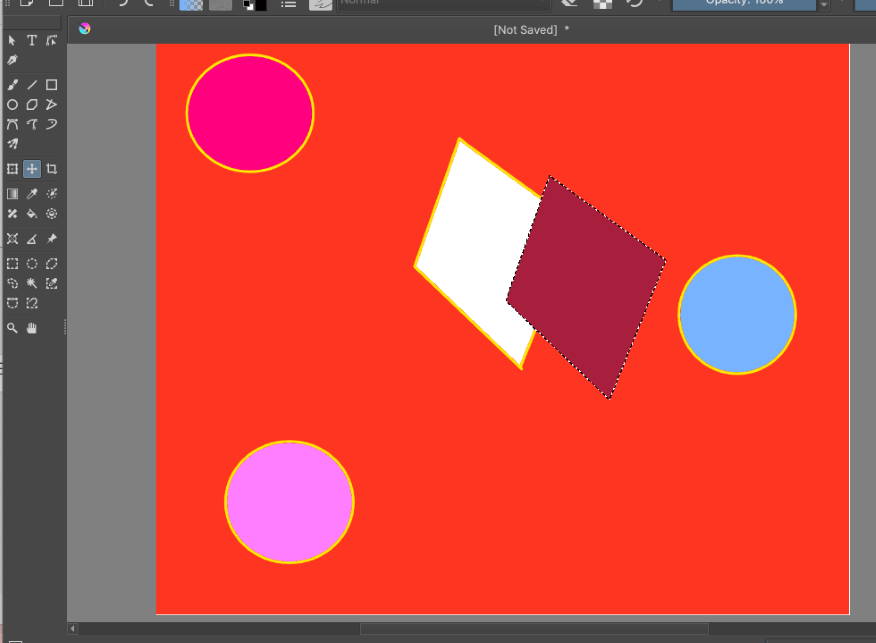
Polygonal Selection Tool
This tool is best for selecting polygonal and triangular shapes with straight edges or lines. Tap on each point of the shape until you have connected the points to select the shape.
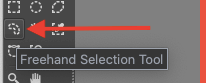
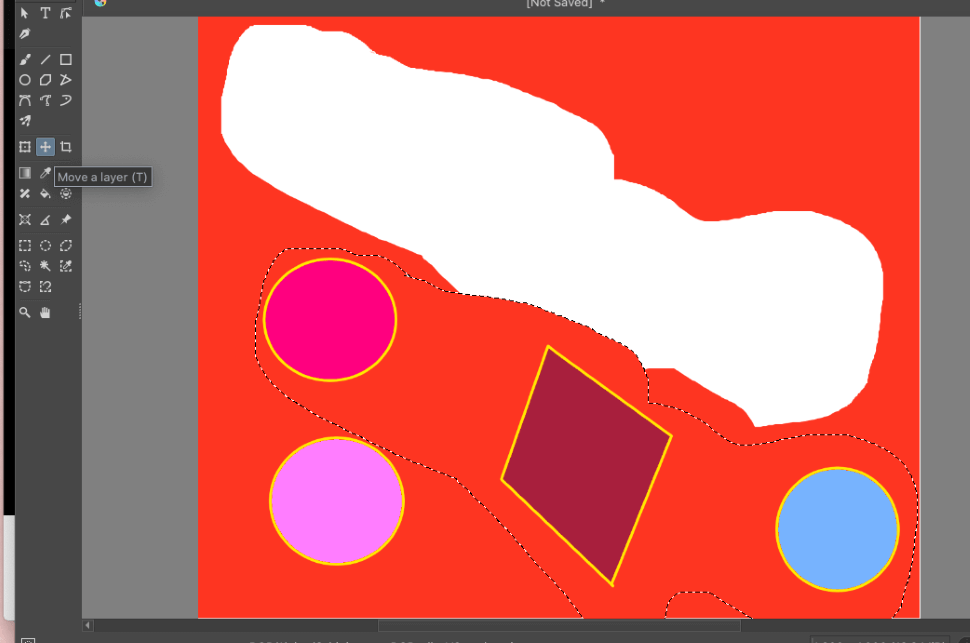
Freehand Selection Tool
This tool is ideal if you want to manually create your own selection area by using your stylus or mouse to connect the two points. Draw your selection around the shape you want to move, just ensure you close the shape before moving the object.
Continuous Selection Tool
This tool starts your shape selection with a point and creates straight lines that connect each future point together.

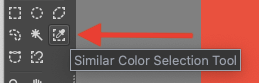
Similar Color Selection Tool
This tool is really unique and very convenient. All you need to do is tap on one color and it will automatically select all of the similar colors within the layer.
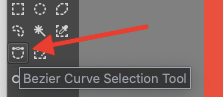
Bezier Curve Selection Tool
This selection tool is used for creating parametric curves by manually manipulating the points at which your shape connects.
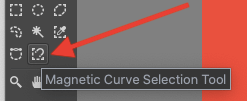
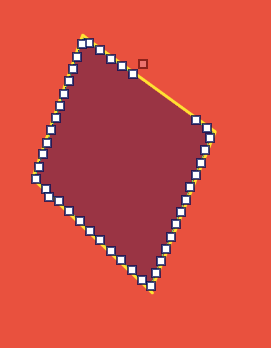
Magnetic Curve Selection Tool
The Magnetic Curve Selection Tool allows you to make freeform selections by connecting the points together.
Pro Tip: To deselect in Krita, you can click on the undo arrow in the top left-hand corner of your workspace. Alternatively, you can select Shift + Command + A on your Mac keyboard or Shift + Control + A on your Windows keyboard.
Once you have selected the shape in which you want to move, you can choose one of the methods below to move the selection.
Method 1: Move a Layer Tool
Here’s how you can use the Move a Layer tool to move a selection in Krita.
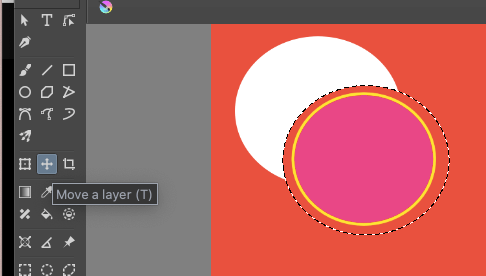
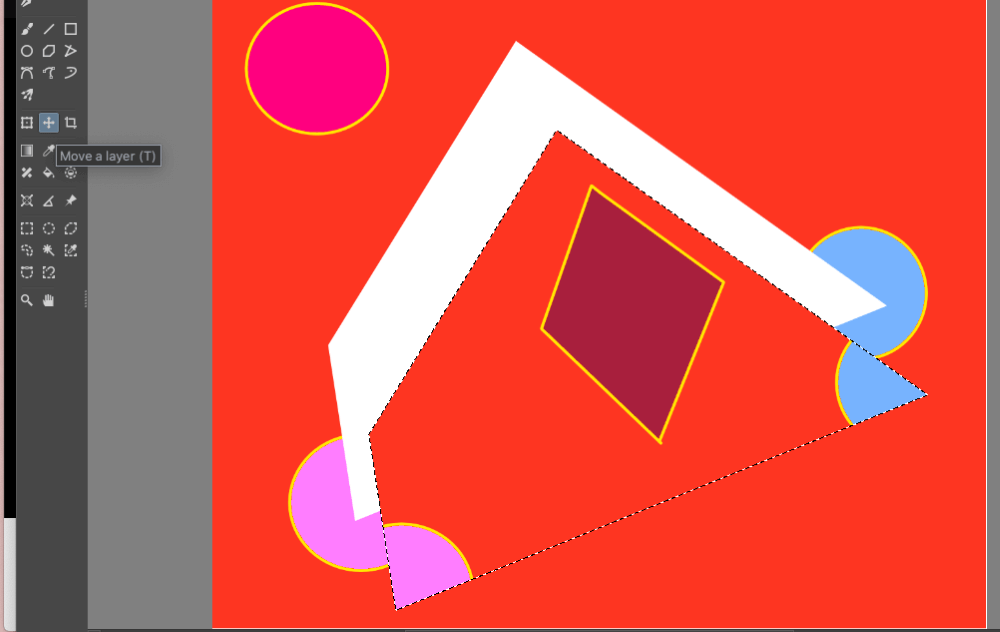
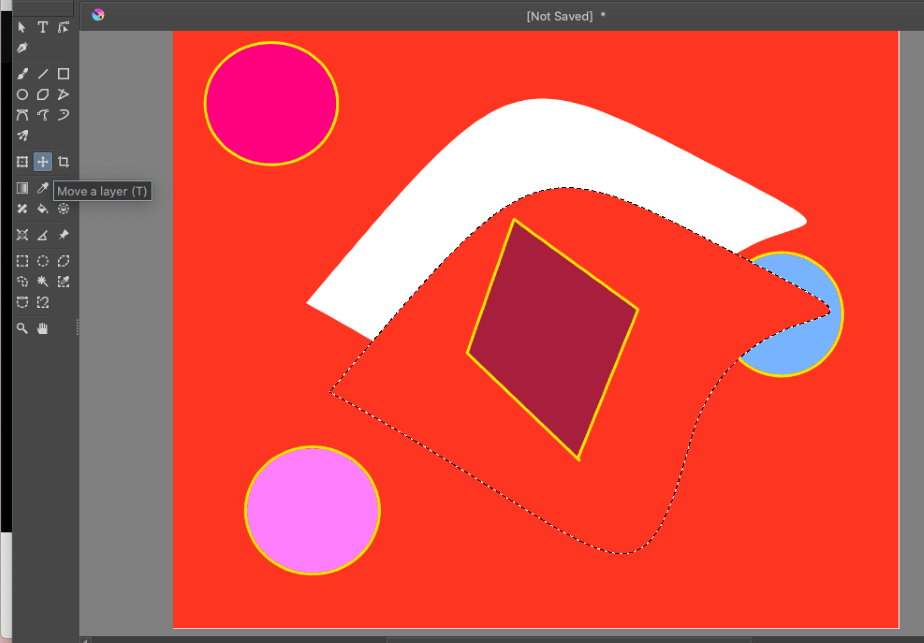
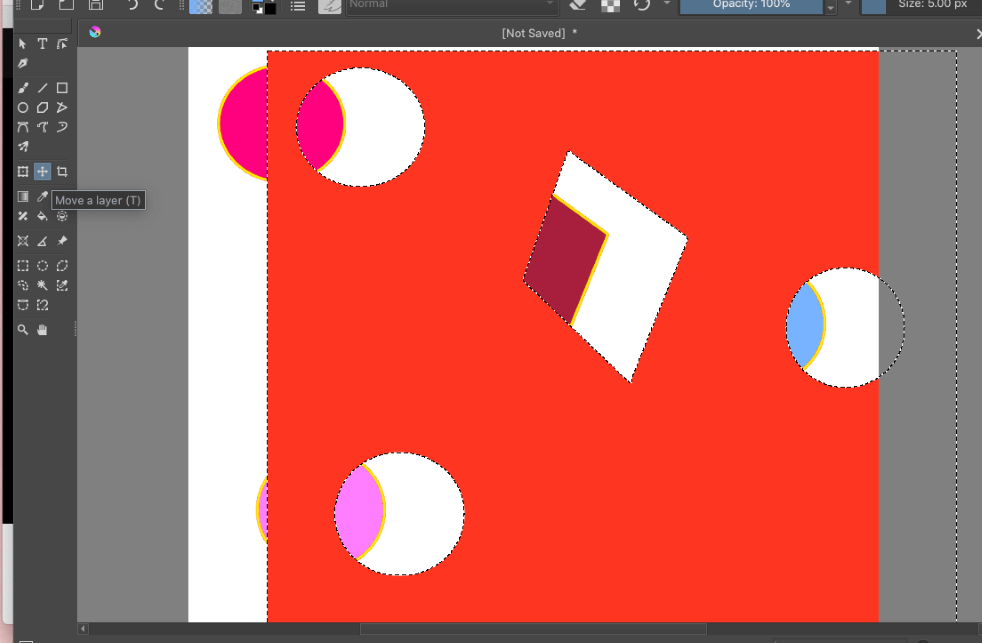
Step 1: In the left-hand toolbar of your workspace, click on the Move a Layer tool. This is the icon with two crossed arrows.

Step 2: Click on your selected shape and drag it to its new desired location. Once you are finished moving the shape, click on a different tool to close the Move Tool and confirm your changes.
Pro Tip: If you don’t choose a selection within your project before activating the Move Tool, this will move your entire layer instead of a specific part of your layer.
Method 2: Transform Tool
There are many more options available to move or manipulate your selection in Krita. Below I will briefly explain some of the features available to you in the Transform Tool menu.
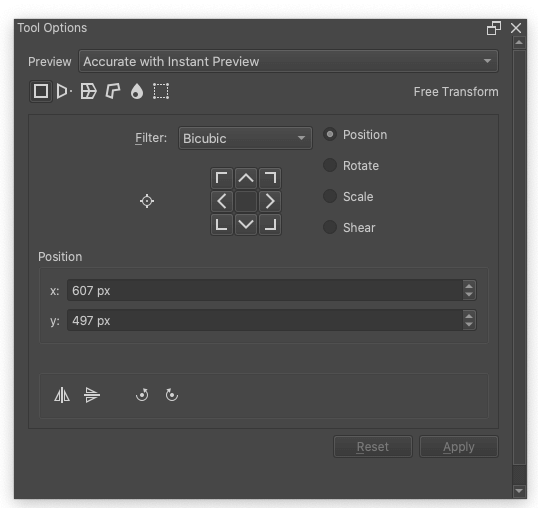
There are six main functions of the Transform Tool. These offer a huge selection of different actions so I have broken them down for you below:

Free
This setting is most commonly used for changing the position of your selection by adapting the size, scale, or rotation.

Perspective
You can use this setting to change the angle of your selection.

Warp
This setting is ideal for manipulating your selection into organic movements or directions.

Cage
This creates a box or a cage around your selection and allows you to manipulate the contents of the cage.

Liquify
This allows you to create fluid movement within your selection and can create some really trippy results.

Mesh
This is a creative way to add your selection to a curve or different shape angle. It’s great for adding your objects to a perspective drawing.
FAQs
Below is a selection of your frequently asked questions about how to move a selection in Krita. I have briefly answered them for you:
How to deselect in Krita?
The easiest way to deselect in Krita is to press the undo arrow in the top left-hand corner of your workspace.
How to rotate a selection in Krita?
You can rotate your selection in Krita by activating the Transform Tool and using the nodes to move your selection at the angle of your choice.
How to flip a selection in Krita?
You can flip your selection in Krita by activating the Transform Tool and selecting the Flip option.
What’s the Freehand Selection Tool shortcut in Krita?
You can select which shortcut you want to use for this tool by opening the Krita app settings and selecting the Configuration menu.
How to move multiple layers in Krita?
You can move multiple layers in Krita but you must group them together first. Do this by right-clicking on each layer and selecting the Group option.
Conclusion
Krita offers an extensive variety of different tools that can help you to select any shape possible whether it’s symmetrical or organic. These options save me a lot of time and create more accurate selections when I’m using my mouse to make selections instead of a stylus.
As this process requires two action steps, it’s best to familiarize yourself with each aspect of the process so you can get used to flipping back and forth between tools which will create a smoother working process when it comes to moving different selections within your project.
Do you use this method above when moving selections in Krita? Leave your feedback in the comments section below.