
If you want to upload a video file to the internet, it helps to have a smaller file size. Additionally, you might want to save space on your Mac, in which case it would help if your videos did not take up too much space. So how can you compress a video on Mac?
This is a common question I have been asked in my time as an Apple repair tech. So today, I’m going to share a few helpful methods I have learned over the years to compress video files on Mac. Some of them will be easier than others, and some of them will yield better results.
Let’s get into it!
Table of Contents
- Key Takeaways
- Best Ways to Compress a Video on Mac
- Option #1: Use iMovie to Compress Your Video
- Option #2: Use QuickTime to Compress Your Video
- Option #3: Use Finder to Compress Your Video into a Zip File
- Option #4: Use HandBrake to Compress Your Video to a Smaller Format
- Option #5: Compress Your Video File Using Permute
- Option #6: Use a Free Online Service
- Final Thoughts
Key Takeaways
- Video compression applications remove expendable data from video and audio frames to reduce the amount of data stored in a file.
- Using iMovie or QuickTime, you can compress a video by changing its resolution.
- Compressing a video through Finder adds it to a zip file.
- HandBrake is an open-source application that can convert and compress videos, with smaller file size options available under the web presets.
- Permute is an app available on the App Store or Setapp that can compress a video by changing its bitrate.
- Free online services exist to compress video files, but they come with the risk of malware infections. Always ensure your Mac is secure by using a malware scanner such as CleanMyMac X.
Best Ways to Compress a Video on Mac
Compressing a video means that you would like to reduce the amount of data that is stored in the file by removing pieces of the data (bits) required for each of the image and audio frames.
But how does it work? Video compression applications are able to evaluate and decide which pieces of data are the most “expendable,” meaning which pieces of data are able to be deleted without affecting the video or audio.
Some of these methods are not specifically designed for video compression, so, although they might be capable of providing this service, you may see a slight decrease in the quality of the video by doing this.
However, a decrease in quality is expected with a decrease in resolution. For this reason, you should always keep a backup of your video file before you start.
Option #1: Use iMovie to Compress Your Video
The first option to compress a video is using the video editing app that is automatically installed on your Mac when you receive it, iMovie.
To compress a video using iMovie:
Open Launchpad.

Next, Open iMovie.

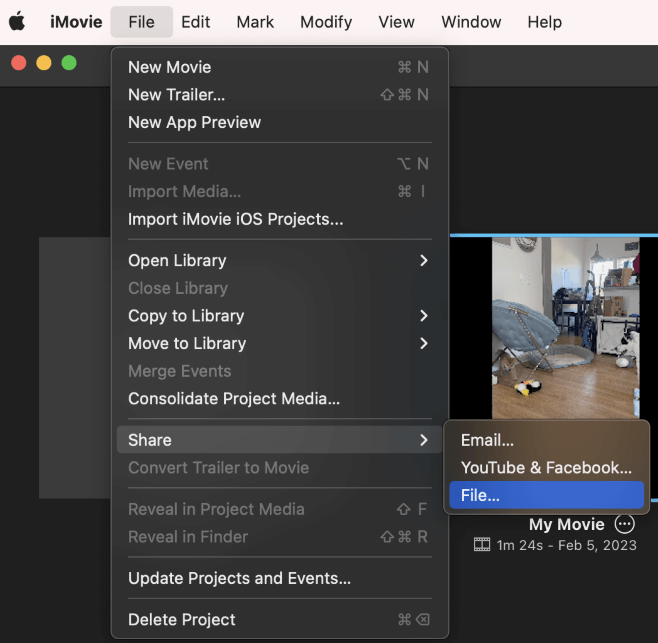
Open the video you would like to compress, then click File > Share > File…
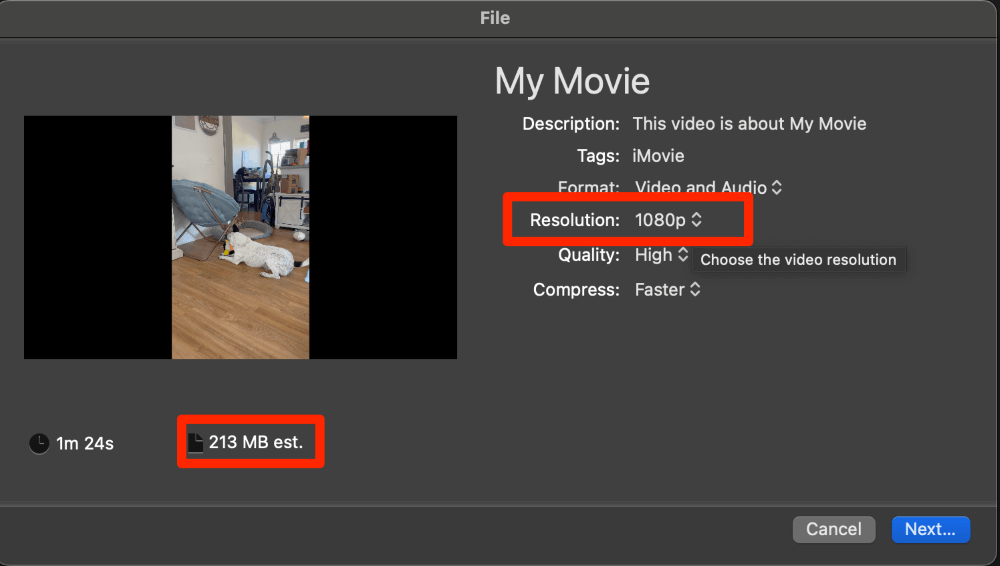
Notice the original resolution and File Size.
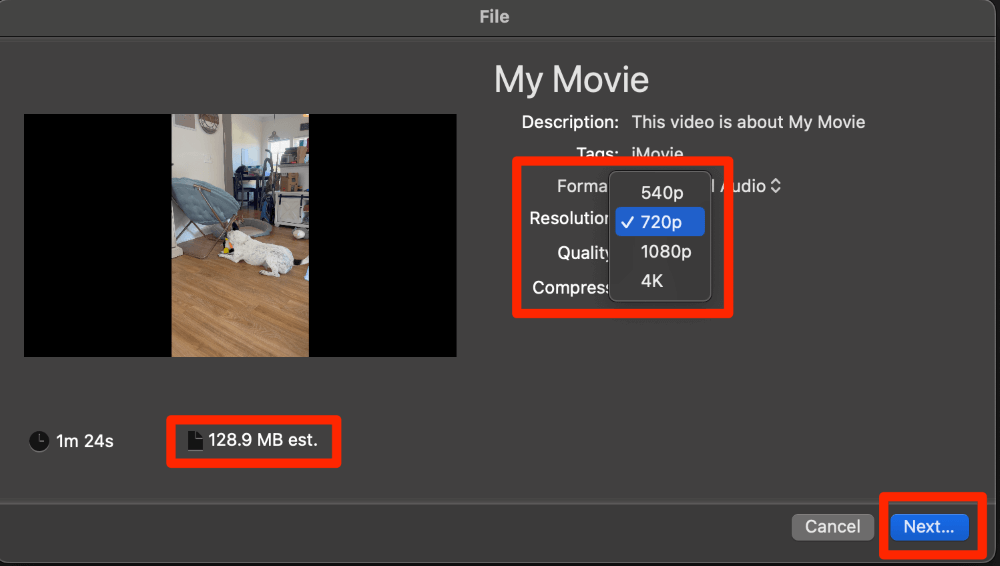
Change the resolution to the desired compressed value. Notice the smaller file size. Click Next.
Save the video in the desired location.
Read More: How to Compress a Video File in iMovie Mac
Option #2: Use QuickTime to Compress Your Video
Another pre-installed option to compress a video on Mac is using the QuickTime video Player.
To Compress a video using QuickTime:
Click on your Launchpad.

Open Quicktime.
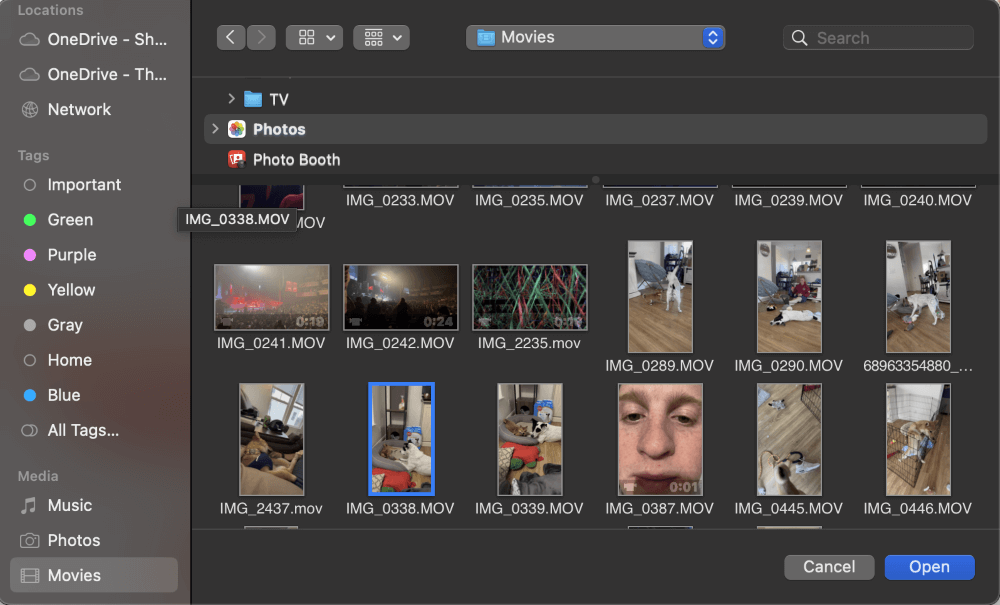
Open the Video you would like to compress.
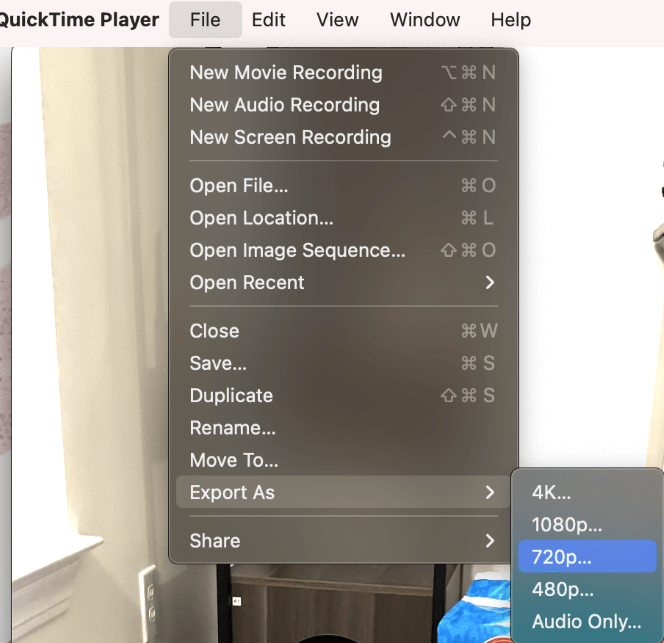
Click File > Export As, and select a resolution. Note: Ensure you choose a file size lower than the original to ensure you are truly compressing the video.
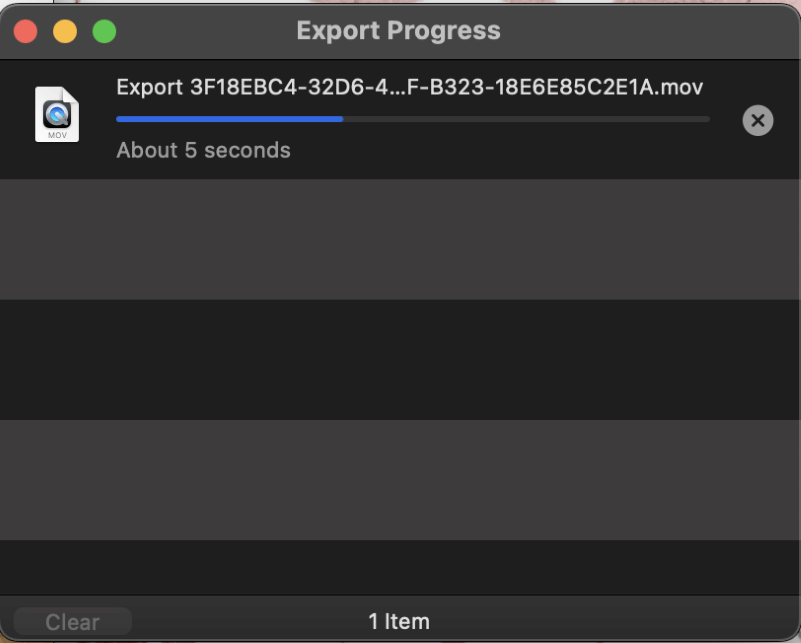
Save the video as necessary. An Export Progress window will let you know when the compression is complete.
Option #3: Use Finder to Compress Your Video into a Zip File
Similar to compressing a file or a folder, you are also able to compress a video using Finder. This will result in the video being added to a Zip File.
Open Finder.

Right click on the video you would like to compress.
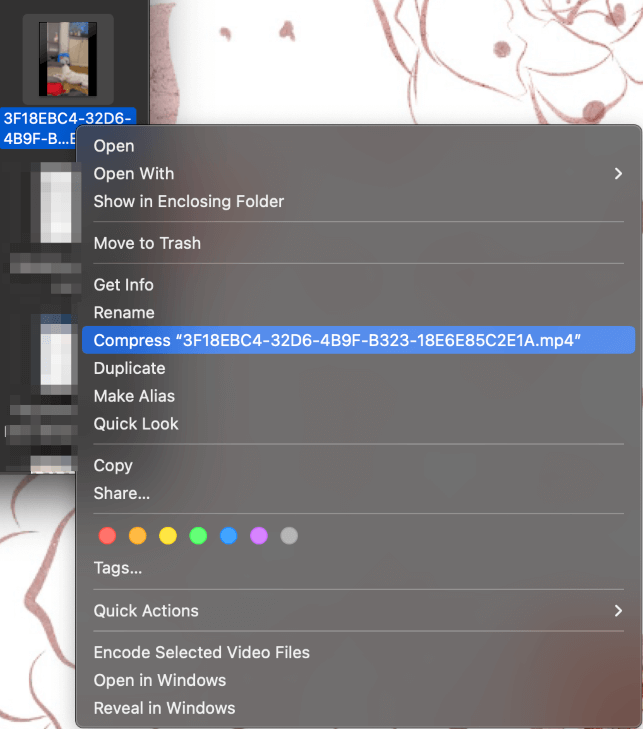
A Compression status bar will show.
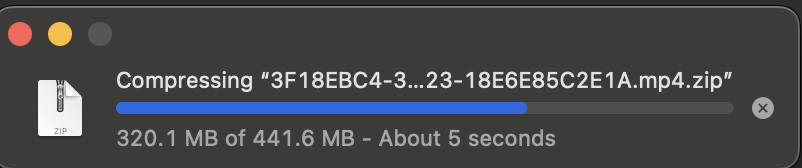
When compression is complete, a new Finder window will open with the Zip file.

Option #4: Use HandBrake to Compress Your Video to a Smaller Format
HandBrake is an open-source application from the internet. It allows for video conversion and compression. Open source means that you are able to view and change the code for free as needed. Luckily this application will need no code updates in order to utilize the compression feature.
HandBreak is available on their website here. Ensure you download and install the correct software for your Mac.
Once you have Handbrake installed, launch the app, and it will prompt you to find a video file from your directories. Upon loading a video file, you will see a screen similar to the one below. To compress your video to a smaller file size, you’ll need to select a preset.
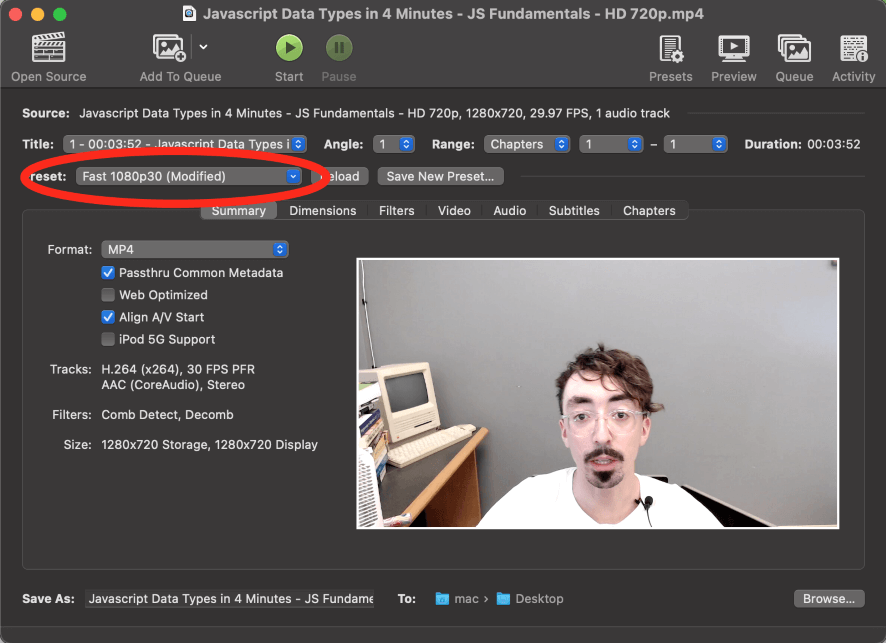
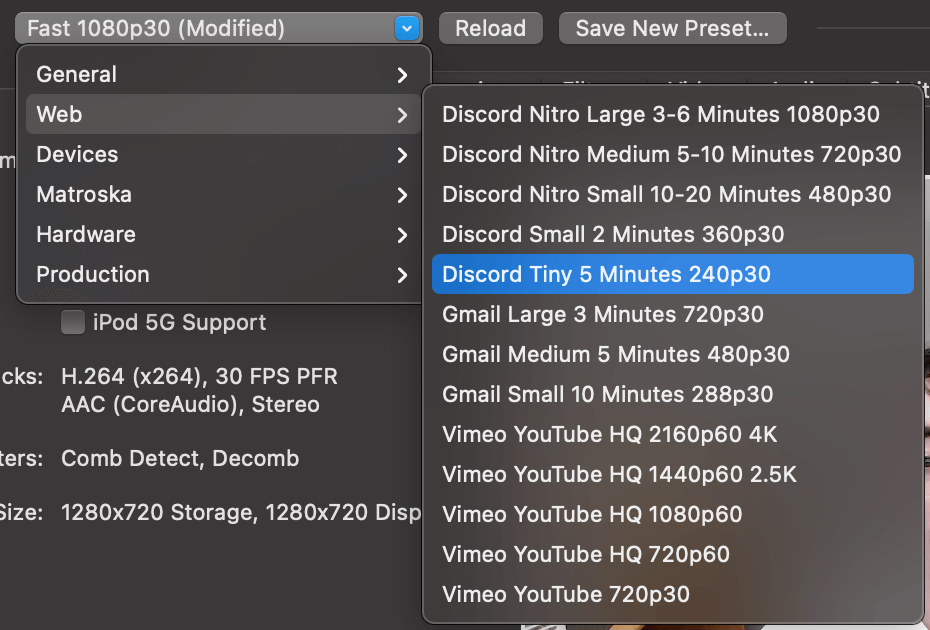
Typically, the smallest file size options will be under the Web presets.
Note: In order to download applications from the internet, ensure the “Allow Applications downloaded from” setting (located in Apple Menu – System Settings – Privacy & Security – Security) is turned to App Store and Identified Developers.
Option #5: Compress Your Video File Using Permute
If you want a more advanced program with even more features, I recommend using Permute. You can download Permute from the App Store or from Setapp. Once you have the app installed, find the icon from your Launchpad and open it.
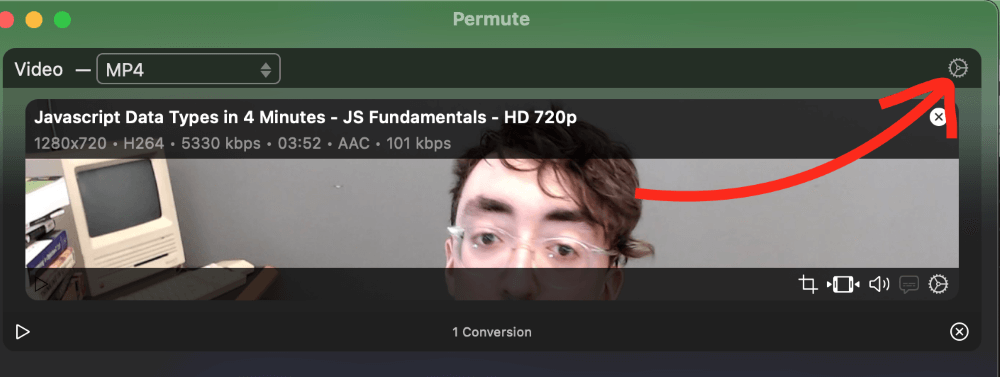
Once you have the app open, click on File from the menu at the top, and select Open from the drop-down. Find your video file, and double-click it to open.

Next, look for the gear icon in the upper right corner of the video file. This is the settings menu.
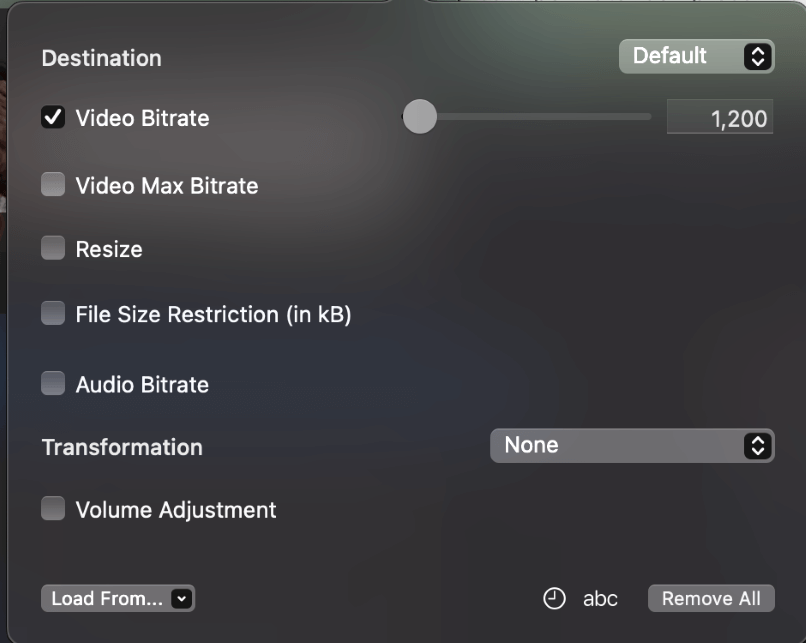
Check the video bitrate box, and drag the slider down. A lower bitrate will equal a smaller file size.
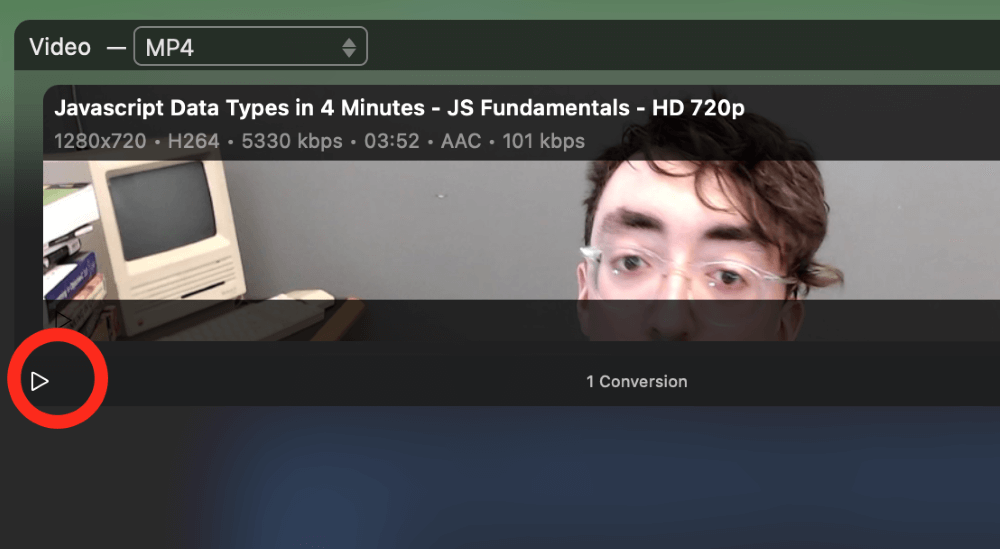
Once you are done, click the start icon in the lower left corner.
Option #6: Use a Free Online Service
There are also many free converters completely available online that you are able to upload your video to, and it will compress the video.
However, personally, I do not prefer to put any of my information on the internet or on a website. I am sure there are plenty of options that are perfectly safe, but when I have more reliable and downloadable options I prefer to use those.
If you do choose to use a free online service to compress your video files, just make sure to keep your Mac secure with a decent malware scanner. One of the best apps to keep your Mac in good shape is CleanMyMac X.
Note: While not a free application, you need to weigh the pros and cons of downloading files from the internet without also using a good anti-malware program. Typically, the risks are not worth it.
Final Thoughts
Compressing a video removes bits from the resolution in order to reduce the overall size of the file. Finder also allows you to compress your video like a file or folder by creating a zip file. This article walked you through several options for compressing a video on Mac. We hope you were able to compress your video successfully.
Which method did you choose to use in order to compress your video? Let us know in the comments!