
Page size is the most fundamental design element in any InDesign document since you can’t make anything else without a page!
You can always set the page size during the new document creation process, but sometimes a project brief can change after the design process has already begun, and you’ll need to change your page size. For some projects, you may even want multiple different page sizes in the same document.
Let’s take a look at how you can make it all happen!
Table of Contents
Method 1: The Quick Guide to Changing Page Size
If you’ve only just created a new document and you accidentally used the wrong page size, it’s extremely simple to change. This method will change the size of every page in your InDesign document.
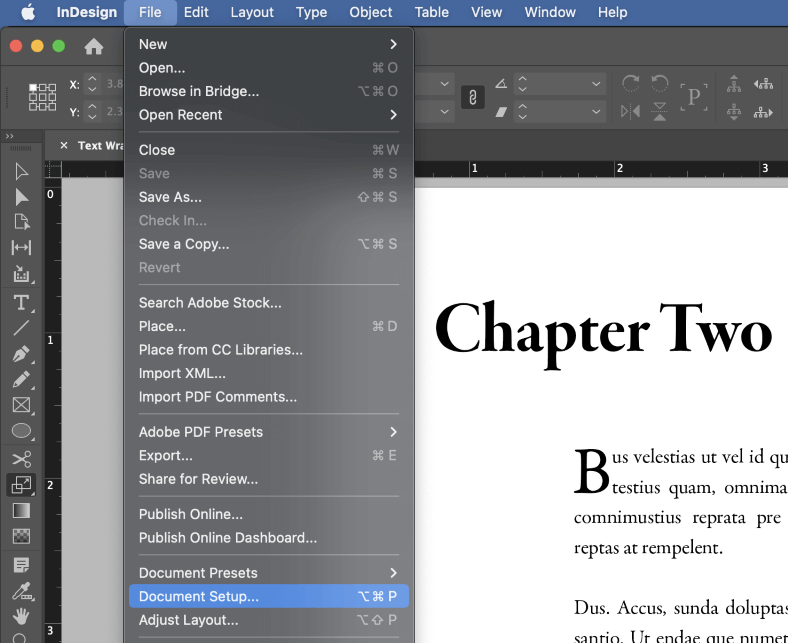
Open the File menu, and click Document Setup. You can also use the keyboard shortcut Command + Option + P (use Ctrl + Alt + P if you’re using InDesign on a PC).
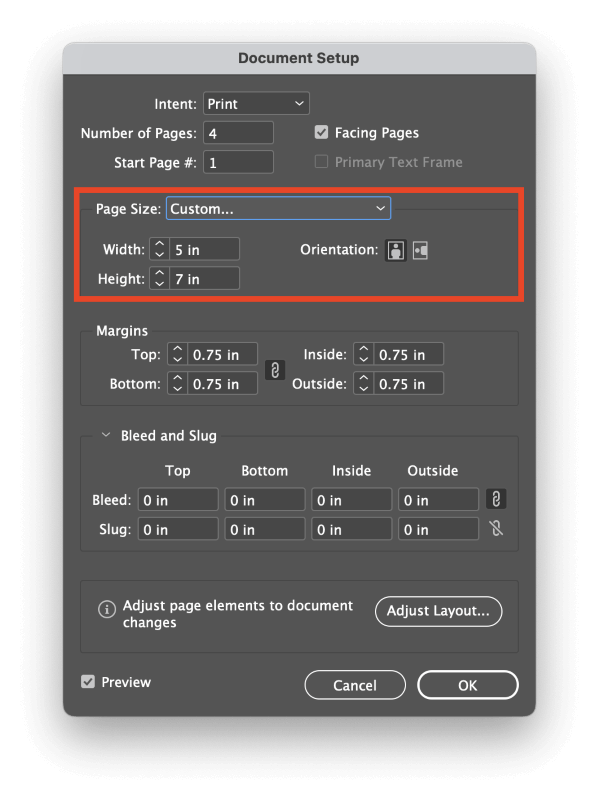
InDesign will open the Document Setup dialog window, and you can enter new page dimensions in the Width and Height fields. You can also select from a range of preset page sizes or change the page orientation if necessary.
Click the OK button, and InDesign will adjust the size of every page in your document.
Method 2: Resize Pages Using the Pages Panel
This method allows you to change the page size for an individual page or a group of pages, which gives you a lot more flexibility when shaping your document. Complex printing processes sometimes require unique page structures, and dynamic screen-based projects can also benefit from more freeform structures than most typical business documents.
First, make sure the Pages panel is visible in your workspace by opening the Window menu and clicking Pages. You can also use the keyboard shortcut Command + F12 (just press F12 by itself if you’re on a PC) to bring the panel into focus.
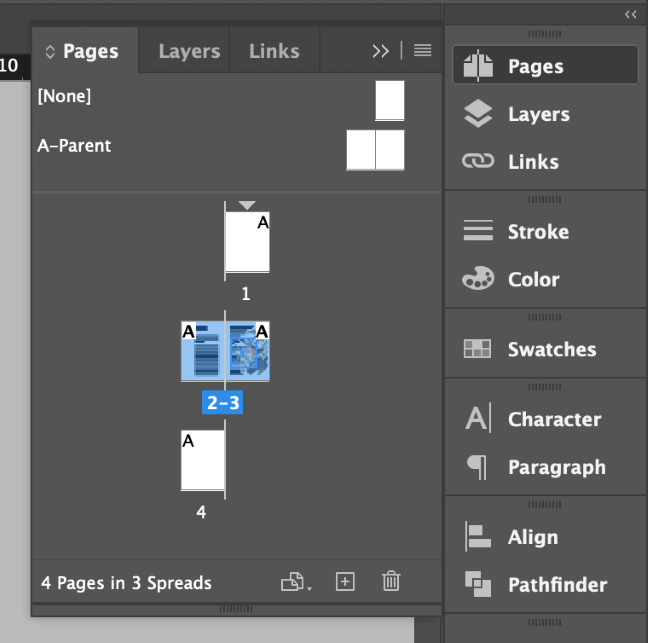
The Pages panel displays – you guessed it – every page in your document, as well as any parent page templates used in the document.
Select the page you want to adjust by clicking the appropriate thumbnail, or you can select multiple pages by holding down the Command/Ctrl key and clicking on additional thumbnails. You can also hold down the Shift key to select a range of consecutive pages.
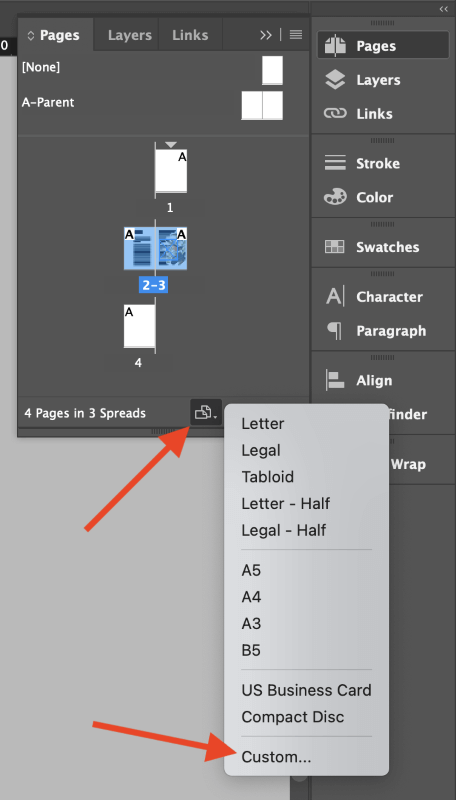
Next, click the Edit Page Size button at the bottom of the Pages panel (highlighted above) and choose from one of the preset page sizes, or select the Custom option and enter in custom page dimensions.
Method 3: Changing Page Size with an Existing Layout
The process is a bit more complex if you need to change the page size after you’ve already started working on your layout. You can just follow one of the methods listed above and then reposition all your layout elements manually, but that can take a long time, and there’s another way to do it: use the Adjust Layout command.
Open the File menu and click Adjust Layout. If you prefer to use keyboard shortcuts, press Option + Shift + P (use Alt + Shift + P if you’re on a PC). InDesign will open the Adjust Layout dialog window, which is similar to the Document Setup window but with a few extra options, as you can see below.
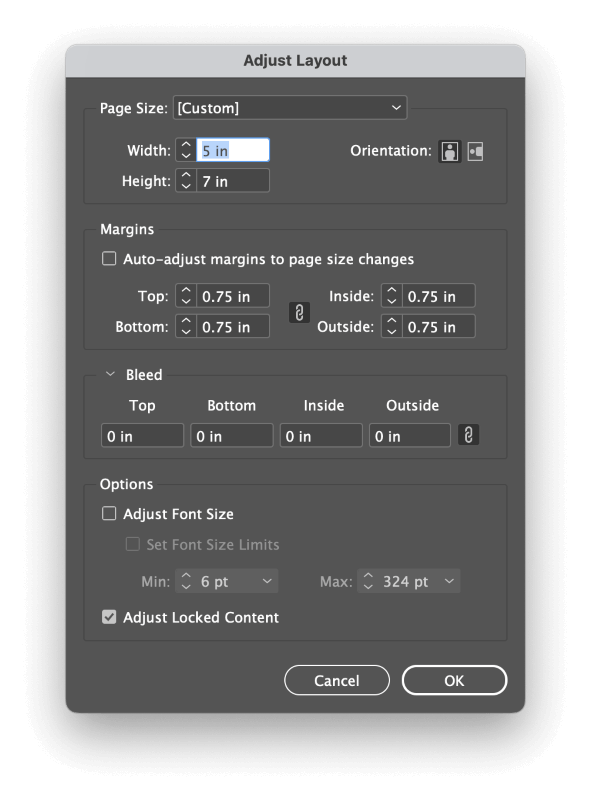
To adjust the page size of every page in the document, enter the new page dimensions in the Width and Height fields.
If you were happy with the original margin-to-page ratio in your document, you can check the box labeled Auto-adjust margins to page size changes, and your margins will scale proportionally to your new page size.
Optionally, you can also adjust the font size of your text frames dynamically and choose whether or not locked objects will be scaled along with the rest of your document contents.
Once you’re satisfied with your settings, click the OK button. Your pages will be resized, and the page contents will be scaled proportionally to fit the new layout – although be warned, this can produce some unexpected results!
Method 4: Using the Page Tool to Change Page Size
The Page Tool also allows you to change your page size in InDesign, although it too has slightly different options than the other methods.
It’s easy to use if you’re working with a blank document, but it also offers specialized options for reflowing your existing design layout during the resizing process, above and beyond what you can do with the Adjust Layout command.
Start by selecting the page (or pages) you want to change in the Pages panel, then switch to the Page Tool using the Tools panel or the keyboard shortcut Shift + P. Once the tool is active, you’ll see the Page Tool options displayed in the Control panel at the top of the main document window.
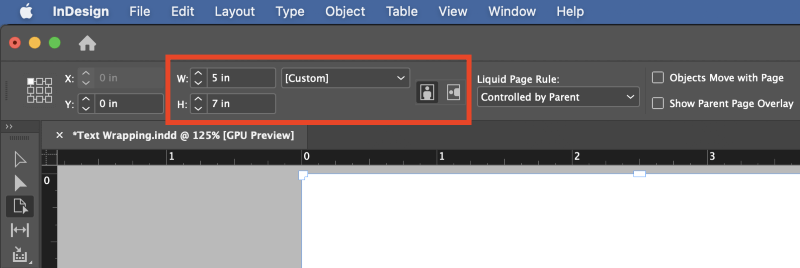
If you’re just changing page size in a blank document, you can just enter new page dimensions into the W and H (Width and Height) fields, but if you’ve already got a layout in place, you should examine the rest of the available options.
The Liquid Page Rule dropdown menu allows you to choose how your design elements will be reflowed within the newly-resized pages.
You can choose Scale, although that will produce results that are quite similar to the Adjust Layout method described earlier. The Re-center, Object-based, and Grid-based settings provide more customizable results.
In order to get a sense of how these settings will affect your document, the Page Tool also allows you to work with them more intuitively by directly resizing pages in the main document window.
Make your selections in the Control panel, then click and drag one of the handles around the edges of your document to see how the page elements will reflow into the new page size.
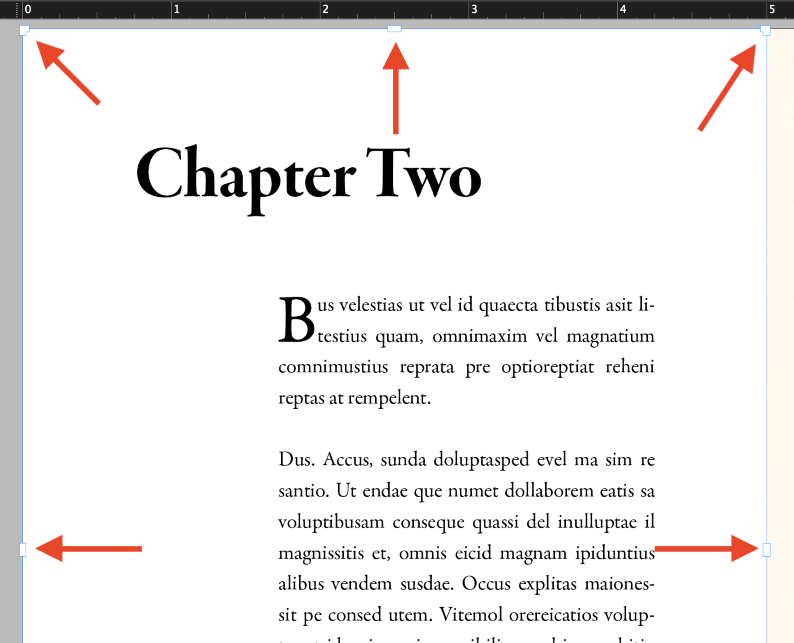
You’ll immediately notice that permanently resizing pages with the Page Tool this way seems impossible because the page automatically returns to its original size once you release the mouse button.
It seems odd, but it’s actually intentional! It allows you to quickly experiment with different page size options visually without having to mess around with Undo/Redo commands.
To make permanent changes to your page size using the Page Tool, hold down the Option / Alt key as you click and drag to resize the page in the main document window. However, in most situations, it’s better to enter a precise value into the Width and Height fields directly in the Control panel to avoid mistakes.
If you set the Liquid Page Rule to Object-based, you can also use the Page Tool to select individual elements on your pages (such as images and text frames) and provide custom rules for spacing and sizing during the reflowing process.
Designing a fully flexible layout is a complex task that’s outside the scope of this tutorial, though, since it deserves a dedicated one of its own.
A Final Word
That covers everything you’ll need to know about how to change page size in InDesign! Along the way, you’ve probably discovered a whole new area to explore that you didn’t know existed: flexible layouts.
Flexible layouts aren’t necessary for every document, but they’re definitely worth learning for use in more specialized designs. In the meantime, practice the methods you learned here during your next InDesign project – and happy resizing!